
To make handmade paper at home, start by gathering recycled paper scraps, a blender, a basin, and a mold or frame. Soak your paper pieces in warm water, then blend them into a smooth pulp. Pour the pulp into water and pour it onto the mold to drain excess water, shaping your sheet. Press and dry it flat, then add personal touches like drawings or fibers. For detailed steps and creative ideas, keep exploring the process further.
Key Takeaways
- Tear recycled paper into small pieces and soak in warm water for at least 30 minutes.
- Blend soaked paper with water until smooth, creating a pulp with a thick, oatmeal-like consistency.
- Pour pulp onto a mold or frame, level it, and let excess water drain naturally.
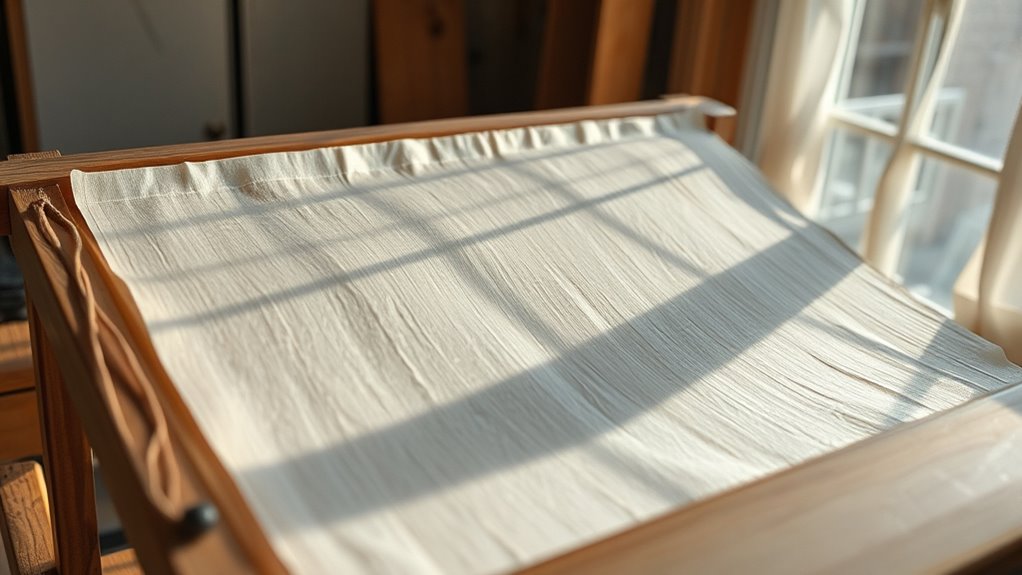
- Press the wet sheet between absorbent towels, then peel and dry flat in a well-ventilated area.
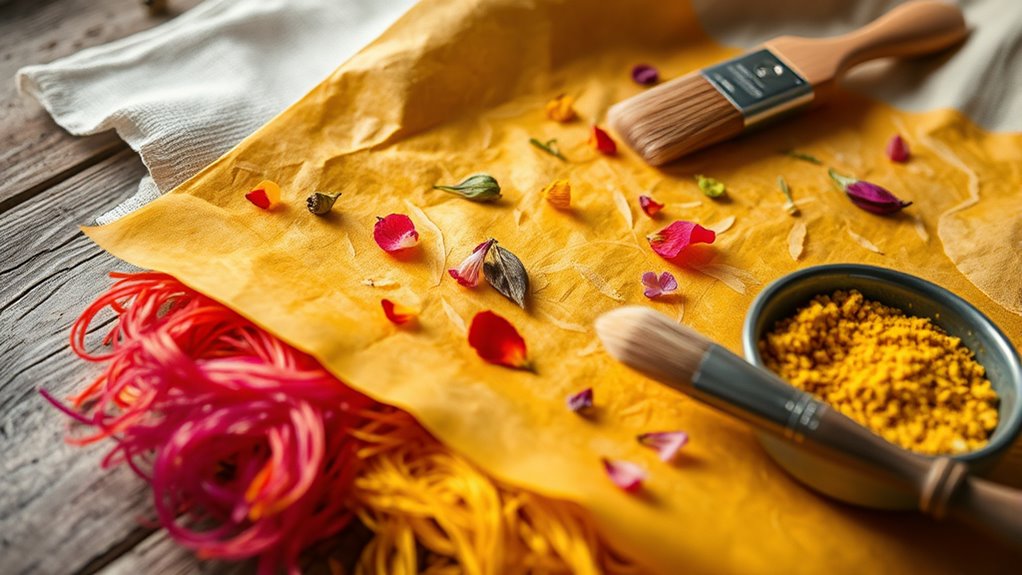
- Add personal touches like stamps, fibers, or colors to customize your handmade paper.

TICONN Anti-Fog Safety Glasses for Men and Women, ANSI Z87.1 Scratch Proof Eye Goggles with Adjustable Arms and UV Protection (Clear, 1PK)
- Durable Polycarbonate Construction: Impact-resistant, lightweight safety glasses
- Anti-Fog and UV Protection: Scratch-resistant, blocks 99.9% UV rays
- Adjustable and Comfortable Fit: Rubber frame, nose pads, adjustable temples
As an affiliate, we earn on qualifying purchases.
Gathering Materials and Preparing Your Workspace
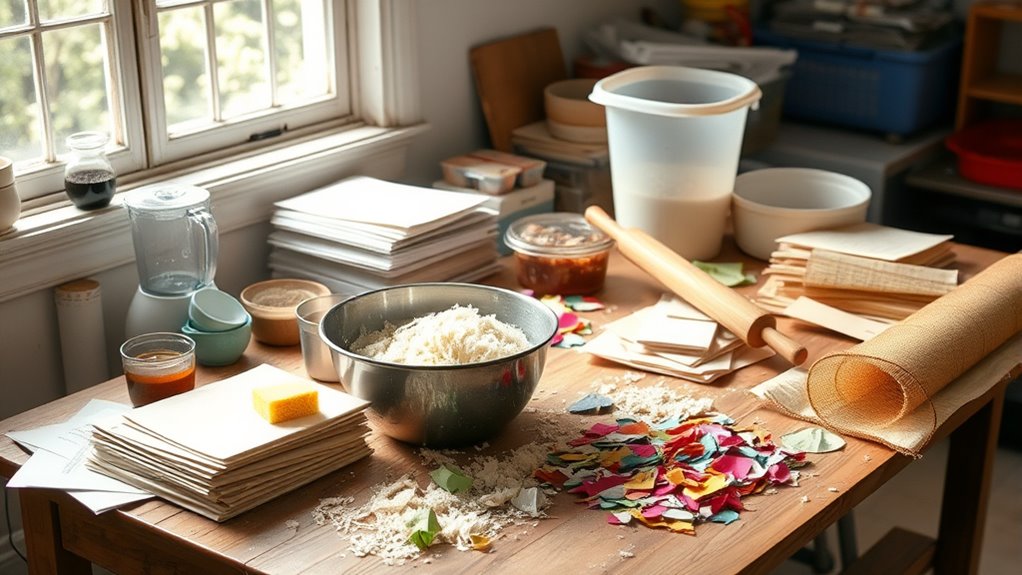
Before you begin making your own paper, it’s important to gather all the necessary materials and set up a clean, organized workspace. Start by collecting basic supplies like recycled paper or paper scraps, a blender, a large basin or tub, a flat surface for drying, and a sponge or cloth. You’ll also need a frame or mold, which can be homemade or purchased.
Clear a sturdy table or countertop to keep everything within reach. Make sure your workspace is free of clutter and well-ventilated. Lay out your materials in an orderly fashion so you can work efficiently.
Preparing your space ahead of time helps guarantee a smooth process and keeps your workspace safe and tidy.
Creating Your Paper Pulp
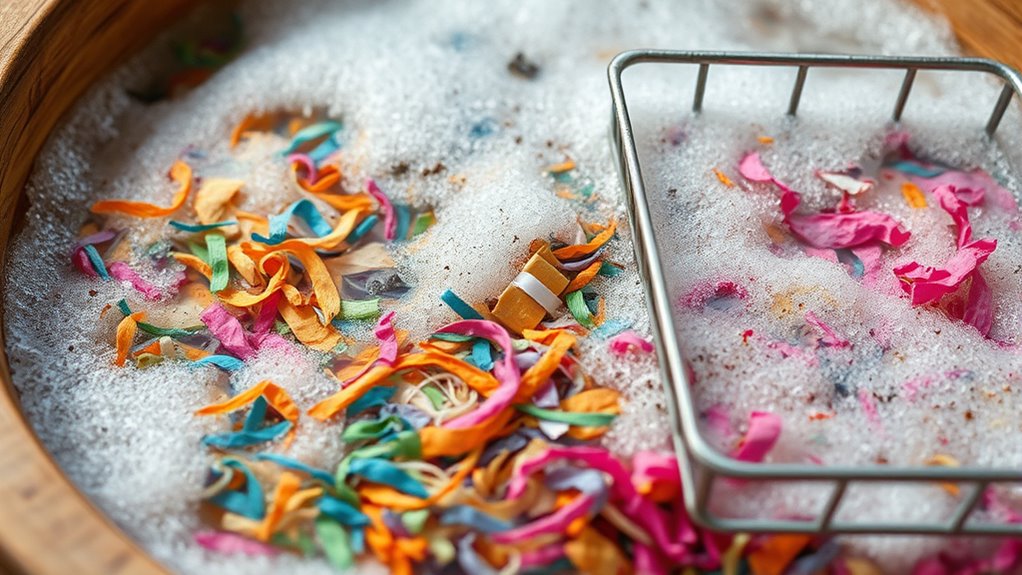
To create your paper pulp, start by tearing or cutting your recycled paper or scraps into small pieces. Place these pieces into a large bowl or basin filled with warm water. Let them soak for at least 30 minutes to soften. Engaging in this creative process can be a satisfying way to connect with the craft and appreciate the importance of craftsmanship. Once soaked, use your hands or a blender to break down the paper into a smooth, mushy pulp. If you’re using a blender, pulse gently to avoid over-processing; you want a uniform mixture without large chunks. The consistency should be similar to thick oatmeal. Add more water if needed to help blend the paper evenly. The headphone jacks used in devices can sometimes be a helpful tool for smoothing out the pulp or creating textured effects in your paper. This pulp forms the base of your handmade paper, so ensure it’s well blended for a smooth, workable mixture. Incorporating knowledge about color accuracy can help you experiment with different dyes or pigments to customize your paper’s appearance. Paying attention to material quality can also influence the durability and finish of your final product. For optimal results, consider storage methods to keep your pulp fresh if you’re not working immediately.
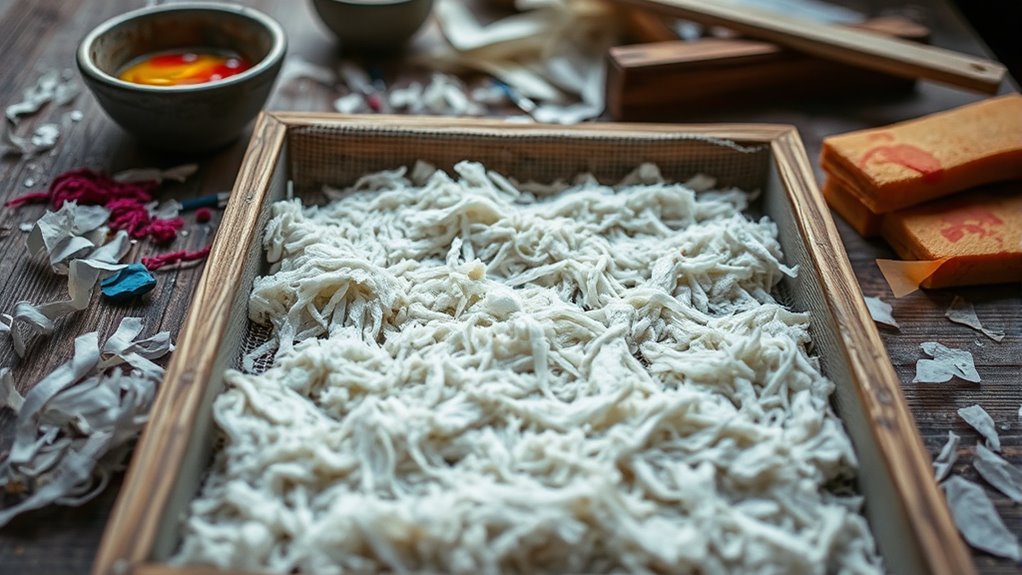
Shaping and Draining the Pulp
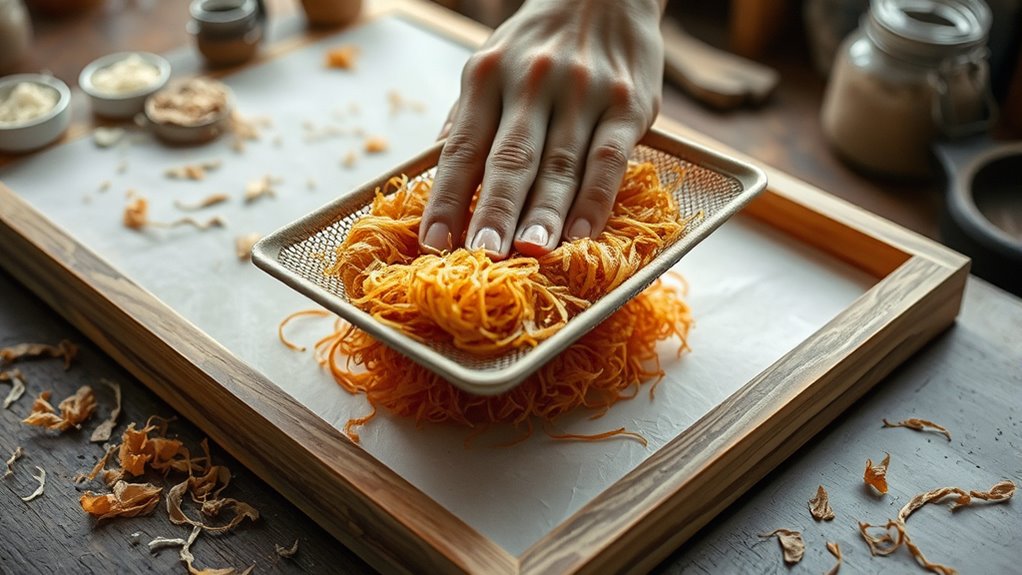
How can you shape your paper pulp and remove excess water effectively? First, lift your mold and screen from the water carefully, letting the water drain naturally. Hold the mold level to keep the pulp evenly spread. A steady hand and gentle handling prevent uneven distribution of the pulp. Gently shake or tap the mold to help excess water escape without disturbing the pulp’s shape. If needed, tilt the mold slightly to encourage more water to drain off. Once most of the water has drained, carefully lift the mold out, leaving a thin layer of pulp behind. Place the mold on a flat, absorbent surface or a towel to continue draining. Avoid pressing down too hard, as this can unevenly distribute the pulp. Proper shaping and draining set a solid foundation for your handmade paper. Incorporating professional equipment can enhance the efficiency of this process.
Pressing and Drying Your Handmade Paper
Once you’ve shaped and drained your paper pulp, the next step is to press and dry your handmade paper to guarantee it retains its form and becomes sturdy.
Place the damp sheet between two clean, absorbent towels or layers of blotting paper. Apply even pressure using a heavy book or a press to remove excess moisture. Leave it pressed for at least 15-30 minutes, or longer if the paper is thick.
After pressing, carefully peel the paper from the towels and lay it flat on a clean, dry surface or a drying rack. Allow it to air dry completely in a well-ventilated area, away from direct sunlight, which could cause warping or discoloration.
Proper pressing and drying ensure your handmade paper is firm, smooth, and ready for use.
Adding Personal Touches and Finishing Details
Are you ready to personalize your handmade paper and give it a unique touch? Now’s the time to add finishing details that make your creation truly yours. You can incorporate stamps, drawings, or handwritten messages for a special effect. Embossing or adding decorative fibers enhances texture and visual appeal. Think about using metallic inks or watercolor accents to create depth. To help you visualize, here’s a quick inspiration table:
| Personal Touch | Impact |
|---|---|
| Hand-drawn designs | Adds intimacy and uniqueness |
| Embossed patterns | Creates tactile interest |
| Metallic or colored inks | Enhances vibrancy and elegance |
| Decorative fibers or seeds | Adds texture and surprise |
These details turn simple paper into a heartfelt, customized masterpiece. Incorporating decorative fibers or seeds can also introduce natural elements that elevate the overall aesthetic and feel of your handmade paper. Additionally, experimenting with embossing techniques can further enhance the tactile quality of your finished piece. Exploring natural materials aligns with sustainable practices and can enrich the environmental appeal of your artwork. Incorporating vibrational energy into your creative process can also increase the positive resonance of your finished piece.
Tips for Experimenting With Different Textures and Colors
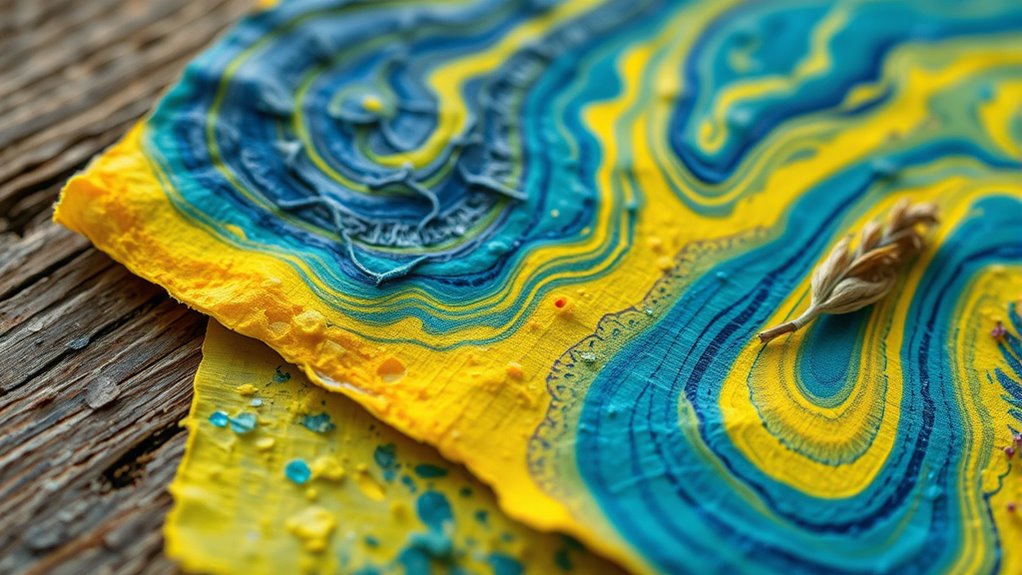
Experimenting with different textures and colors can transform your handmade paper into a vibrant, tactile masterpiece. To add texture, try incorporating natural elements like flower petals, leaves, or textured fabrics into your pulp before pouring. You can also layer different paper types or embed fibers for varied surfaces. Being aware of support hours can help you plan your crafting sessions around quieter times for a more relaxed experience. Incorporating textile techniques such as embedding fabrics or fibers can further enhance the tactile quality of your paper. Understanding IRA tax laws can also influence how you plan your investment strategies, especially when considering potential financial impacts during retirement. Additionally, experimenting with different dog names can inspire creative themes or personal touches in your craft projects. Exploring the influence of celestial bodies on personal traits can spark new ideas for themed designs or color choices. For colors, experiment with natural dyes, food coloring, or acrylic paints mixed into the pulp. Be mindful of the amount you add—start small and build up until you get the shade you want.
Combining contrasting textures and bold colors creates unique effects that showcase your creativity. Keep notes of what works best, and don’t be afraid to try unconventional materials.
The key is to explore and enjoy the process of transforming ordinary paper into extraordinary, personalized art.
Frequently Asked Questions
How Long Does It Take for Handmade Paper to Fully Dry?
You might wonder how long it takes for your handmade paper to fully dry. Typically, it can take anywhere from 24 to 48 hours, depending on factors like humidity, thickness, and air circulation.
To speed up the process, you can place your paper in a warm, dry area or use a fan.
Be patient, as rushing drying might cause wrinkles or tears, affecting your finished paper’s quality.
Can I Reuse Scrap Paper for Making New Pulp?
Yes, you can reuse scrap paper for making new pulp. Simply tear the scraps into smaller pieces, soak them in water for a few hours, and then blend or mash them into a pulp.
Reusing paper reduces waste and saves you money. Just make sure to remove any staples or non-paper materials before soaking.
This eco-friendly approach gives new life to your old papers and helps create unique handmade sheets.
What Are Eco-Friendly Alternatives to Traditional Paper-Making Materials?
Imagine you’re in a time machine, exploring eco-friendly alternatives to traditional paper-making materials. You can use recycled paper, plant fibers like hemp or jute, or even banana leaves, which are sustainable and biodegradable.
These options reduce waste and environmental impact. By choosing natural, renewable resources, you help protect the planet while creating beautiful handmade paper.
Your efforts make a difference, turning everyday materials into eco-conscious art.
How Do I Prevent Bubbles or Wrinkles in My Paper?
To prevent bubbles or wrinkles in your handmade paper, you should pour your pulp onto a flat, smooth surface and gently spread it out with a screen or mold.
Use a light touch to avoid trapping air. Keep the pulp level and tap the mold gently to release trapped air.
Press the paper evenly with a sponge or blotter, then carefully lift it to maintain a smooth, wrinkle-free surface.
Is It Possible to Make Waterproof Handmade Paper?
Think of waterproof handmade paper as a shield for your creativity. While standard paper isn’t naturally waterproof, you can add a waterproofing agent like acrylic sealer or mod podge after drying.
Apply multiple coats, allowing each to dry thoroughly.
Keep in mind, though, this makes the paper more durable but less flexible. It’s a practical solution for projects needing water resistance, turning your handmade paper into a resilient masterpiece.
Conclusion
Now that you’ve mastered making your own paper at home, you can truly craft personalized masterpieces, just like the artisans of yore. Don’t be afraid to experiment with textures, colors, and even embedded surprises—think of it as your own secret recipe, like an alchemist of the modern age. With patience and creativity, you’ll soon be creating beautiful, unique sheets that tell your story. So get started—your handmade paper adventure awaits!