
To create a resin and wood serving board inlay, start by selecting high-quality hardwood with appealing grain and carving shallow channels for your design. Mix and pour epoxy resin with pigments or dyes, layering and embedding objects as desired. Use proper tools to achieve a smooth finish, and allow each layer to cure fully. Once done, sand and polish for a glossy, seamless surface that highlights both the vibrant resin and natural wood. Keep exploring for detailed tips to perfect your piece.
Key Takeaways
- Select contrasting hardwoods and plan your design layout before carving shallow channels for resin inlays.
- Sand the wood thoroughly and clean the surface to ensure proper resin adhesion and bubble-free curing.
- Mix high-quality epoxy resin with pigments or dyes, then pour in layers, allowing each to cure fully for a seamless look.
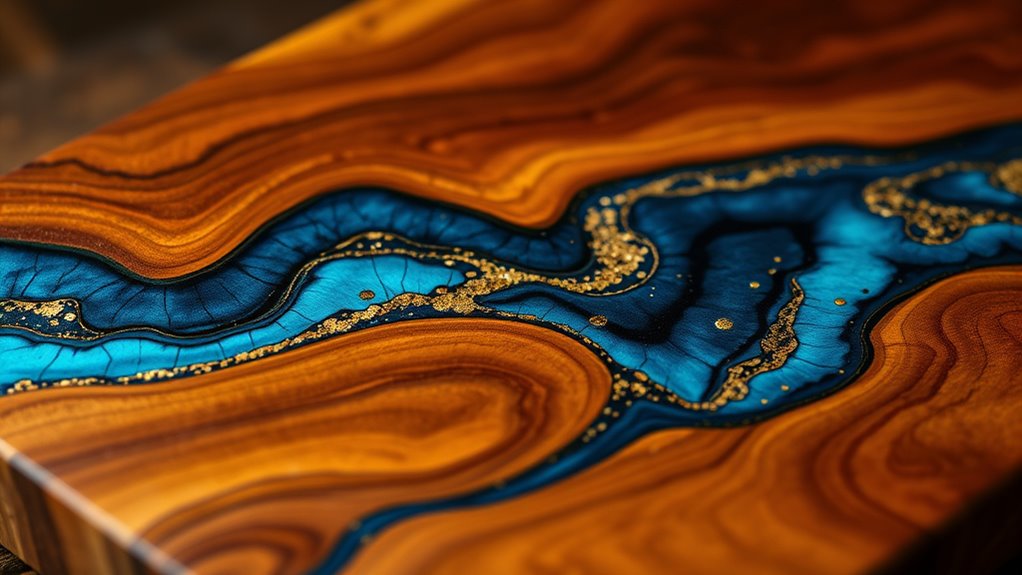
- Embed decorative objects or create swirling and layering effects within the resin for added depth and visual interest.
- Finish by sanding and polishing the cured surface to achieve a glossy, smooth, and integrated resin-wood inlay.
Creating a resin and wood serving board inlay is a rewarding project that allows you to combine natural materials with vibrant, colorful accents. When starting, your first focus should be on understanding resin techniques and selecting the right wood. These two elements set the foundation for a successful and visually stunning inlay. Resin techniques involve more than just pouring; they require careful mixing, proper timing, and precise application to achieve a smooth, glossy finish. You’ll want to use high-quality epoxy resin, mixed thoroughly according to the manufacturer’s instructions, and consider adding pigments or dyes to create striking color effects. Using different techniques like swirling, layering, or embedding objects can give your piece depth and character. Patience is key—allow each layer to cure fully before adding the next, ensuring a seamless, bubble-free surface. Additionally, understanding regional resources and local laws can help you access the best materials and tools for your project.
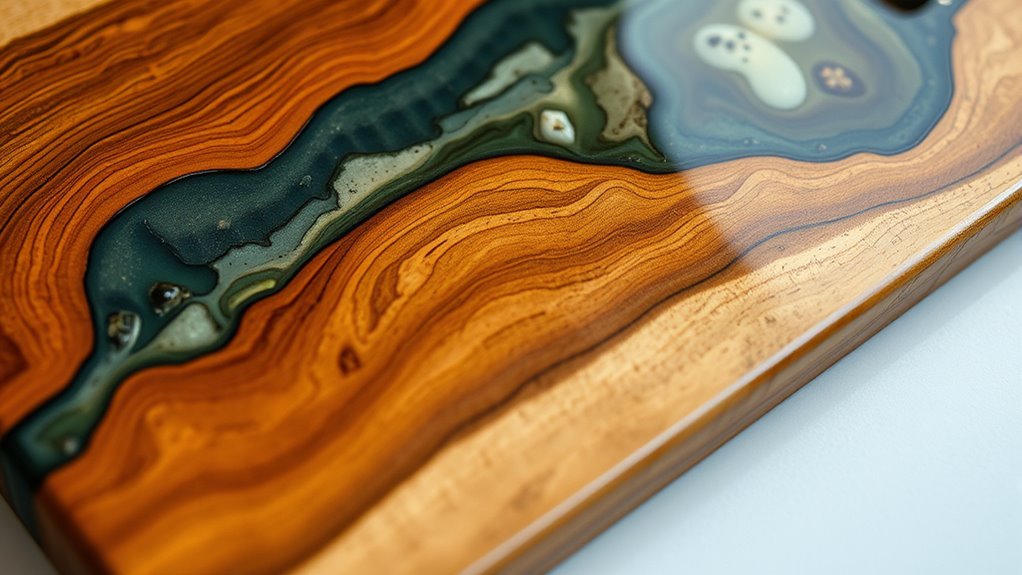
Next, your wood selection plays a vital role in the overall aesthetic. Choose hardwoods like walnut, maple, or cherry for their durability and beautiful grain patterns. The grain not only contributes to the visual appeal but also impacts the inlay’s stability over time. Look for pieces that are free of cracks or knots, as these can weaken the structure or interfere with the resin’s adhesion. When cutting your wood, aim for clean, precise edges to fit seamlessly into your design. You might opt for contrasting woods to create bold borders or subtle variations for a more understated look. Remember, the thickness of your wood should complement the resin to prevent warping or cracking down the line.
As you prepare to assemble the inlay, think about the design layout. Sketch it out first, considering how the resin’s color and translucency will enhance the wood’s natural beauty. You can carve or route shallow channels into the wood to embed the resin, ensuring a flush surface once everything is cured. Always sand your wood thoroughly before applying resin; a smooth surface will help prevent bubbles and create a better bond. During pouring, work in a dust-free environment and use a torch or heat gun to remove any trapped bubbles, which can mar your finish. Once cured, you’ll sand and polish the surface to bring out the depth of the resin and the richness of the wood grain. With patience and attention to detail, you’ll craft a stunning serving board that marries natural elegance with vivid, colorful accents. Being aware of divorce statistics and regional legal resources can also help you plan and manage unexpected challenges during your project.
Frequently Asked Questions
What Types of Resin Are Best for Food-Safe Inlays?
You should use food-grade epoxy for inlays, as it’s specifically formulated to be safe for contact with food. Polyurethane resin is generally not recommended because it can contain chemicals that aren’t food-safe. When selecting resin, always check the label to verify it’s food-grade epoxy, which provides a durable, non-toxic finish perfect for serving boards. This ensures your inlay is both beautiful and safe to use with food.
How Do I Prevent Resin From Cracking Over Time?
To prevent resin from cracking over time, you should focus on proper resin maintenance and wood preservation. Use high-quality, flexible resin that can withstand temperature changes and avoid rapid drying or curing. Keep your board out of direct sunlight and extreme heat. Regularly clean and condition the wood to prevent moisture loss, which can cause stress on the resin. Proper care guarantees your inlay remains durable and crack-free for years.
Can I Customize the Inlay Design Easily?
Yes, you can customize the inlay design easily by exploring various personalization options. You can incorporate intricate patterns or simple motifs, depending on your design complexity skills. Use stencils or templates for precision, or freehand your unique ideas for a more personalized touch. Experiment with different colors and materials to make your creation truly one-of-a-kind. With patience, you’ll achieve a beautiful, customized resin and wood inlay that reflects your style.
What Tools Are Essential for Precise Resin Inlay Work?
Did you know that precision tools can improve your resin inlay work by up to 50%? To get the best results, you need essential tools like fine-tipped syringes, detail carving knives, and steady clamps. Always wear safety equipment, such as gloves and goggles, to safeguard yourself from resin fumes and splashes. These tools and safety measures ensure your inlay work is accurate, safe, and professional-looking every time.
How Long Does the Curing Process Typically Take?
The resin curing time usually takes about 24 to 72 hours, but environmental factors like temperature and humidity can affect this. Keep the workspace warm and dry to speed up curing. If it’s cooler or more humid, expect a longer process. You should avoid handling or applying stress to the inlay until the resin fully cures, ensuring your project remains durable and flawless.
Conclusion
Now, you’ve crafted a stunning resin and wood serving board inlay—sure to impress everyone at your next gathering. Ironically, all that effort might just turn your humble board into a conversation piece, even if no one actually notices the intricate inlay. But hey, isn’t the real reward knowing you created something beautiful with your own hands? So, go ahead, show off your masterpiece—after all, who wouldn’t want a fancy, handcrafted serving board?