
If you’re excited to celebrate St. Patrick’s Day, these 8 DIY crafts are perfect for decorating and fun projects. You can create shamrock wreaths, colorful rainbow garlands, pot of gold centerpieces, and lanterns using simple supplies like paper, glitter, and Mason jars. Plus, you can craft leprechaun hat pencil holders and sparkly shamrock magnets. All these ideas are easy to make and sure to bring festive cheer; learn more by exploring these creative projects.
Key Takeaways
- The article provides step-by-step instructions for creating shamrock decor, Mason jar lanterns, rainbows, and leprechaun hats for St. Patrick’s Day.
- It includes materials needed, decorating ideas, and tips for making DIY crafts like glitter shamrocks and rainbow garlands.
- Tips for enhancing crafts with glitter, metallic accents, and themed embellishments are highlighted to boost festive appeal.
- The guide suggests display arrangements, such as centerpiece setups and lantern placements, to create a cheerful holiday ambiance.
- Overall, it offers a variety of easy, creative projects suitable for all skill levels to celebrate St. Patrick’s Day.
Shamrock Door Wreath
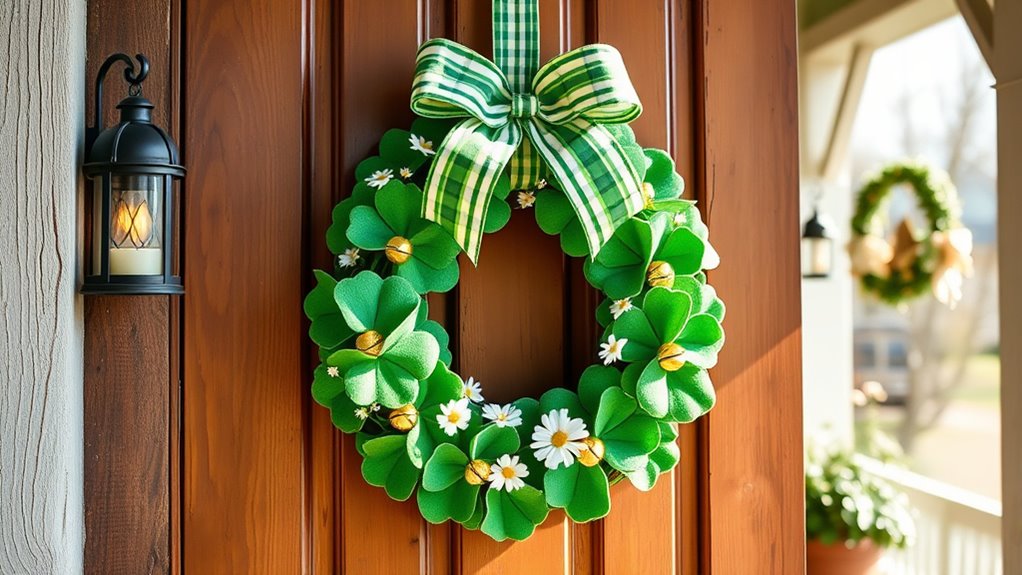
Have you ever wanted to add a festive touch to your front door easily and affordably? Creating a shamrock door wreath is a perfect way to do just that. Incorporate timeless classics like traditional shamrocks to give your wreath a charming, authentic feel. Start by gathering artificial or paper shamrocks in various shades of green. Arrange them in a circular pattern on a plain wreath base, overlapping slightly for a full look. Use hot glue or floral wire to secure each shamrock firmly in place. For an extra pop of color, add small gold accents or ribbons. To ensure your wreath maintains its shape, consider storage tips to prolong its lifespan. Proper storage in a cool, dark place extends the freshness of your wreath and keeps it looking vibrant year after year. Hang your wreath with a simple hook or ribbon, and you’re all set to welcome guests with a cheerful, festive vibe. This DIY project is quick, inexpensive, and customizable to suit your style.
Gold Coin Mason Jar Lanterns
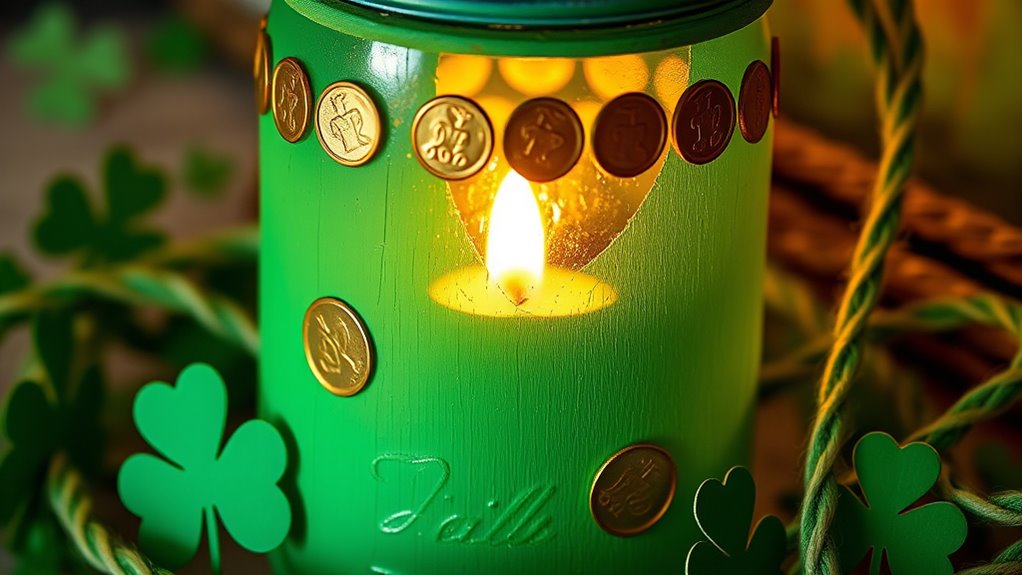
Transform plain mason jars into eye-catching St. Patrick’s Day lanterns by filling them with gold coins or shiny metallic accents. You can glue faux gold coins to the exterior of the jar for a textured, festive look, or create a shimmering effect by lining the inside with metallic paper or foil.
Add a tea light or LED candle inside to cast a warm glow that highlights the gold accents. For extra charm, wrap a green ribbon or shamrock-themed twine around the jar’s neck. These lanterns are perfect for lining walkways or creating a cozy centerpiece.
Keep safety in mind by using flameless candles, and enjoy the festive ambiance they bring to your celebration. This simple craft adds sparkle and fun to your St. Patrick’s Day decor.
Rainbow Paper Garland
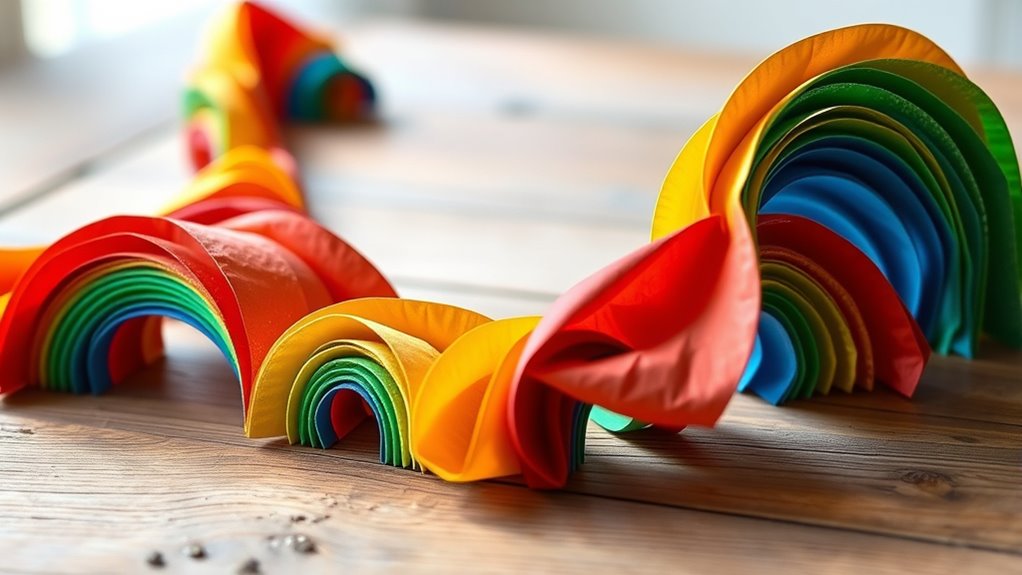
Creating a vibrant rainbow paper garland is a fun way to add color and cheer to your St. Patrick’s Day decorations. Start by choosing bright, rainbow-colored paper or cardstock. Cut out equal-sized circles or rectangles, depending on your preferred shape. Use a hole punch or a craft knife to make small holes at the top of each piece. Thread a sturdy string or twine through the holes, spacing the pieces evenly. For extra flair, alternate colors or add glitter accents. Incorporate color coordination techniques to make your garland even more eye-catching. Consider experimenting with different color palettes to match your decor theme. Using the right air quality can help keep your craft space fresh and comfortable while you work. Hang the garland across a mantle, window frame, or along your staircase to instantly brighten your space. This simple project is perfect for all ages and can be customized with different shapes or added embellishments. Paying attention to personality traits of your workspace environment can enhance creativity and focus during your craft session. Enjoy creating a lively, colorful decoration that captures the spirit of the holiday.
Leprechaun Hat Pencil Holders

Building on the colorful cheer of your rainbow paper garland, making leprechaun hat pencil holders adds a fun and functional touch to your St. Patrick’s Day decor. To start, gather small cardboard boxes or circles cut from cardstock for the hat brim and a taller cylinder for the crown. Cover the pieces with vibrant green paper and secure with glue. Attach the brim to the bottom of the crown to form the hat shape. Decorate the hat with gold paper bands or shamrock cutouts for extra flair. Once finished, you can fill the pencil holder with pens, pencils, or small craft supplies. These adorable leprechaun hats not only keep your workspace tidy but also add a festive charm that celebrates the holiday’s spirit. Incorporating multi-functional furniture can also help maximize your storage space and keep your craft area organized. Developing a growth mindset about your crafting skills can inspire you to try new designs and techniques, making your decorations even more unique and personalized. Embracing creative confidence allows you to experiment freely and elevate your DIY projects to new heights. Additionally, choosing a location for your craft projects that aligns with store hours for nearby stores can ensure you have access to all necessary supplies without inconvenience. Remember, experimenting with different crafting techniques can lead to even more impressive and personalized results.
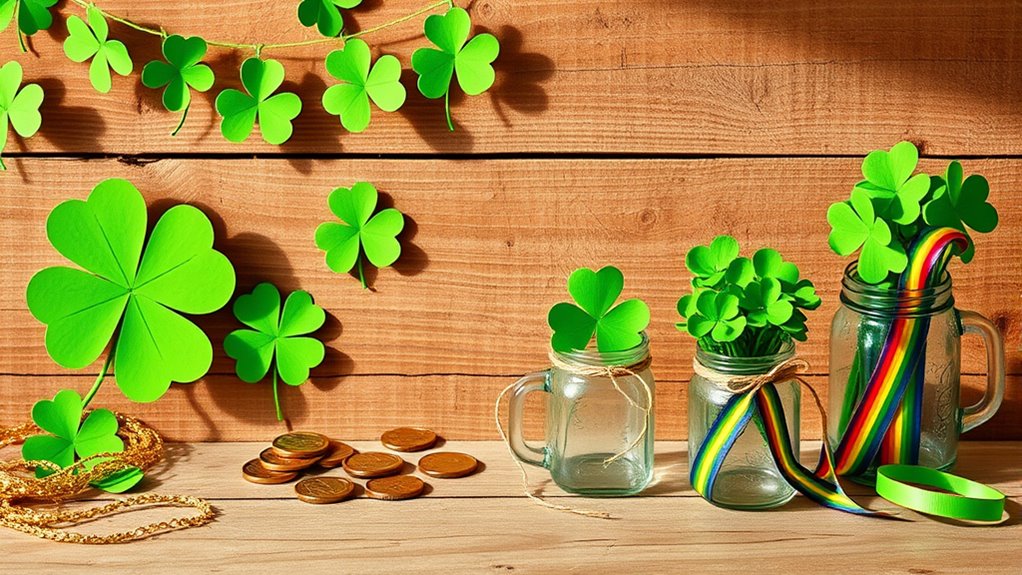
Pot of Gold Centerpiece

Start by gathering your gold-colored materials to create a shimmering pot of gold. Next, assemble mini rainbows to add vibrant accents to your centerpiece. Incorporate colorful craft supplies to enhance the visual appeal and make your display more festive. Consider adding elements inspired by AI-enhanced design techniques to give your craft a modern touch. Additionally, using proper arrangement techniques can help ensure your display is balanced and visually appealing. Exploring merchant services such as secure payment options can also be useful if you plan to sell your crafts at a market or online. To further elevate your craft, explore unique and wicked planters for creative decorative elements. Finally, arrange everything for display, making sure it’s eye-catching and festive.
Gather Gold Materials
To craft a charming pot of gold centerpiece, gather all the necessary gold-colored materials. You’ll need small gold confetti or glitter to mimic shimmering coins, along with gold foam sheets or craft paper to create larger coins. Grab a small pot or container that resembles a traditional gold pot, preferably painted gold or metallic. Keep a hot glue gun and glue sticks handy for assembly.
You might also want gold stickers or metallic tape to add extra shine. Don’t forget to pick up some decorative elements like shiny gold beads, coins, or gold spray paint if you need to upgrade plain items. Having all these materials ready before you start makes the crafting process smoother and more enjoyable. To ensure your craft is sturdy and well-made, consider properly securing the decorations to prevent them from falling off during display.
Assemble Mini Rainbows
Once you have all your materials ready, it’s time to assemble the mini rainbows that will sit atop your pot of gold. Start by attaching the colored paper strips to a craft wire or pipe cleaner, creating a gentle arch for each rainbow. Use the table below to understand the color order:
| Rainbow Color | Placement |
|---|---|
| Red | Outer layer |
| Orange | Next inward |
| Yellow | Middle layer |
| Green | Inner layer |
Repeat this process for each rainbow, ensuring the colors follow the sequence. Secure the ends with glue or tape to maintain the arch. Once finished, gently bend the wire to give a natural rainbow curve, ready to be positioned on your centerpiece. Incorporate DIY crafts to add a personalized touch to your decoration. To ensure your headphones work perfectly with your devices, double-check the compatibility and connection method before final placement. Understanding crafting techniques can help improve the overall appearance of your rainbows.
Arrange for Display
After assembling your mini rainbows, arrange your pot of gold as the centerpiece by placing it in the middle of your display area. This draws attention and sets the tone for your entire setup. To enhance your display, consider adding decorative items like shamrocks, coins, or faux grass to create a more festive look. Make sure the pot is at a height that’s easily visible but doesn’t overshadow other decorations. You might want to add some glitter or confetti around the base for extra sparkle. Keep the arrangement balanced so each element complements the pot of gold. Additionally, understanding the wealth associated with holiday-themed displays can inspire more elaborate setups. Step back and view your display from different angles to confirm it’s eye-catching and festive. This focal point will create an inviting, cheerful atmosphere perfect for celebrating St. Patrick’s Day.
St. Patrick’s Day Mason Jar Luminaries
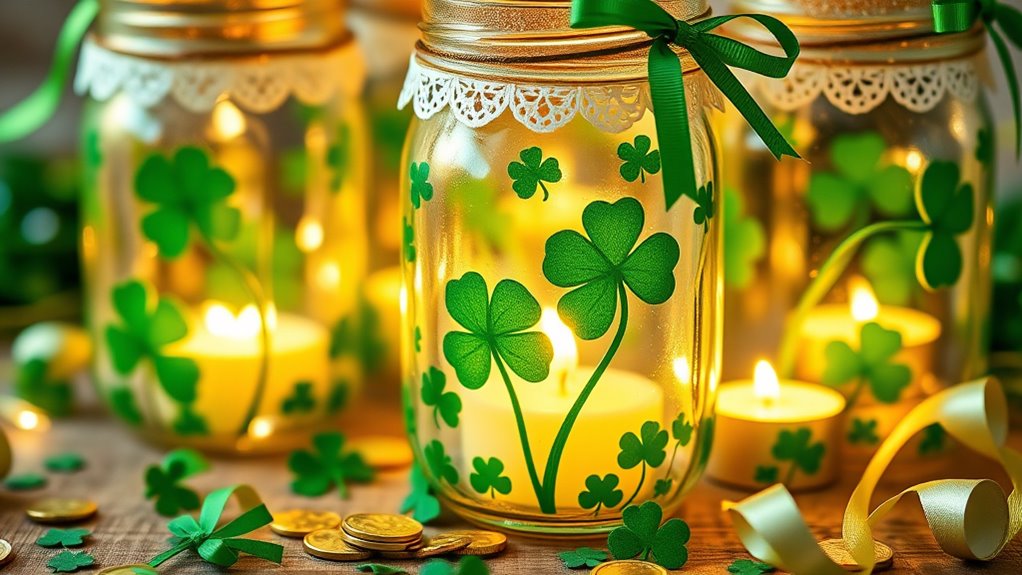
Creating St. Patrick’s Day Mason Jar Luminaries is a fun way to add a festive glow to your celebration. Start by cleaning your jars thoroughly.
Fill each jar with a few inches of sand or small pebbles to stabilize a tealight candle or LED light inside. Decorate the outside with shamrocks, rainbows, or gold coins using paint, markers, or adhesive decals.
You can also wrap the jars with green twine or ribbon for extra flair. Once decorated, place your luminaries along walkways, table centerpieces, or windowsills to cast a warm, inviting light.
These luminaries not only brighten your space but also serve as charming, handmade decorations that celebrate the spirit of St. Patrick’s Day.
Lucky Clover Mason Jar Suncatchers
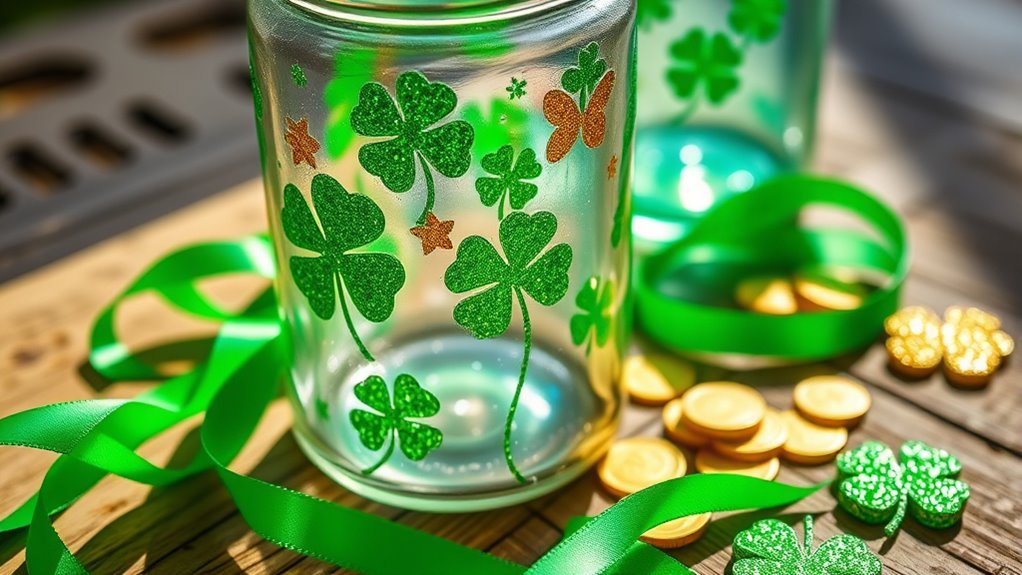
Start by gathering all the materials and supplies you’ll need, like mason jars, shamrock cutouts, and colorful paints. Once you have everything, you can assemble your suncatcher and get creative with your decorations.
This simple process lets you customize your lucky clover design to make a charming St. Patrick’s Day decoration.
Gather Materials & Supplies
To make your Lucky Clover Mason Jar Suncatchers, gather all the necessary materials and supplies first. You’ll need clear plastic or glass jars, preferably with lids.
Grab green tissue paper or contact paper in various shades for the clover leaves. Collect scissors, glue or Mod Podge, and a paintbrush for attaching the tissue paper.
You’ll also need a pencil for tracing, a ‘lucky’ cut-out or stencil, and decorative elements like glitter or small shamrocks if desired. Additionally, have some string or ribbon ready for hanging your suncatchers.
Make certain your workspace is clean and well-lit. Having everything prepared beforehand ensures a smooth crafting process and helps you stay organized as you create your festive St. Patrick’s Day decor.
Assemble and Decorate
Once you’ve gathered all your materials, it’s time to assemble and decorate your Lucky Clover Mason Jar Suncatchers. Begin by attaching your paper shamrocks or clover cutouts inside the jar using glue or double-sided tape, ensuring they’re evenly spaced.
Next, follow these steps:
- Add decorative elements: Glue on glitter, faux gold coins, or small shamrock charms to enhance the festive look.
- Insert your LED string lights: Carefully place the lights inside the jar, making sure the battery pack remains accessible.
- Finish with a ribbon or twine: Tie around the jar’s neck for a polished touch and easy hanging.
Now your suncatcher is ready to catch sunlight and spread St. Patrick’s Day cheer!
Green Glitter Shamrock Magnets
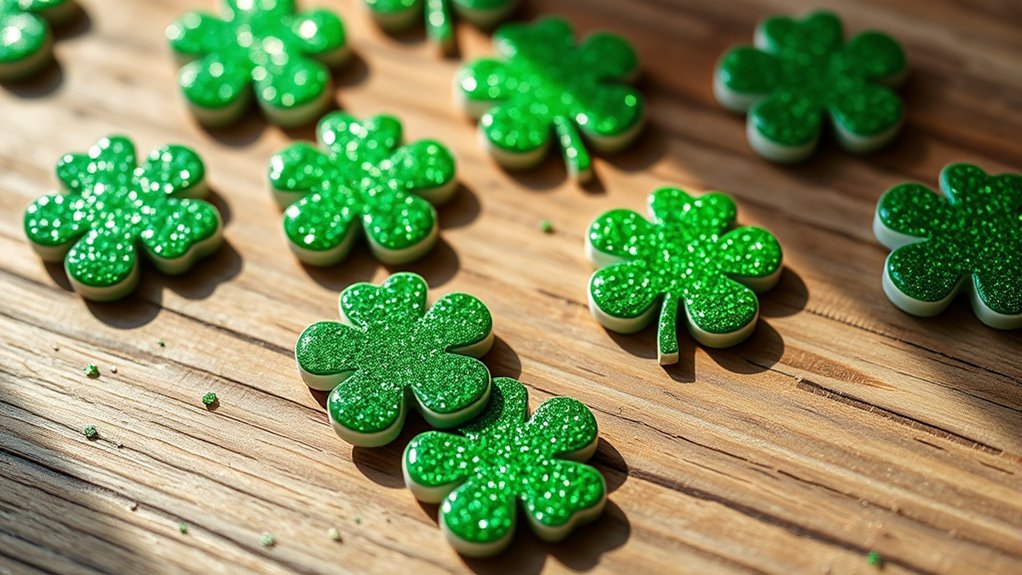
Looking for a fun and festive way to celebrate St. Patrick’s Day? Create Green Glitter Shamrock Magnets to add sparkle to your fridge or whiteboard. First, cut shamrock shapes from sturdy cardboard or thick paper. Apply a layer of glue, then sprinkle vibrant green glitter evenly over the surface. Shake off excess glitter and let it dry completely. Attach small magnets to the back using hot glue for a secure hold. To elevate your design, use metallic markers to add details or outline the shamrocks. Here’s a quick overview:
| Step | Action |
|---|---|
| 1 | Cut shamrock shapes |
| 2 | Apply glue and glitter |
| 3 | Attach magnets and decorate |
Enjoy your sparkling, personalized shamrock magnets!
Frequently Asked Questions
What Are Eco-Friendly Materials for DIY St. Patrick’S Day Crafts?
Thinking about eco-friendly materials for your DIY St. Patrick’s Day crafts? You can use recycled paper or cardstock for decorations, which reduces waste.
Opt for natural fibers like jute or hemp for ribbons and accents, and choose biodegradable glues or non-toxic paints to keep your projects eco-conscious.
Using old fabric scraps or upcycled materials also adds a creative, sustainable touch to your crafts, making your celebration greener and more meaningful.
Can These Crafts Be Adapted for Outdoor Decoration?
Imagine you’re in the 18th century, pondering how to make your decorations endure. For outdoor use, you can adapt your crafts by choosing weatherproof eco-friendly materials like sealed wood, biodegradable fabrics, or painted stones.
Make sure to seal or treat these items to withstand rain and sun. By doing so, your decorations remain vibrant and sustainable, letting you celebrate St. Patrick’s Day beautifully while respecting the environment.
How Long Do Homemade Decorations Typically Last?
Homemade decorations usually last anywhere from a few days to several weeks, depending on the materials used and exposure to weather.
If you choose durable supplies like weather-resistant paint or waterproof materials, your decorations can stay looking great longer.
Keep them sheltered from rain and direct sunlight to extend their lifespan.
Regular touch-ups and careful handling also help maintain your decorations’ appearance throughout the celebration.
Are There Any Safety Tips for Using Hot Glue or Sharp Tools?
Did you know that using hot glue and sharp tools can be surprisingly safe if you stay cautious? Always work in a well-ventilated area, keep your fingers away from hot glue, and use a glue gun with a safety guard.
When handling sharp tools, cut away from your body and use a cutting mat. Wearing protective gloves and eye protection adds extra safety, ensuring your craft time stays fun and injury-free.
How Can I Customize Crafts for Different Age Groups?
To customize crafts for different age groups, consider their skill levels and interests. For young children, use larger, safer materials and simple designs, while older kids can handle finer details and more challenging techniques. You can also incorporate themes they love or adapt the complexity of the project. By tailoring the craft activities, you guarantee everyone enjoys creating while staying safe and engaged.
Conclusion
Now that you have these fun and easy DIY St. Patrick’s Day crafts, you’re all set to bring the luck of the Irish into your home. Each project is like a pot of gold at the end of your creative rainbow, waiting to be discovered. So, grab your supplies, get inspired, and let your imagination shine brighter than a four-leaf clover. After all, the magic of this holiday is just a craft away—are you ready to make your own luck?