
To create easy rangoli art with colored salt and templates, start by choosing simple traditional motifs like flowers or geometric patterns. Use pre-made templates to trace precise outlines, then carefully fill in sections with vibrant colored salt. Experiment with layerings and blending colors for depth, and add metallic salts for shimmer if desired. With patience and practice, you can craft beautiful designs; continue exploring to discover more tips and techniques for stunning rangoli art.
Key Takeaways
- Use pre-designed templates to create precise outlines and symmetry in your rangoli.
- Select contrasting or harmonious colored salts to enhance visual appeal and depth.
- Fill in template sections with colored salt, experimenting with layering and shading for effects.
- Incorporate traditional motifs like peacocks or lotus flowers for meaningful and authentic designs.
- Work patiently with steady hands to maintain sharp edges and achieve a neat, colorful rangoli.
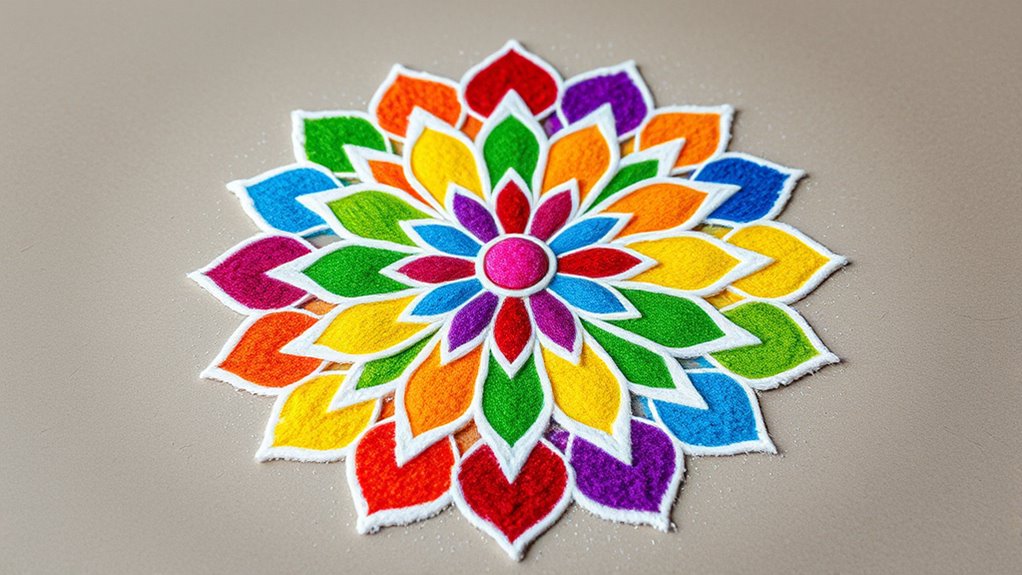
Have you ever wondered how to create vibrant, eye-catching designs on the ground? Rangoli art with colored salt offers a simple yet stunning way to do just that. When you’re starting out, one of the key aspects to contemplate is selecting the right color combinations. Bright, contrasting shades like red and green or yellow and purple immediately draw the eye, but you can also experiment with harmonious palettes such as shades of blue and pink for a softer look. The goal is to choose colors that complement each other, making your design pop without becoming chaotic. Using colored salt allows you to layer and blend these hues easily, adding depth and vibrancy to your patterns.
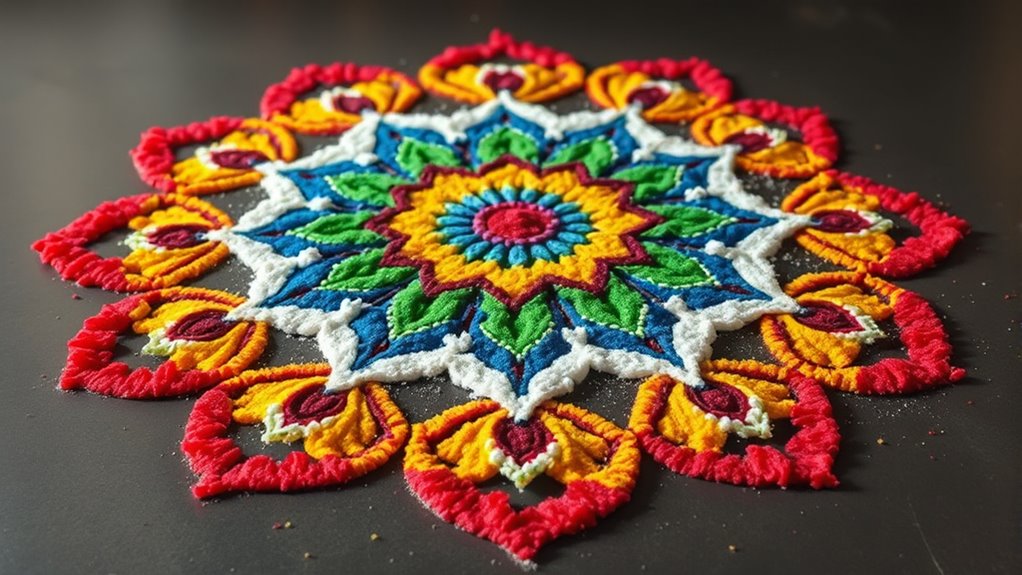
Traditional motifs form the backbone of classic rangoli designs, and incorporating these into your work can give it an authentic touch. Common motifs like peacocks, lotus flowers, or geometric patterns are recognizable and culturally rich, adding meaning and tradition to your art. When you combine these motifs with the right color combinations, your rangoli becomes more than just decorative—it becomes a storytelling piece rooted in heritage. To make it easier, you can use templates that feature these traditional shapes. Templates act as guides, helping you carve out precise outlines that serve as a foundation for your salt design. They’re especially helpful if you’re new to rangoli or working with intricate patterns.
Using templates doesn’t mean your rangoli lacks creativity; it simply offers a clean framework to build upon. Once you’ve traced the outline, you can fill in the sections with colored salt, paying attention to the traditional motifs’ details. For example, if you’re creating a lotus, you can focus on shading the petals with different shades of pink or yellow, enhancing the natural beauty of the motif. When applying salt, work carefully to keep the edges sharp and colors distinct, which enhances the overall vibrancy. Additionally, understanding popular design elements can help you incorporate more meaningful and visually appealing motifs into your designs.
The beauty of using colored salt is its versatility. You can create gradients by mixing salts of different shades or add a touch of shimmer with metallic salts for special occasions. Remember, the secret lies in balancing your color combinations and respecting traditional motifs, which can make even a simple design look sophisticated and meaningful. With a steady hand and some patience, you’ll find that creating stunning rangoli art is not only easy but also immensely rewarding. So gather your colors, find your templates, and let your creativity flow onto the ground in a beautiful celebration of tradition and artistry.
Frequently Asked Questions
Can Colored Salt Be Reused After Creating Rangoli?
Yes, you can reuse colored salt after creating rangoli. To do so, carefully gather the salt, remove any debris, and store it in an airtight container. Reusing colored salt is eco-friendly and economical. For best results, follow salt cleaning tips like drying it thoroughly and separating any clumped areas before reuse. Keep in mind that the colors may fade over time, so reusing might require re-coloring for vibrant designs.
What Are the Best Templates for Beginners?
Wondering which design templates will set you up for success? Start with simple, geometric patterns and floral motifs—they’re perfect for beginners. Look for templates that clearly outline shapes and offer step-by-step guidance, making your creation easier and more fun. These beginner patterns help you build confidence while exploring different styles. As you master these basics, you’ll unseal endless possibilities to create beautiful rangoli designs with ease and flair.
How Long Does a Salt Rangoli Last Outdoors?
A salt rangoli outdoors typically lasts for a few hours to a day, depending on weather conditions. To improve outdoor durability, you should consider salt preservation techniques, like adding a fixative or sealing the edges. Keep in mind that rain, wind, and humidity reduce its lifespan, so it’s best to display salt rangolis during dry weather for maximum longevity. Proper preparation helps your colorful salt art stay vibrant longer.
Are There Eco-Friendly Colored Salts Available?
Yes, eco-friendly salts are available, making your rangoli both beautiful and earth-conscious. Think of them as a rainbow painted by nature itself. These salts use biodegradable dyes that break down easily, reducing environmental harm. You can find them in stores or online, allowing you to create stunning designs without worry. By choosing eco-friendly salts, you’re taking a colorful step toward protecting our planet while celebrating traditions.
Can Children Safely Participate in Salt Rangoli Art?
Yes, children can safely participate in salt rangoli art when you supervise them closely and make certain you use non-toxic materials. Keep an eye on their activity to prevent ingestion or messes, and choose eco-friendly, non-toxic colored salts for added safety. By supervising and selecting safe materials, you create a fun, creative experience that’s both enjoyable and safe for kids to explore their artistic talents.
Conclusion
Now that you’ve learned how to create stunning rangoli art with colored salt and templates, you’re all set to impress your friends and family. Just remember, practice makes perfect, so don’t be afraid to try different designs and color combinations. With patience and a little creativity, you’ll soon be turning heads with your beautiful, vibrant Rangoli. So go ahead, give it a shot—you never know, you might just hit the nail on the head!