
To zero your CNC like a pro, start by gathering precise measurement tools like calipers and touch plates. Confirm your workpiece is securely clamped and clean. Carefully set your X and Y zero points at the desired corners or centers, double-checking with alignment tools. For Z-zero, use the touch-off method, lowering the tool until it lightly contacts the surface. Proper setup prevents ruined stock and keeps your machine safe. Keep going to discover more tips for perfect zeroing.
Key Takeaways
- Securely clamp the workpiece and verify machine accuracy before zeroing to prevent misalignments.
- Use precise measurement tools like dial indicators or calipers to confirm zero points for X, Y, and Z axes.
- Always set zero points at consistent, well-defined locations, such as corners or edges, to ensure repeatability.
- Perform touch-off procedures carefully, lowering tools slowly until they lightly contact the material for accurate Z zero.
- Recalibrate and double-check offsets regularly to maintain accuracy and prevent stock damage during machining.
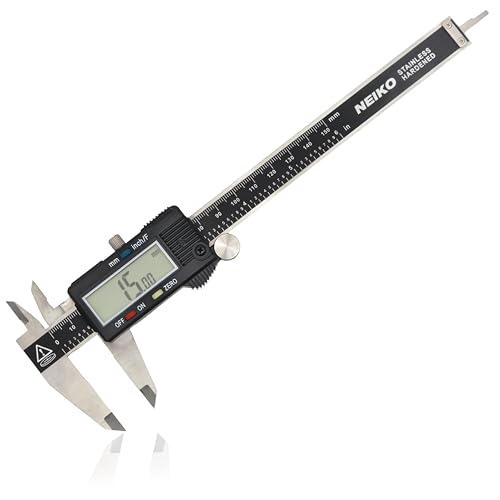
NEIKO 01407A Electronic Digital Caliper Measuring Tool, 0 – 6 Inches Stainless Steel Construction with Large LCD Screen Quick Change Button for Inch Fraction Millimeter Conversions, Digital Caliper Measuring Tool
MULTI-FUNCTION: This measuring tool has a quick-change button that changes between three measuring modes such as inch, fraction,…
As an affiliate, we earn on qualifying purchases.
As an affiliate, we earn on qualifying purchases.
Why Proper Zeroing Is Key to Safe, Accurate CNC Cuts

Proper zeroing is essential because it guarantees your CNC machine cuts precisely where you want it to. When you zero your machine correctly, you ensure that your workpiece stays in place using effective workholding techniques, minimizing movement during cutting. Accurate zeroing also depends on proper tool calibration, so your tools are aligned and set to the correct dimensions. If these steps are off, even slightly, your cuts can be inaccurate or ruin your stock entirely. Zeroing acts as the foundation for safe, precise operations, preventing mistakes that could damage your material or tools. By paying attention to workholding techniques and ensuring your tools are calibrated properly, you create a reliable setup that produces consistent, high-quality results every time you run your CNC. Additionally, understanding the role of European cloud servers in data management can enhance your workflow by providing secure and reliable data storage for your CNC projects. Reliable data management plays a crucial role in maintaining accurate project files and backup copies, reducing the risk of data loss during operation. Proper machine setup also involves understanding how to interpret and use machine feedback and sensors to verify your zero points and avoid errors. Recognizing the importance of digital safety practices can further prevent costly mistakes and protect your equipment. Moreover, implementing proper calibration techniques ensures your machine functions reliably and consistently, which is vital for precision machining.

FoxAlien CNC Z-axis Router Tool Setting Probe Z-probe 2-pin Touch Plate for CNC Engraving Machines
Z-probe for CNC machines, compatible with FoxAlien Masuter Pro, Masuter 3, Masuter 4040 and 3018-SE.
As an affiliate, we earn on qualifying purchases.
As an affiliate, we earn on qualifying purchases.
Gather the Tools You Need for Precise CNC Zeroing
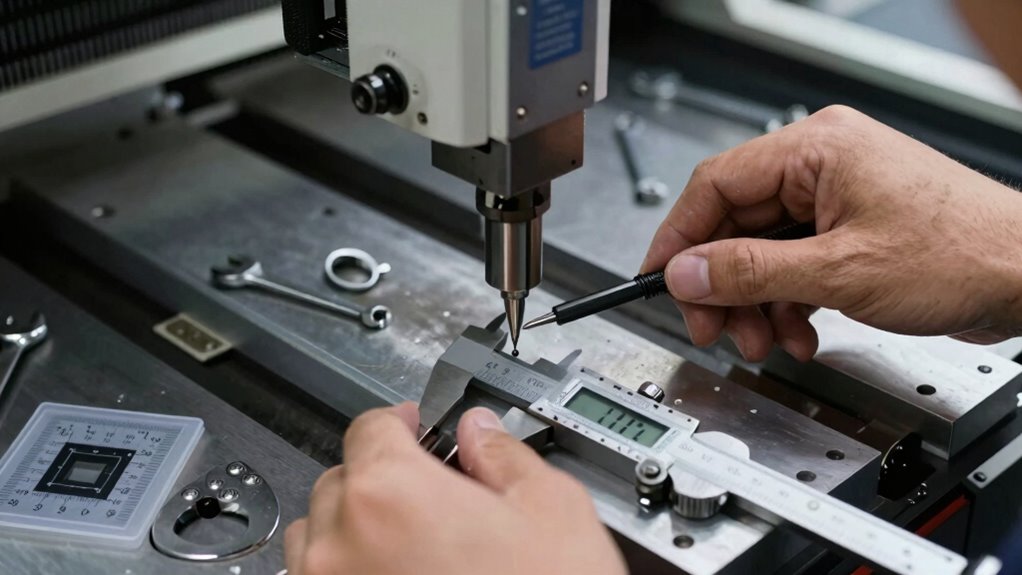
To zero your CNC accurately, you need to gather the right tools beforehand. First, collect reliable calibration tools, like digital calipers or dial indicators, to measure precise distances. Second, have alignment gauges ready—these help you verify your machine’s position and ensure consistent zero points. Third, gather a sturdy, flat surface or a touch plate that’ll serve as your reference point during setup. Using calibration tools minimizes errors and confirms your zero position. Alignment gauges allow you to double-check your machine’s alignment, preventing missteps. Having these tools on hand simplifies the zeroing process and boosts accuracy. Additionally, understanding the importance of proper calibration ensures your CNC produces precise, safe cuts every time. Proper machine calibration is essential for achieving consistent results and avoiding costly mistakes. Ensuring your water quality is optimal can also help maintain machine longevity and precision. Employing accurate measurement tools enhances your ability to set precise zero points and improves overall project quality. Incorporating essential tools for calibration into your setup routine can further streamline the process and increase reliability.

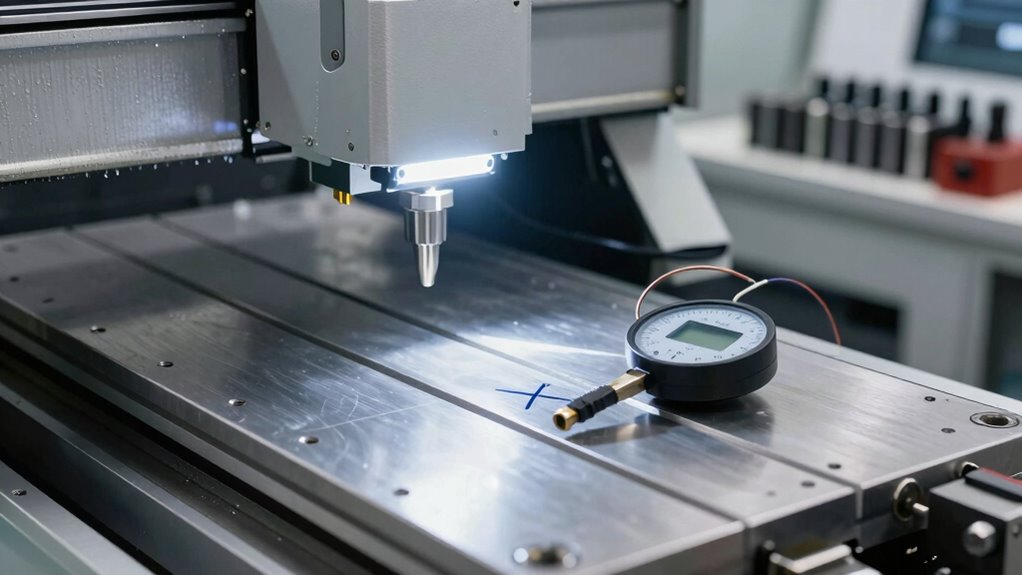
WEN 10703 1 in. Precision Dial Indicator with .001 in. Resolution
Meets ASME and ANSI standards
As an affiliate, we earn on qualifying purchases.
As an affiliate, we earn on qualifying purchases.
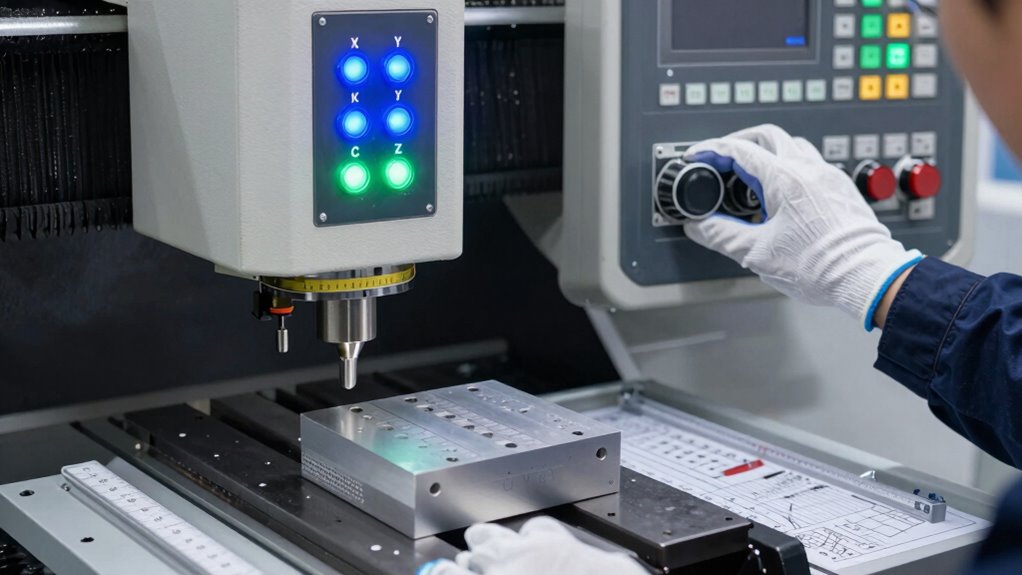
How to Set Your XY Zero Point Step-by-Step
Setting your XY zero point accurately is essential for precise CNC machining, and the process starts with preparing your machine. Begin by ensuring your workpiece is firmly secured and free of debris. Use calibration techniques to verify your machine’s accuracy, like running test cuts or using a dial indicator. Next, position your tool over the exact corner or point where you want your XY zero to be. Use your CNC software’s alignment features to fine-tune the position, making sure your toolpath matches your intended design. Double-check your machine’s readouts or display coordinates to confirm the zero point. Once confirmed, set your zero in the software, ensuring that all movements originate from this precise reference. Proper calibration and software alignment are key to consistent, accurate results.

UTOOL 6 Pack T-Track Hold Down Clamps Kit with 3-1/2" T-Bolts, 6-1/3" L x 1-1/5" Width, Heavy Duty Anodized Clamps for Woodworking, Starlight Blue
Set includes 6pcs 6-1/3" x 1-1/5" hold down clamps for T-tracks; 6pcs M8 × 1.25mm thread 3-1/2" long…
As an affiliate, we earn on qualifying purchases.
As an affiliate, we earn on qualifying purchases.
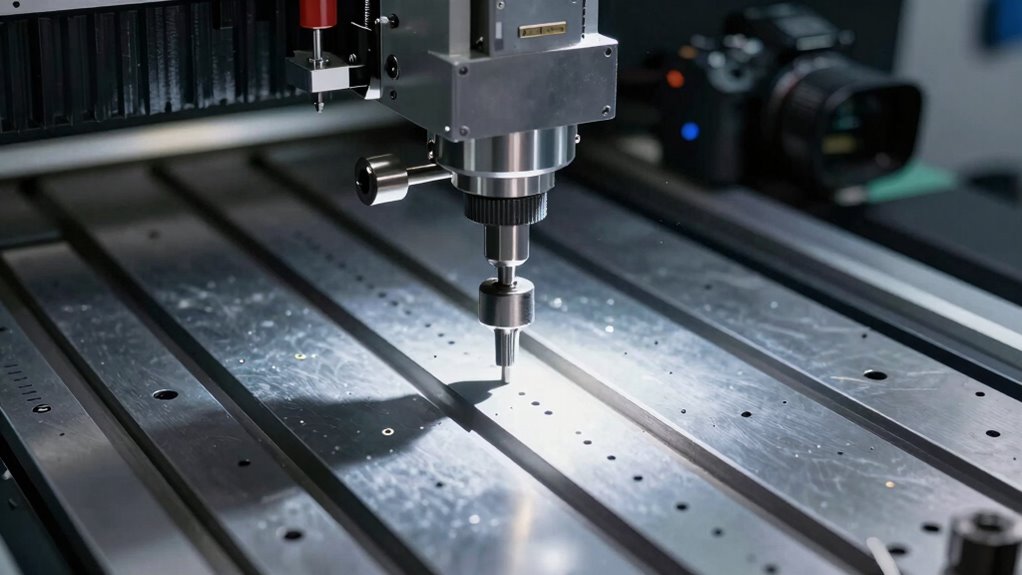
Zero the Z-Axis Using the Touch-Off Method : A Simple Technique
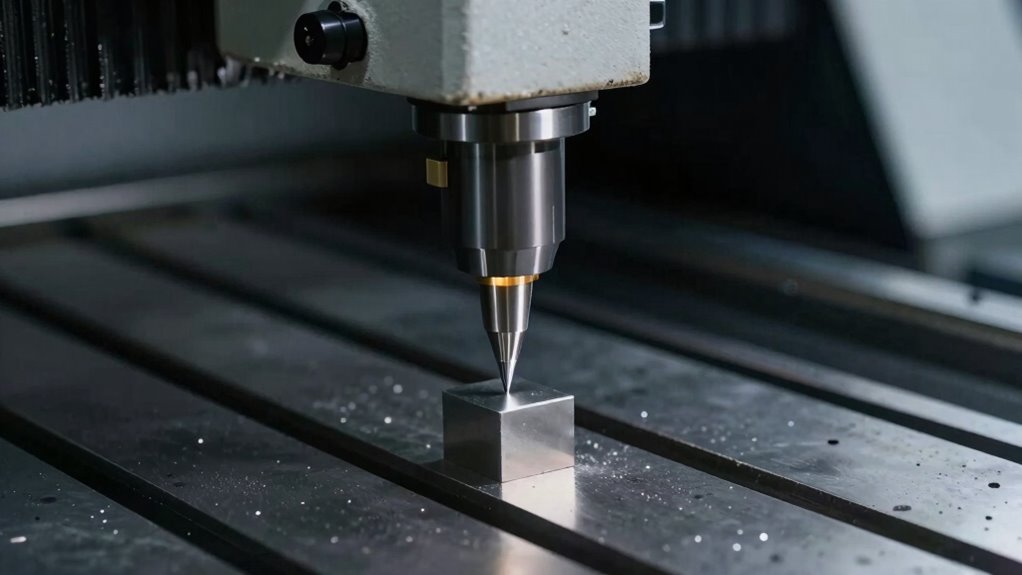
Zeroing the Z-axis with the touch-off method is one of the simplest and most effective ways to guarantee your tool is at the correct height before cutting. To do this safely and accurately, follow these steps:
Zeroing the Z-axis ensures precise tool height before cutting for safe, consistent results.
- Position your tool just above the workpiece, ensuring it’s clear but close enough for contact.
- Carefully lower the tool until it lightly touches the material, using the touch off technique to detect contact precisely.
- Once contact is made, set this point as Z zero in your CNC software.
Remember to follow safety precautions: keep hands clear, ensure the machine is off during setup, and double-check your tool height before starting your cut. This method prevents ruined stock and ensures consistent results.
Troubleshooting Zeroing Errors and Ensuring Consistent Results
Even with careful zeroing procedures, errors can still occur that affect your CNC’s accuracy. Calibration issues or incorrect tool offsets can lead to inconsistent results. To troubleshoot, double-check your machine’s calibration settings and ensure your tool offsets are properly set. Verify that your zero points are consistent across sessions. Use a reliable touch probe or dial indicator to confirm your zero positions. Keep detailed records of each setup to identify patterns in errors.
| Issue | Solution |
|---|---|
| Calibration issues | Recalibrate machine regularly |
| Tool offsets | Double-check and update offsets before each run |
| Zeroing inconsistency | Use the same method and reference points consistently |
| Mechanical shifts | Inspect for loose components or wear |
Frequently Asked Questions
What Are Common Mistakes to Avoid During CNC Zeroing?
You should avoid rushing your CNC zeroing process, as it can lead to errors. Make certain proper tool calibration to prevent inaccuracies, and double-check your material consistency to avoid unexpected shifts. Never skip verifying your zero points before starting; misaligned zeroing causes ruined stock. Always take your time, follow precise steps, and confirm each setting to keep your project on track and prevent costly mistakes.
How Often Should I Recalibrate My CNC Machine’s Zero Points?
Think of your CNC’s zero points as the compass guiding your projects; they need regular check-ins. You should recalibrate your zero points every few weeks or after significant machine movements, aligning with your maintenance schedule. Frequent calibration ensures precision, prevents errors, and keeps your work consistent. Skipping this step risks inaccuracies, so stay vigilant and treat zeroing as part of your routine maintenance to maintain ideal performance.
Can I Zero My CNC Machine Manually Without Specialized Tools?
Yes, you can manually zero your CNC machine without specialized tools. Just carefully position the tool at your desired zero point using the machine’s controls. Then, set the machine’s zero coordinates manually through the interface or keypad. Keep in mind, manual zeroing requires precise positioning for accurate tool calibration. Double-check your zero points before starting, ensuring your measurements are consistent to prevent errors and protect your stock.
What Impact Does Incorrect Zeroing Have on Final Product Quality?
Incorrect zeroing impacts your final product quality by causing measurement inaccuracies and misaligned tool offsets. When you don’t zero your CNC properly, your cuts may be off, leading to parts that don’t meet specifications. This can result in wasted material and time. To guarantee precision, double-check your zero points and tool offsets before starting, so your final product maintains the desired quality and accuracy.
Are There Software Features That Assist With Precise Zero Setting?
Think of software assistance as your CNC’s GPS, guiding you to perfect zero points. Many CNC programs feature digital calibration tools that help you set precise X, Y, and Z zero positions effortlessly. These features reduce human error, ensuring your cuts are accurate and consistent. With such software, you can zero your machine with confidence, saving time and preventing costly mistakes that could ruin your stock.
Conclusion
Mastering your CNC zeroing might feel like charting uncharted waters, but with practice, it becomes second nature—like riding a bicycle through history’s cobblestone streets. When you zero your axes correctly, you prevent ruined stock and guarantee precise cuts every time. Remember, even Da Vinci started with simple sketches before great masterpieces. Stay patient, double-check your work, and keep honing your skills—your projects will thank you for it.