
A rigid heddle loom simplifies weaving by guiding warp threads, making it perfect for beginners. To craft your first scarf without confusion, choose a loom suited to your project size and fiber types, set up your warp carefully, and pick easy yarns in complementary colors. Focus on simple techniques like plain weave, and don’t forget to check your tension and troubleshoot issues. Keep exploring your options, and you’ll soon master more advanced projects.
Key Takeaways
- Choose a beginner-friendly loom with adjustable tension and appropriate size for your project.
- Prepare and warp your loom carefully, maintaining consistent tension for an even fabric.
- Use simple patterns like plain weave and select yarns with textures and colors that complement each other.
- Follow step-by-step instructions to interlace warp and weft threads, avoiding common threading errors.
- Regularly check tension and correct issues early to ensure a smooth weaving process and a beautiful scarf.
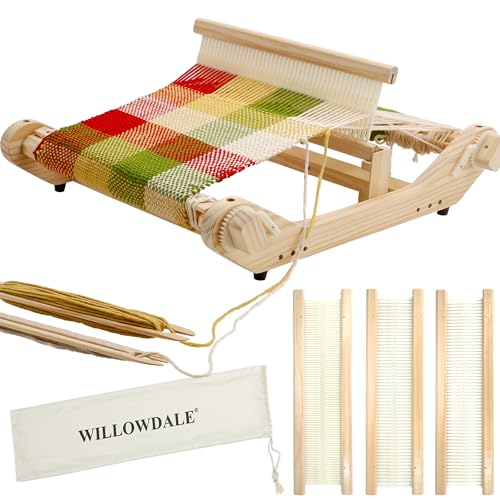
WILLOWDALE 16 Inches Rigid Heddle Loom, Weaving Loom Kit with Shed Stick, Wooden Multi-Craft Weaving Loom for Adults, Threads Warping Frame with Pegs and Yarn Stand, Frame Loom for Beginner
- Efficient Warp and Weft Handling: Includes heddle shed stick and shuttle for smooth weaving
- Dual-Function Design: Serves as a weaving loom and warping frame
- Ideal Gift for Weaving Enthusiasts: Create table mats and decorative textiles
As an affiliate, we earn on qualifying purchases.
As an affiliate, we earn on qualifying purchases.
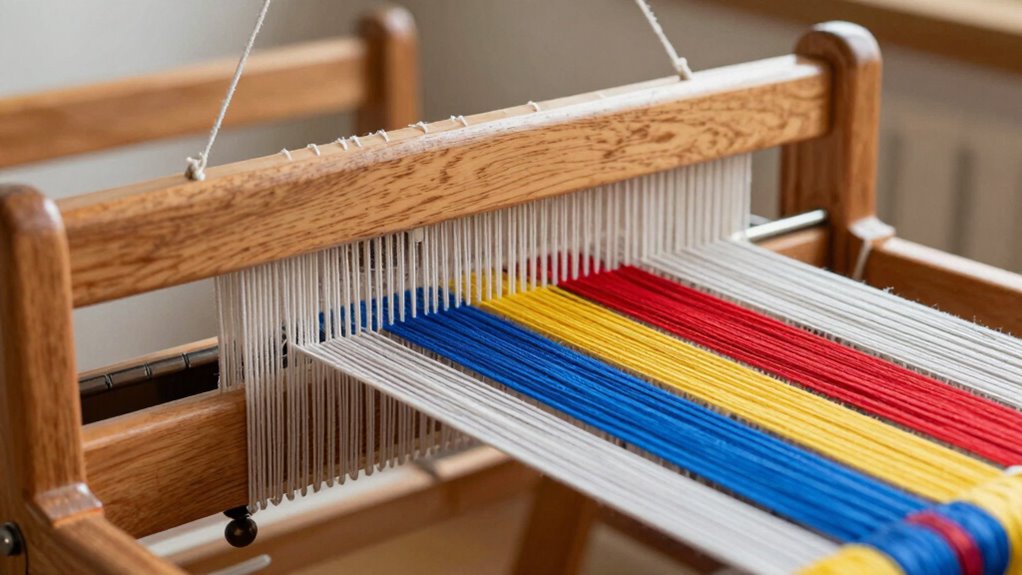
What Is a Rigid Heddle Loom and How Does It Work?
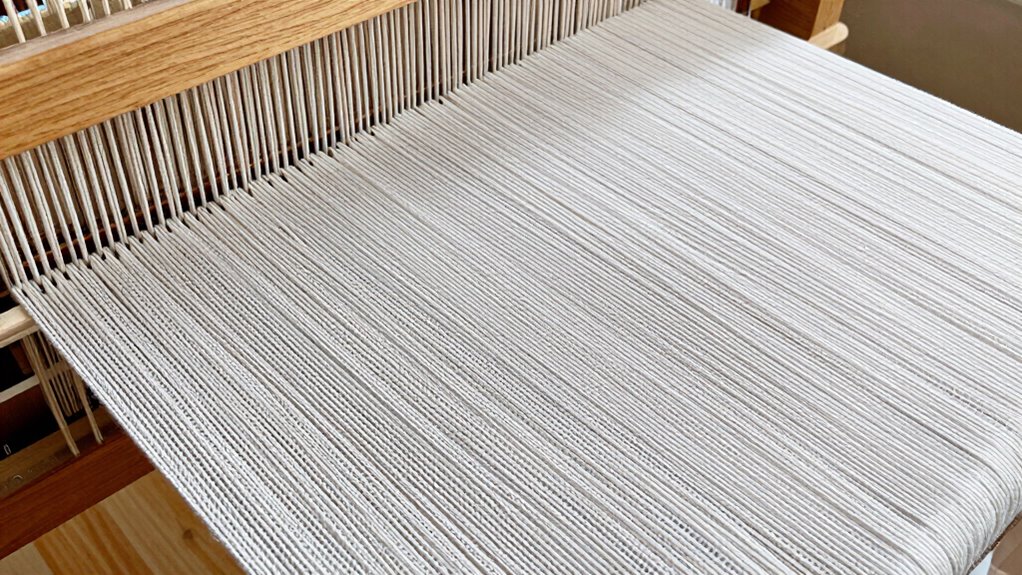
Have you ever wondered how a simple loom can create beautiful woven fabrics? A rigid heddle loom is a versatile tool for weaving, featuring a heddle that guides the warp threads and simplifies the process. It works by interlacing warp and weft threads to form fabric, and its design makes weaving accessible for beginners. You can experiment with fiber blending to combine different textures and colors, enhancing your projects. Loom accessories like shuttles, reed hooks, and heddle rods make handling threads easier and improve tension control. The loom’s straightforward mechanism allows you to focus on your pattern and technique without complex adjustments. With a rigid heddle loom, you’re empowered to start weaving right away, turning simple fibers into stunning textiles. Free floating in the weaving process helps maintain even tension and consistent fabric quality.
How to Choose the Right Rigid Heddle Loom for Beginners
When choosing a rigid heddle loom, consider the size that fits your space and projects, whether a small or larger model. Think about material compatibility, like cotton or wool, to guarantee your loom works well with your preferred fibers. Also, match your budget and skill level to find a loom that’s easy to learn on and sustainable for your weaving journey.
Loom Size Options
Choosing the right rigid heddle loom size is essential for a successful weaving experience, especially for beginners. Smaller looms, like 10-inch models, are portable and ideal for small projects or experimenting with fiber blends and color theory. Larger looms, such as 20-inch or wider, allow for bigger scarves and more complex designs. Consider your space, budget, and project goals when selecting a size. Additionally, understanding loom size options can help you make informed decisions aligned with your skill level and creative ambitions. Being aware of weaving versatility can also influence your choice, ensuring your loom can accommodate a variety of projects as your skills develop. Opting for a loom with adjustable features can further expand your project possibilities and enhance your learning experience. Recognizing the importance of auditory feedback in learning new techniques can also support your skill development as a weaver. As you gain experience, exploring different loom sizes can help you discover which setup best suits your evolving creative needs.
Material Compatibility Tips
Selecting the right rigid heddle loom depends largely on the materials you plan to work with. To guarantee smooth weaving, consider these material compatibility tips:
- Fiber blending: Choose a loom that can handle a variety of fibers, such as wool, cotton, or silk, especially if you want to blend fibers for texture or strength. The loom’s material capacity plays a crucial role in accommodating different fiber types without damage. Additionally, understanding the fiber tensile strength helps prevent breakage during weaving. Being aware of the loom’s material compatibility ensures you can confidently work with diverse fibers without risking damage or inconsistent results.
- Dye compatibility: Verify if your loom and yarns are compatible with your dyeing methods. Some fibers dye better with certain dyes, so pick materials that match your color goals.
- Yarn weight and texture: Ensure your loom can handle different yarn weights and textures without strain or damage. Thicker or textured yarns require a sturdy, appropriately sized loom.
- Material versatility is also important, as it allows you to experiment with different fiber types and techniques, expanding your creative possibilities.
Matching your materials with your loom ensures successful projects and vibrant results.
Budget and Skill Level
Beginners often find that their budget and skill level substantially influence which rigid heddle loom is the best fit. Fiscal considerations play a key role in narrowing your options, helping you select a loom that matches your financial comfort zone. Fortunately, there are many beginner-friendly options designed for new weavers, offering simplicity and ease of use without sacrificing quality. These looms tend to be more affordable and are perfect for learning basic weaving techniques. As you assess your budget, focus on models that provide good durability and expandability, so you can grow your skills over time. Choosing a loom that aligns with your skill level and budget ensures a smooth start, making your weaving journey enjoyable and frustration-free. Additionally, considering the cost‑of‑ownership can help you choose a loom that remains affordable throughout your learning process. It’s also beneficial to explore crochet techniques and other textile arts to complement your weaving skills and expand your creative options. Being aware of the wave and wind effects in weaving can help you better understand how tension and movement influence your projects, aiding you in selecting the right loom for your needs. Moreover, understanding the gold IRA markets can guide you in making wise investment decisions to support your textile arts hobby financially.
How to Set Up Your Loom: Step-by-Step Guide
Before you start weaving, you’ll need to prepare your warp threads carefully to guarantee even tension and smooth weaving. Setting the proper loom tension is essential for consistent results and avoiding issues later on. Proper loom care and maintenance will help extend the life of your equipment and ensure high-quality weaving outcomes. Regularly checking and adjusting tension can prevent common weaving problems and promote even weaving. Let’s walk through these steps to get your loom ready for your project, ensuring proper care and maintenance of your loom throughout your weaving journey.
Warp Thread Preparation
Setting up your warp threads correctly is essential for a smooth weaving experience. Proper warp preparation ensures even tension and a beautiful finished piece. First, choose your fibers carefully, considering dyeing techniques and fiber blending to achieve your desired color and texture. Next, wind your warp onto a warping board or peg, keeping tension steady. Additionally, paying attention to fiber selection can help you achieve the desired effects and improve your overall weaving results. Understanding fiber properties allows you to select the best fibers for your project’s durability and appearance. Being aware of fiber dyeing techniques can add unique color effects and depth to your woven piece. Incorporating proper tension management during setup can prevent distortion and uneven weaving. Finally, measure and secure your warp, making sure it’s evenly spaced and free of tangles. This process allows you to incorporate dyeing techniques into your fibers, creating unique color effects, and blend different fibers for varied textures. Paying attention to these details helps prevent problems during weaving and sets a solid foundation. Moreover, understanding the importance of creative storytelling in your craft can enhance the emotional connection with your finished piece. With your warp prepared, you’ll be ready to move confidently into the next steps of weaving your scarf.
Proper Loom Tension
Have you ever struggled with uneven weaving or puckered fabric? Proper loom tension is key to achieving smooth, even results. To start, check the tension adjustment on your loom. You want the warp tension to be firm but not overly tight; it should hold the warp threads evenly spaced without causing unnecessary stress. Adjust the tension bars or screws gradually, and test by gently plucking a few warp threads—they should sound even and consistent. Too tight warp tension can distort your weaving, while too loose results in loose weaves. Regularly maintaining loom tension and keeping it consistent is crucial for quality weaving. When you maintain proper tension, you can prevent common weaving issues and produce a professional-looking finished piece. Consistently maintaining proper tension ensures your weft yarns stay evenly packed, creating a neat, professional-looking scarf. Regularly check and fine-tune your warp tension as you weave to keep your project on track. Monitoring tension throughout your weaving process helps prevent common issues and ensures quality results. Additionally, maintaining proper thread tension can help reduce fatigue and improve your overall weaving experience. Developing a habit of tension adjustment can also extend the lifespan of your loom components and improve your craft.
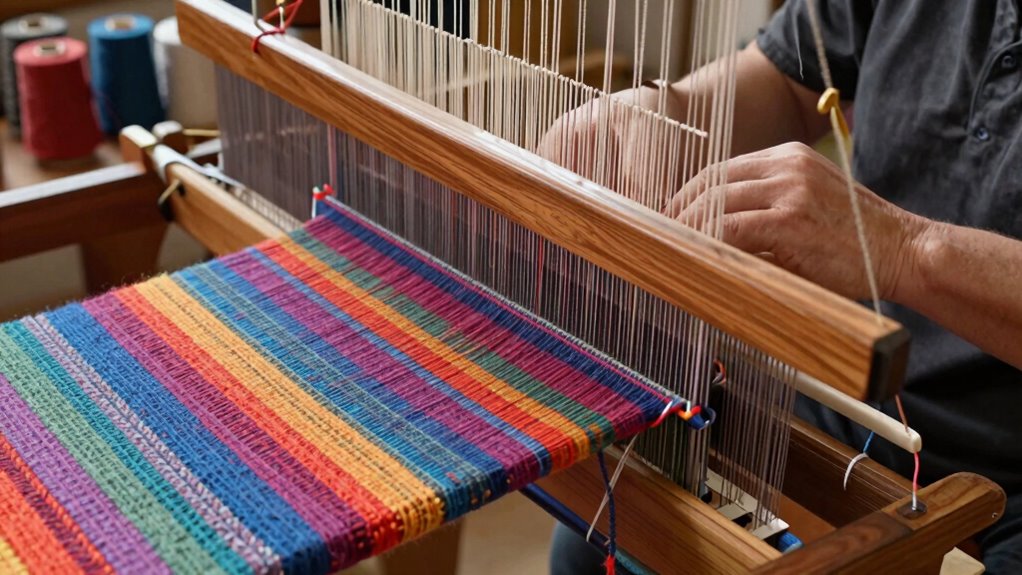
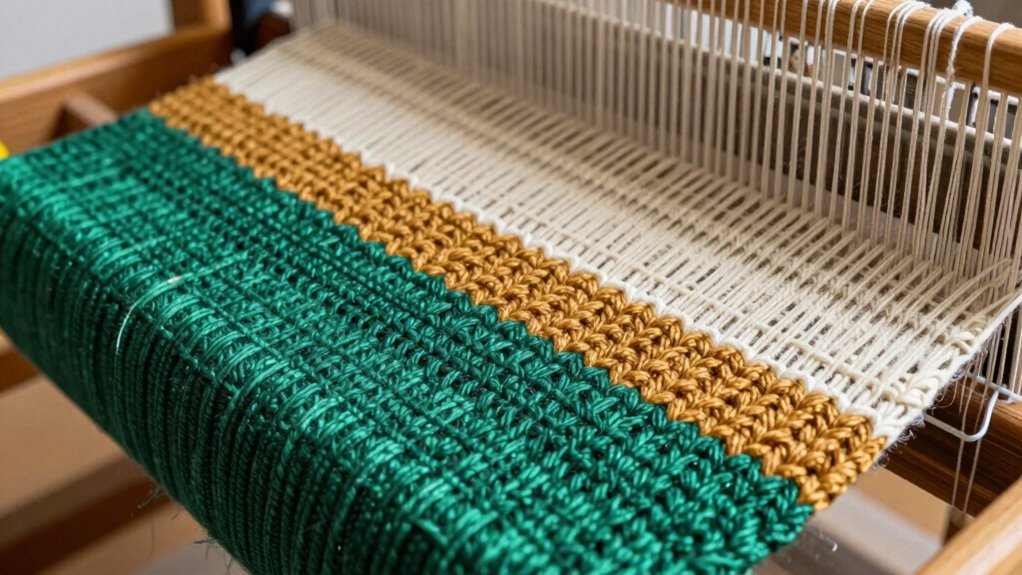
Simple Weaving Techniques for Your First Scarf
Starting with simple weaving techniques is a great way to create your first scarf on a rigid heddle loom. It keeps things manageable and lets you experiment with different yarn textures and color blending. To get started, focus on these techniques:
- Plain Weave: This basic over-and-under pattern creates a smooth, even fabric, perfect for beginners.
- Changing Yarn Textures: Incorporate smooth, bulky, or fuzzy yarns to add visual interest and tactile variety.
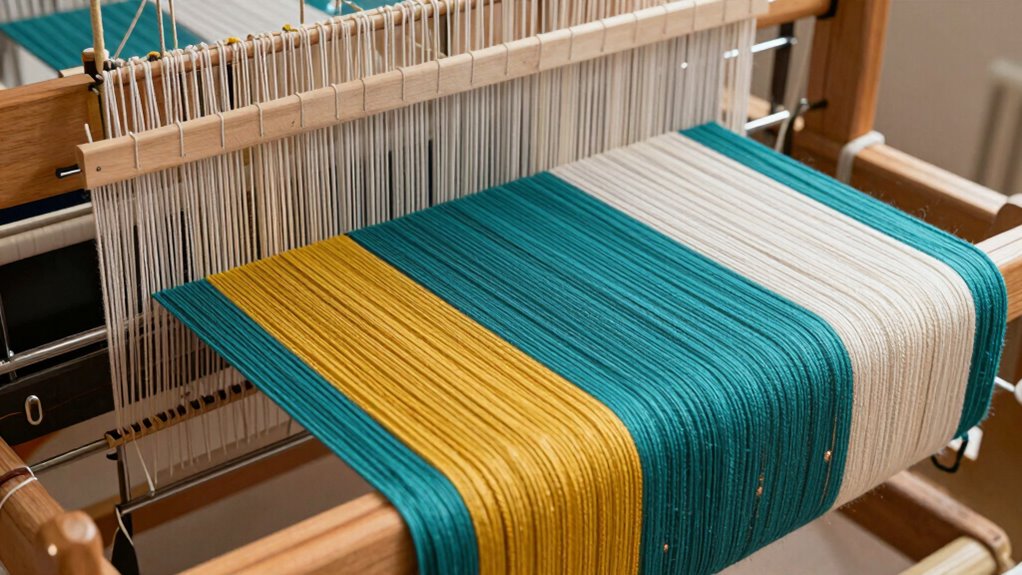
- Color Blending: Use two or more yarns in your warp or weft to create subtle color shifts and gradients effortlessly.
- Understanding fiber types can help you choose yarns that work well together and achieve the desired texture and appearance.
These methods help you build confidence while exploring how yarn textures and color blending influence the look and feel of your first scarf.
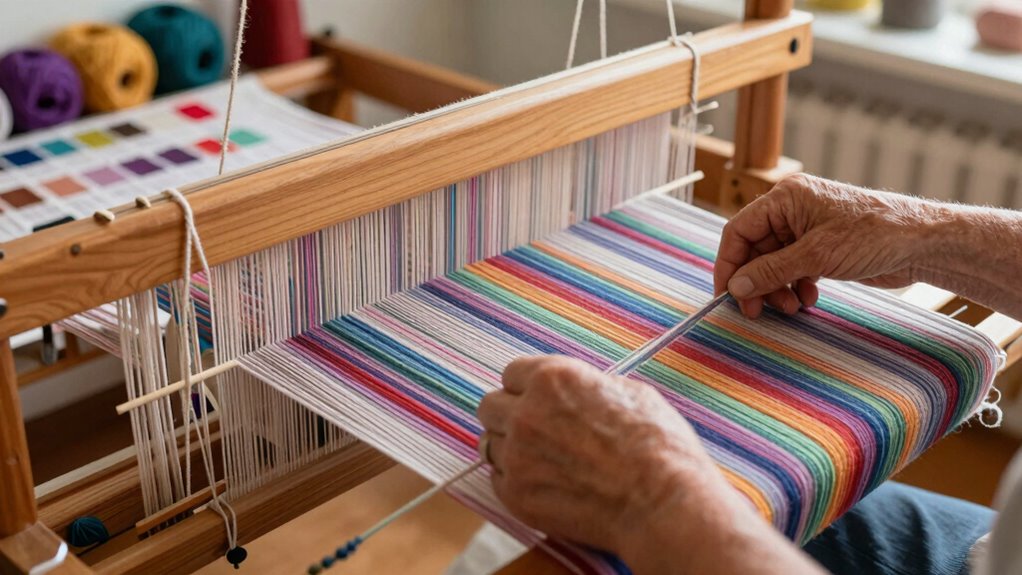
How to Pick the Best Yarn and Colors for Your First Scarf
Choosing the right yarn and colors is essential for creating a beautiful first scarf that you’ll love to wear. Start by selecting yarn textures that feel comfortable against your skin and suit your weaving style—soft wool blends or smooth cotton are great options. When it comes to color matching, choose shades that complement each other and reflect your personal style. Stick to a simple palette with two or three colors to keep your project manageable. Consider starting with solid colors or gentle contrasts to better see your weaving progress. Avoid overly busy or shiny yarns that can distract or complicate your work. Keeping your yarn choices straightforward helps you focus on mastering weaving techniques while creating a stunning, wearable piece.
Common Weaving Problems and How to Fix Them
What are some common weaving issues you might encounter, and how can you fix them? Tight or loose areas often result from tension adjustment problems. To rectify this, adjust the tension on your warp to ensure evenness across the loom. Threading errors can cause pattern irregularities or skipped weaves; double-check your warp threading against your pattern or instructions. Common problems include:
- Uneven tension, leading to puckering or loose sections—adjust your tension gradually until even.
- Threading errors, causing missed or misplaced weaves—review your threading order carefully.
- Sleying issues, resulting in inconsistent weave density—re-sley the warp if necessary.
Next Steps: How to Grow Your Weaving Skills and Projects
To grow your weaving skills and expand your projects, establishing clear goals and seeking out new techniques to challenge yourself is vital. Once you’ve mastered basic weaving, explore advanced weaving methods such as twill or rya techniques to deepen your understanding. Experiment with pattern designing to create unique designs and develop your own style. Push your boundaries by trying more complex drafts or incorporating different yarns and textures. Attend workshops, join weaving communities, or explore online tutorials to stay inspired and learn new skills. Setting specific projects, like a larger blanket or intricate wall hanging, helps you apply your growing knowledge. Consistent practice and embracing challenges will accelerate your progress and open your full weaving potential.
Frequently Asked Questions
Can I Use Synthetic Yarn on a Rigid Heddle Loom?
Yes, you can use synthetic yarns on a rigid heddle loom, but you need to verify for loom compatibility first. Synthetic yarns like polyester or nylon can work well, especially if they’re of a suitable weight and texture. Make certain the yarn isn’t too slippery or bulky, as that might affect tension or weaving ease. Always test a small sample first to see how the synthetic yarns behave on your loom.
How Much Space Does a Rigid Heddle Loom Require?
A rigid heddle loom doesn’t take up much space, but it’s essential to think about portability and storage. Typically, it measures around 24 to 36 inches wide, with height and depth varying by model. Its compact design makes it easy to store in a closet or under a bed, yet it’s sturdy enough for portable weaving projects. Think ahead—will you keep it tucked away or take it on the go?
Is It Possible to Weave Wider Scarves Than the Loom’s Capacity?
Yes, you can weave wider scarves than your loom’s capacity by using loom expansion techniques. You’ll need to carefully plan your scarf width, adjusting your weaving approach or adding extensions if possible. While the loom’s frame limits the maximum width, creative methods like multi-pass weaving or joining sections can help you achieve broader scarves, giving you more flexibility to explore different designs and sizes beyond the standard loom dimensions.
How Do I Maintain and Clean My Loom Properly?
Did you know proper care prolongs your loom’s life by up to 50%? To maintain your loom, regularly lubricate moving parts with light loom oil to prevent rust and guarantee smooth operation. Clean dust and lint after each use with a soft brush or cloth. Store it in a dry, dust-free area, and keep the heddle and warp tension relaxed to avoid warping or damage. Proper maintenance keeps your loom weaving effortlessly.
Can I Incorporate Different Weaving Patterns Into My Project?
Yes, you can incorporate different weaving patterns into your project to add pattern variety and color experimentation. Experiment with various weaving techniques like plain weave, twill, or rya to create unique textures and visual interest. Mixing different patterns and colors not only enhances your design but also helps you learn new skills. Feel free to combine these elements to make a truly personalized and vibrant piece on your loom.
Conclusion
Now that you’ve got the basics down, you’re ready to immerse yourself in weaving with confidence. Remember, practice makes perfect, so don’t be afraid to make mistakes—they’re just part of the learning curve. With patience and persistence, you’ll soon be turning out beautiful scarves that showcase your skills. Keep experimenting, stay curious, and enjoy the journey. Before long, you’ll be weaving like a pro and creating stunning projects that truly stand out.