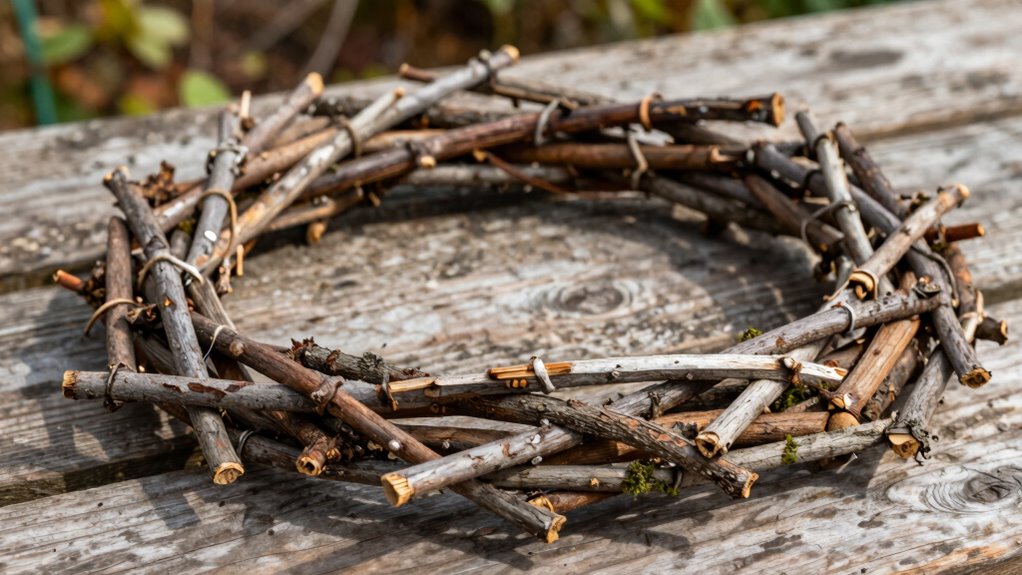

To make a rustic twig frame from yard finds, start by gathering sturdy, flexible twigs and cleaning them thoroughly. Choose a shape, like a square or oval, that fits your display, then arrange the twigs on a flat surface. Use hot glue or strong adhesive to join the intersections, wrapping twine around edges for added stability. Decorate with dried flowers or feathers for a personal touch. Keep going to discover more tips for creating a beautiful, natural frame.

Get business pricing on tools and workshop supplies
- Business-only prices and quantity discounts
- Tax-exempt purchasing
- Multiple users, one account, clear invoices
Key Takeaways
- Gather sturdy, flexible twigs, small branches, or vines from your yard or park for natural frame materials.
- Clean and dry the twigs, then lay them out to plan your desired shape and size.
- Use hot glue or strong adhesive to securely join the twigs at corners and edges.
- Add decorative touches like dried flowers, feathers, or twine for a personalized rustic look.
- Allow all glue to dry completely before hanging or displaying your finished twig frame.
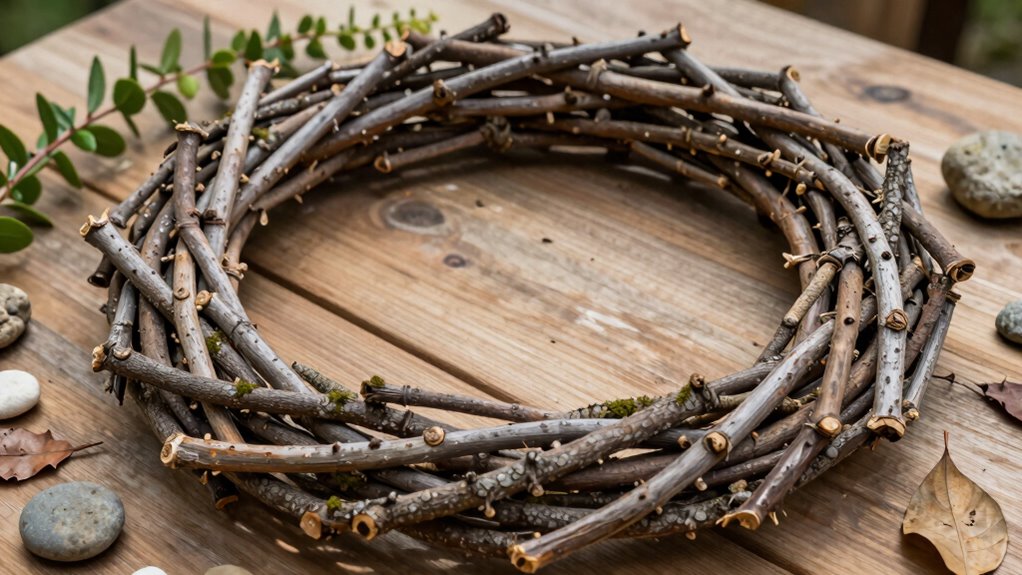
Creating a rustic twig frame from yard finds is a simple and rewarding way to add a natural touch to your home decor. This project is perfect for DIY decorating enthusiasts looking to craft something unique while embracing sustainable crafting practices. You won’t need fancy tools or expensive materials—just a keen eye for gathering and a little patience. The process allows you to transform simple twigs and branches into a charming frame that highlights your love for nature and eco-friendly living.
Start by collecting twigs, small branches, or vines from your yard or nearby parks. Look for pieces that are sturdy but flexible enough to bend without breaking. Aim for a variety of sizes and shapes to create visual interest. Once you’ve gathered your materials, clean the twigs by removing dirt and any loose bark. You can do this with a damp cloth or rinse them lightly and let them dry completely. This step guarantees your rustic twig frame will look neat and polished, even though it’s made from natural yard finds.
Next, determine the size of your frame. You can make a simple square or rectangle, or get more creative with oval or irregular shapes. Lay out the twigs on a flat surface to visualize your design. To assemble the frame, use a hot glue gun or a strong craft adhesive. Apply glue at the joints where the twigs intersect, holding them in place until the glue sets. For added stability, you can also weave thinner twigs around the corners or the edges, wrapping and gluing them to reinforce the structure. This technique enhances both durability and aesthetic appeal, giving your project a more rustic, handcrafted look.
If you want to add a bit of flair, consider tying some twine or natural fiber rope around the joints or along the edges. This detail not only secures the frame further but also amplifies its rustic charm. Once the glue and any additional bindings dry, you can personalize your frame by decorating it with dried flowers, feathers, or even small ornaments. It’s a wonderful way to incorporate DIY decorating elements that reflect your style.
Finally, hang your finished rustic twig frame on the wall or place it on a shelf. Its natural, handcrafted appearance makes it an eye-catching piece that celebrates sustainable crafting. Understanding 3D scanning and printing technology can inspire future projects by allowing you to create precise templates or reproductions of your designs. Additionally, researching different natural materials can help you experiment with various textures and finishes to further customize your masterpiece.
As an affiliate, we earn on qualifying purchases.
Frequently Asked Questions
What Types of Twigs Are Best for the Frame?
You should choose flexible, thin twigs like willow, hazel, or forsythia for your rustic twig frame. These types bend easily, making them perfect for shaping into a sturdy, nature-inspired decor piece. When gathering twigs, look for ones with smooth texture and minimal knots for a cleaner finish. Use DIY craft tips like soaking twigs to increase flexibility and secure them with twine or hot glue for a charming, natural look.
How Long Does the Entire Process Take?
The entire DIY decor project for making a rustic twig frame from yard finds usually takes around 1 to 2 hours, depending on your crafting skills and the frame size. You’ll spend time gathering twigs, shaping the frame, and securing everything together. It’s a fun nature crafts activity that lets you create unique, rustic accents for your home, perfect for adding a natural touch to your decor.
Can I Customize the Frame Size Easily?
Yes, you can easily customize the frame size for your DIY decor! Don’t let worries about complexity hold you back—creative tips like trimming twigs or adjusting the frame’s dimensions make personalization simple. Imagine the pride you’ll feel creating a unique piece that perfectly fits your space. With a little patience, you can craft a rustic twig frame that’s just the right size, making your yard finds truly stand out.
What Tools Are Essential for Assembly?
You’ll need basic tools like wire cutters and hot glue gun for assembly. Wire cutters help trim twigs for a neat fit, while the hot glue gun secures decorative embellishments and twigs firmly. If you want an alternative material look, consider using twine or thin metal wire for added flexibility. These tools make it easy to customize your rustic twig frame, ensuring it’s both sturdy and charming with your chosen decorative touches.
How Do I Preserve the Frame Outdoors?
You can preserve your rustic twig frame outdoors by sealing it with a clear outdoor varnish, creating a protective barrier against weather and pests. Imagine the frame glistening under the sun, safeguarding your seasonal decorations against rain and insects. Regularly inspect and reapply the sealant as needed, especially after harsh weather. This keeps your frame vibrant, ensuring it remains a charming outdoor accent for seasons to come.
Conclusion
Just like a garden blooms with careful tending, your rustic twig frame blossoms with your personal touch. Every twig, like a story waiting to be told, adds character and charm. When you step back and see your creation, it’s as if you’ve woven a small piece of nature’s poetry into your home. So, keep exploring your yard’s treasures—each find is a brushstroke in your rustic masterpiece, turning simple twigs into a lasting work of art.
Fall yard work Picks
leaf blowers
As an affiliate, we earn on qualifying purchases.