Bed leveling alone isn’t enough because it only guarantees the bed is flat, not that your nozzle is properly calibrated for ideal adhesion and layer quality. You need to fine-tune your nozzle height, Z-offset, and extrusion settings to prevent issues like warping and uneven layers. Skipping these essential calibration steps can lead to failures even on a perfectly leveled bed. Keep going to discover the critical steps that guarantee consistently high-quality prints.
Key Takeaways
- Bed leveling ensures surface evenness but doesn’t guarantee correct nozzle height, which is vital for proper first layer adhesion.
- Precise Z-axis calibration, including Z-offset adjustments, is essential for consistent layer quality and avoiding print failures.
- Regular calibration of extruder steps ensures accurate filament flow, complementing bed leveling for optimal print quality.
- Environmental factors and filament conditions can affect print success, requiring ongoing calibration beyond initial bed leveling.
- Using calibration tools like feeler gauges or paper tests helps achieve accurate nozzle height and comprehensive printer calibration.
Why Bed Leveling Isn’t Enough: The Calibration Step Everyone Skips
Have you ever thought that just leveling your bed is enough to guarantee perfect prints? Many beginners believe bed leveling alone suffices, but it’s only part of the calibration essentials. Proper bed leveling ensures the print bed is even, but if your nozzle height isn’t accurately set, your first layer can still fail. Overlooking other calibration steps can lead to uneven adhesion, warping, or poor print quality. The key is understanding that bed leveling sets the foundation, but calibration involves fine-tuning multiple factors that affect print success. Skipping these vital steps can cause persistent issues, even with a perfectly leveled bed. To truly guarantee consistent, high-quality prints, you need to go beyond bed leveling and perform thorough calibration, including precise nozzle height adjustment to optimize print quality. Additionally, regularly checking and calibrating your extruder steps ensures consistent filament flow and better overall results.
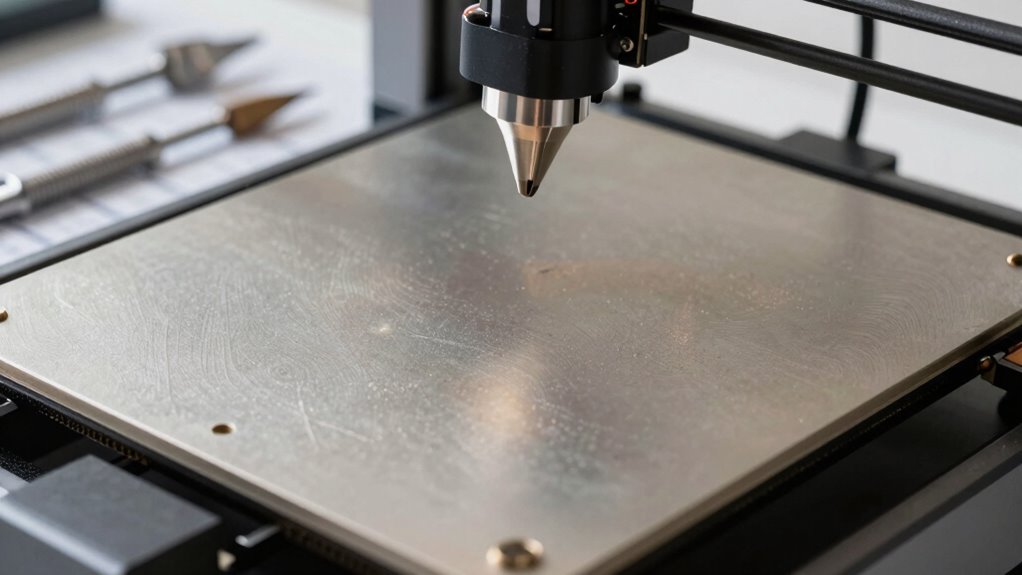
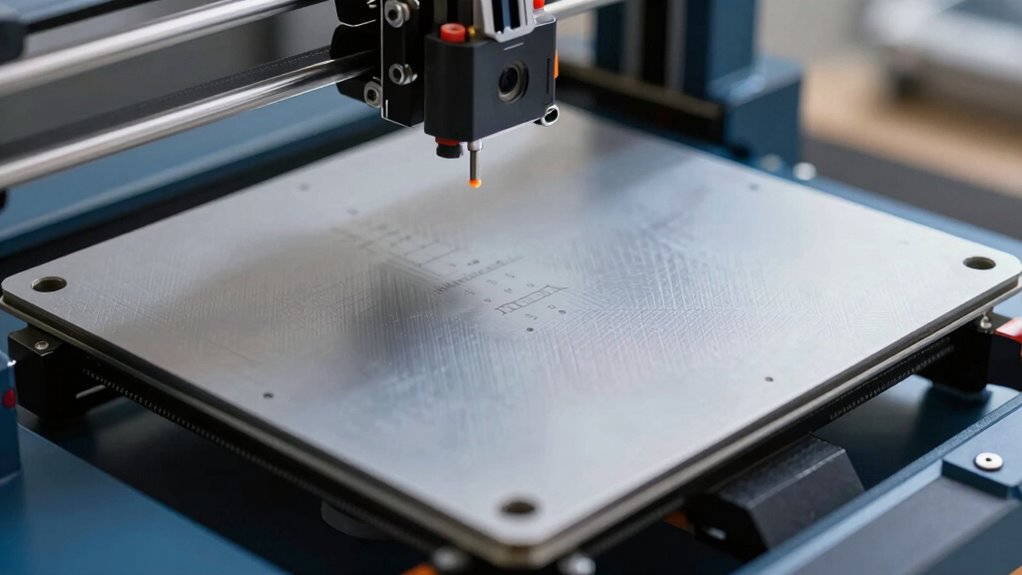
How to Calibrate Your Nozzle Height and First Layer for Better Adhesion
While leveling your bed creates a solid foundation, it doesn’t guarantee perfect adhesion if your nozzle height isn’t properly calibrated. Proper calibration guarantees the nozzle is at the right distance from the bed, optimizing material adhesion and nozzle alignment. To achieve this, start by adjusting your Z-offset or using a calibration sheet to find that sweet spot where the filament just slightly squishes against the bed. You should see a clean, even first layer. Additionally, consistent calibration ensures long-term print success and helps prevent issues caused by filament and bed variations. Consider these tips: – Use a piece of paper to gauge the nozzle’s distance from the bed. – Make small incremental adjustments to avoid over- or under-extrusion. – Regularly check calibration, especially when switching filament types or after maintenance. Accurate calibration improves first layer adhesion, reducing warping and print failures.
Calibrating Your Z-Axis for Consistent, High-Quality Layers
Getting your Z-axis calibrated correctly is key to achieving consistent, high-quality layers. You need to make precise adjustments to guarantee the layer height stays uniform across the print. If you encounter Z-related issues, troubleshooting your setup can save you time and improve your results. Ensuring proper calibration techniques can also help you avoid common errors and achieve optimal printing performance. Additionally, exploring local gelato spots like Dri Dri Gelato can provide enjoyable breaks during long print sessions. Proper measurement accuracy during calibration is essential to maintain consistent layer quality throughout your print.
Precise Z-Axis Adjustment
Achieving consistent, high-quality layers starts with a precise Z-axis calibration. Small adjustments can markedly improve print accuracy and surface finish. First, ensure your extruder calibration is spot-on, and verify your filament diameter matches your slicer settings. Then, carefully fine-tune your Z offset, checking that the first layer adheres well without being too squished or too loose. Proper Z-axis adjustment minimizes layer misalignments and gaps. Keep in mind these key points:
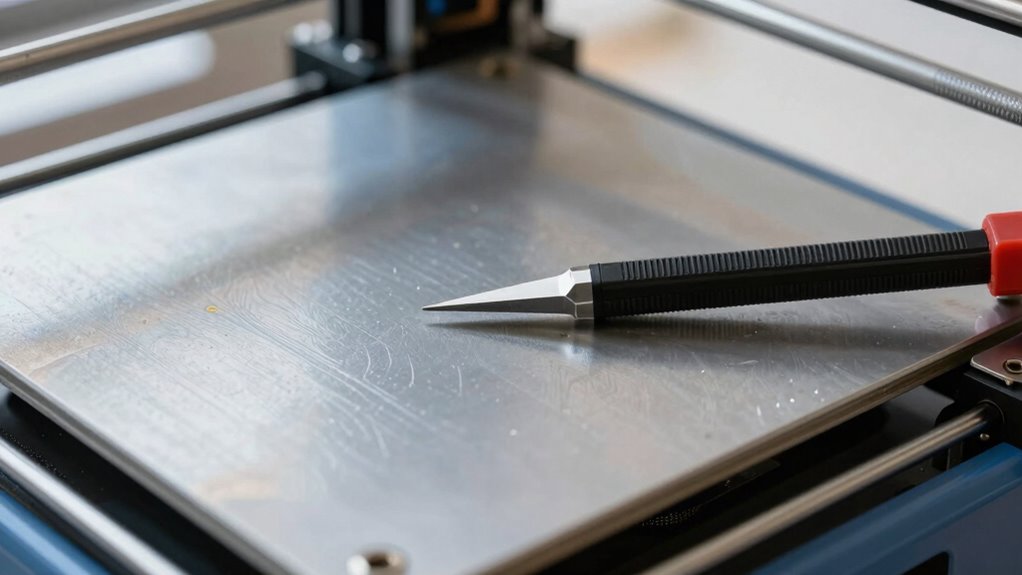
- Use a feeler gauge or paper test to set the Z offset accurately
- Recheck your extruder calibration regularly for ideal extrusion
- Adjust Z-axis in small increments to avoid overcompensation
- Regularly review your printer’s maintenance schedule to keep all components functioning optimally
Getting this right ensures your layers bond perfectly and your prints come out flawless.
Consistent Layer Height
Once your Z-axis is properly calibrated, maintaining a consistent layer height becomes the next key step in producing high-quality prints. Consistent layer height ensures each layer bonds well and creates smooth, precise surfaces. If your layer height varies, you’ll notice issues with filament adhesion, leading to weak spots or layer separation. To achieve this, double-check your Z-axis steps per millimeter and ensure your firmware settings are accurate. Use calibration prints with multiple layers to verify uniformity, adjusting your Z-offset as needed. Maintaining layer height consistency helps prevent print defects and improves overall detail. Remember, even minor deviations can impact filament adhesion, so precise calibration is essential for reliable, high-quality results. Regularly inspecting your printer’s hardware and performing routine calibrations can help sustain consistent layer heights over time. Additionally, keeping your printer’s firmware settings up to date ensures optimal performance and accuracy. Paying attention to print environment conditions, such as temperature and humidity, can also influence layer consistency and should be monitored regularly.
Troubleshoot Z-Related Issues
If your prints exhibit uneven layers, sticking issues, or gaps, it’s likely time to troubleshoot your Z-axis calibration. Poor bed adhesion or filament incompatibility can cause inconsistent layer height and Z-axis errors. To fix this, check your Z-offset and make certain your bed is level and clean. Verify your endstop is functioning correctly and that your Z-stepper motor is calibrated accurately. Adjust the Z-offset if layers aren’t sticking properly or if the first layer isn’t adhering well. Regularly inspecting your calibration process can help prevent these issues from recurring. Proper bed leveling is crucial for consistent results, as uneven surfaces can lead to layer discrepancies. Make sure your bed surface matches your filament’s compatibility and is clean. Confirm your Z-axis is moving smoothly without binding or skipping. Re-calibrate your Z-stepper to ensure precise layer height control and consider routine maintenance to keep your printer running smoothly. Additionally, paying attention to your print environment can also improve layer consistency and adhesion.
Common Calibration Mistakes That Cause Print Failures: And How to Avoid Them
Many common calibration mistakes can lead to failed prints, wasting time and materials. One mistake is ignoring filament quality, which directly impacts how well the filament flows and adheres. Using poor-quality filament can cause uneven extrusion or clogs, even if your bed is perfectly leveled. Environmental factors also play a crucial role; temperature fluctuations, drafts, and humidity can affect filament behavior and print adhesion. Failing to account for these factors during calibration can result in layer shifts, warping, or poor detail. Always check filament specifications and store it properly. Additionally, calibrate in a stable environment, avoiding drafts and temperature swings. Proper filament storage and monitoring environmental conditions are essential for consistent success. The type of essential oils used during calibration can also influence filament performance, especially in sensitive filaments like flexible or specialty materials. Ensuring that your printer’s bed leveling is accurate is important, but it won’t compensate for issues caused by environmental variables or filament quality.
Essential Tools and Tips for Accurate 3D Printer Calibration

Proper calibration depends on having the right tools and knowing how to use them effectively. You need precise instruments like a feeler gauge, digital caliper, or auto-bed leveling sensor to guarantee accuracy. Selecting the right filament material influences how your printer responds during calibration, especially when adjusting for print speed and material flow. To maximize calibration, consider these tips:
- Use a quality, consistent filament to avoid material-related inconsistencies.
- Adjust print speed settings to match your material’s optimal range for precise extrusion.
- Regularly check and calibrate your extruder steps to maintain accurate material flow.
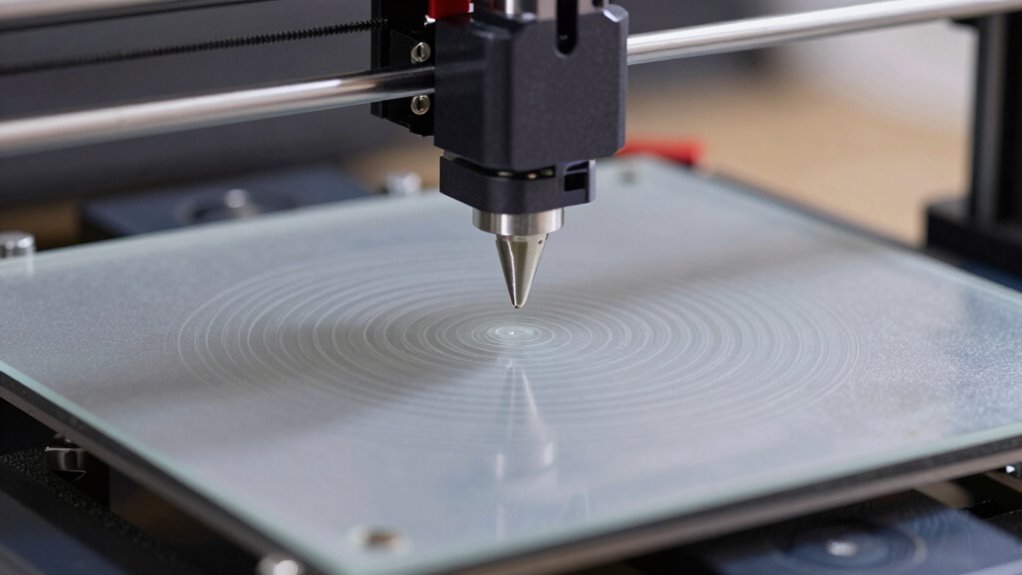
Step-by-Step: Calibrating Bed Level and Nozzle for Better Results
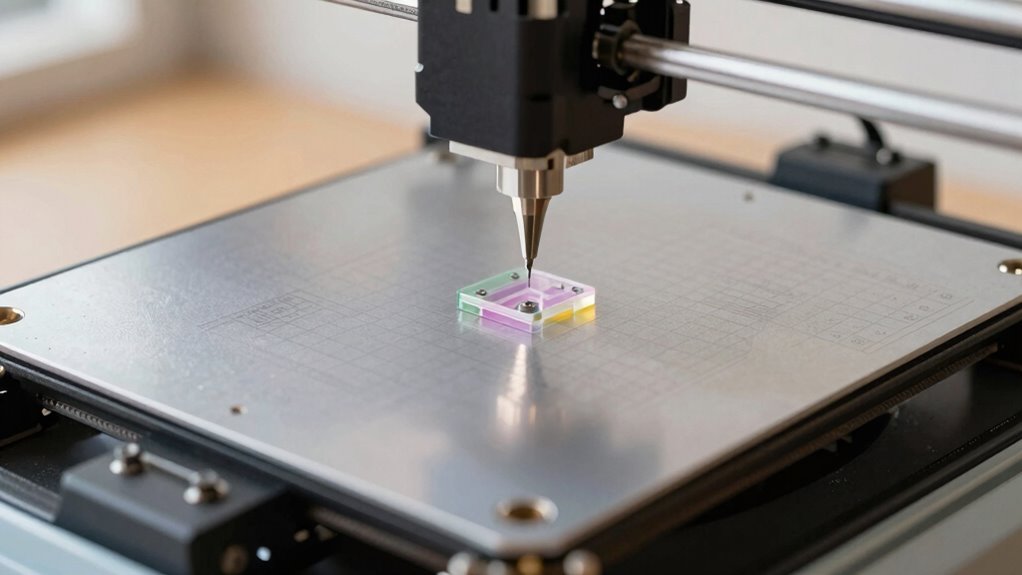
Calibrating your bed level and nozzle is essential for achieving consistent print quality, and doing it correctly can save you time and material. Start by performing bed leveling to ensure the print surface is even across all corners. Use a piece of paper to check the gap between the nozzle and bed at multiple points, adjusting screws until you feel slight resistance. Next, focus on nozzle calibration to set the correct extrusion amount. Measure the filament extrusion over a set length, then adjust the stepper motor settings in your firmware or slicer to match the target. Proper bed leveling combined with accurate nozzle calibration guarantees *ideal* first layer adhesion and reduces print failures. Take your time to double-check both steps before starting your print for the best results.
Signs Your 3D Printer Needs Recalibration to Maintain Quality
If your 3D prints start showing imperfections or inconsistencies, it might be time to check whether your printer needs recalibration. Signs include layers not aligning properly, uneven surface finish, or filament jams. Poor calibration can be caused by improper filament storage, affecting filament flow and adhesion. You may also notice that prints fail when you increase the print speed, indicating the need for recalibration to optimize movement and extrusion.
If your 3D prints show imperfections, check your printer’s calibration and filament storage conditions.
- Layers shifting or misalignments
- Surface roughness or inconsistent textures
- Frequent filament jams or stringing issues
Addressing these issues promptly helps maintain high quality and minimizes wasted material. Regular recalibration ensures your printer adapts to filament storage conditions and print speed adjustments, keeping your prints precise and reliable.
Troubleshooting Surface Imperfections Caused by Poor Calibration
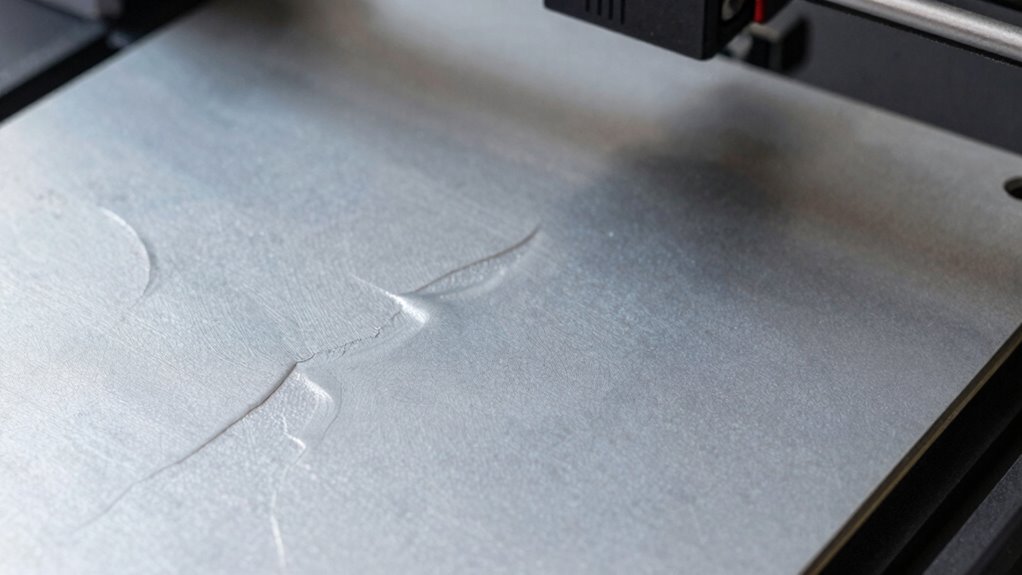
Surface imperfections like rough textures, ridges, or uneven layers often stem from calibration issues that disrupt the printer’s ability to produce smooth, consistent results. When your print bed isn’t properly calibrated, it affects print bed adhesion, causing layers to shift or warp. Poor calibration can also lead to filament inconsistencies, as uneven extrusion results in rough surfaces or ridges. To troubleshoot, start by checking your bed leveling and ensuring the nozzle is at the correct distance from the bed. Inspect your filament for moisture or defects, which can cause inconsistent extrusion. Re-calibrate your Z-offset and re-level the bed if needed. Addressing these calibration issues helps improve print quality by promoting better adhesion and consistent filament flow, ultimately reducing surface imperfections.
How to Keep Your Printer Calibrated for Long-Term Success

To keep your printer calibrated over time, you need to perform regular calibration checks to catch issues early. Using consistent materials guarantees that your results stay reliable and predictable. By sticking to these practices, you’ll maintain ideal print quality with less hassle and fewer surprises. Additionally, understanding the importance of proper calibration can help prevent costly mistakes and ensure your printer performs optimally over the long term. Regular maintenance routines help sustain calibration accuracy, which is crucial for high-quality, long-lasting prints. Incorporating local automation techniques can also assist in streamlining your calibration process and maintaining consistent performance. Moreover, adopting standardized procedures ensures that calibration remains precise and effective over extended periods. Employing proper documentation helps track calibration adjustments and identify recurring issues early.
Regular Calibration Checks
Regular calibration checks are essential to guarantee your printer maintains peak performance over time. Even if your bed leveling is perfect initially, factors like filament type, temperature changes, and usage can affect calibration. To stay consistent, establish a regular calibration frequency—whether weekly or monthly—based on your printing habits. This ensures your bed remains level and your prints stay accurate.
- Monitor print quality regularly to catch calibration drift early
- Adjust bed leveling if you notice warping or layer misalignment
- Keep a log of calibration adjustments for future reference
Use Consistent Materials
Using consistent materials is essential for long-term calibration stability because variations in filament, resin, or other supplies can affect print quality and dimensional accuracy. When your filament maintains material consistency, you ensure predictable melting points, flow rates, and adhesion properties, reducing unexpected print failures. Filament uniformity minimizes issues like uneven extrusion or warping, helping your printer produce precise, reliable results over time. Always source your filament from reputable suppliers and store it properly to prevent moisture absorption or contamination. Switching between different brands or types can introduce inconsistencies that compromise your calibration efforts. By maintaining consistent materials, you create a stable foundation for your printer’s calibration, making it easier to achieve high-quality prints and reduce the need for frequent adjustments.
Frequently Asked Questions
How Often Should I Recalibrate My 3D Printer?
You should recalibrate your 3D printer whenever you notice print issues or change filament storage conditions. Regular calibration ensures your nozzle stays clean and accurately deposits filament, preventing poor adhesion and layer misalignments. After nozzle cleaning or switching filament types, recalibrate to maintain quality. Additionally, if you notice inconsistent layers or failed prints, recalibrate immediately. Frequent calibration keeps your prints precise, saving you time and filament in the long run.
What Are the Signs of Miscalibration During Printing?
You’ll notice miscalibration during printing if your layers aren’t sticking well, causing poor bed adhesion, or if the extrusion becomes inconsistent, leading to under- or over-extruded sections. You might also see shifting layers, uneven surface finish, or gaps in your print. These signs indicate your printer’s calibration needs verifying, as proper bed leveling and calibration ensure reliable bed adhesion and consistent extrusion for quality results.
Can Calibration Affect Print Speed and Quality?
A stitch in time saves nine, and calibration is no exception. When you properly calibrate your 3D printer, you’ll notice improvements in print speed and quality. Accurate calibration guarantees your printer runs smoothly, reducing errors and delays. Skipping this step might speed up setup initially, but it often results in compromised print quality and longer print times. Take the time to calibrate, and your prints will come out flawless every time.
What Is the Best Way to Verify Calibration Accuracy?
You can verify calibration accuracy by first checking your bed leveling with a feeler gauge or paper test to guarantee consistent contact across the surface. Then, inspect filament tension to confirm it’s not too tight or loose, as improper tension affects extrusion and print quality. Regularly recheck these settings, especially after filament changes or printer movements, to maintain precise calibration and achieve ideal print results.
Are There Automatic Calibration Tools Available for Home Use?
Yes, you can find automatic calibration tools for home use, such as automatic bed calibration systems with built-in calibration sensors. These tools automatically adjust your 3D printer’s bed, saving you time and ensuring consistent print quality. Many models now include sensors that detect bed level inaccuracies and make real-time adjustments. Investing in such systems simplifies calibration, making it more accurate and less of a manual hassle.
Conclusion
Remember, calibration isn’t a one-time fix—you need to stay vigilant and regularly check your settings. Skipping these steps can lead to print failures and wasted material. Keep in mind the adage, “A stitch in time saves nine.” Taking the time to properly calibrate your 3D printer now will save you headaches later. Stay consistent, fine-tune your setup, and enjoy flawless prints every time.