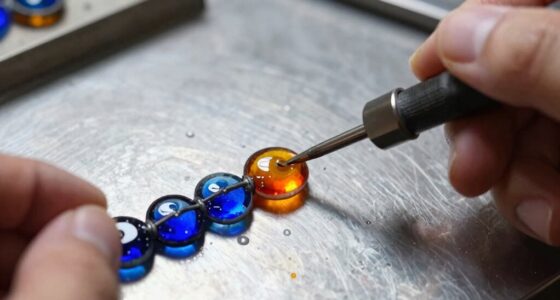

To decode cutting settings, start by selecting the right blade for your material and keep it well-maintained. Adjust blade pressure based on material thickness—too much causes tearing, too little diminishes cut quality. Set your speed according to material density—slower for delicate or thick materials, faster for thin or soft ones. Determine the number of passes needed: thicker materials require more passes, while lighter ones need fewer. Balancing these factors guarantees clean, professional cuts—continue, and you’ll master even more tips to perfect your cuts.
Key Takeaways
- Match blade pressure and speed to material type and thickness for clean cuts and minimal wear.
- Use testing on scrap pieces to fine-tune settings before actual production.
- Adjust passes based on material density—more for thicker or denser materials, fewer for thin or soft ones.
- Regularly inspect and sharpen blades to maintain optimal cutting performance and prevent tearing.
- Balance blade tension, pressure, and speed through incremental adjustments for consistent, high-quality results.

Fiskars Trimmer Replacement Blades, Precision-Ground Steel for Clean Cuts, Refill Carriage for 9" & 12" Personal Trimmers, Two Pack, Orange
SEWING, ARTS, AND CRAFTS STAPLE: The Fiskars Trimmer Blades are made to replace the dull blades on your…
As an affiliate, we earn on qualifying purchases.
As an affiliate, we earn on qualifying purchases.
Why Your Cuts Are Going Wrong and How to Fix Them

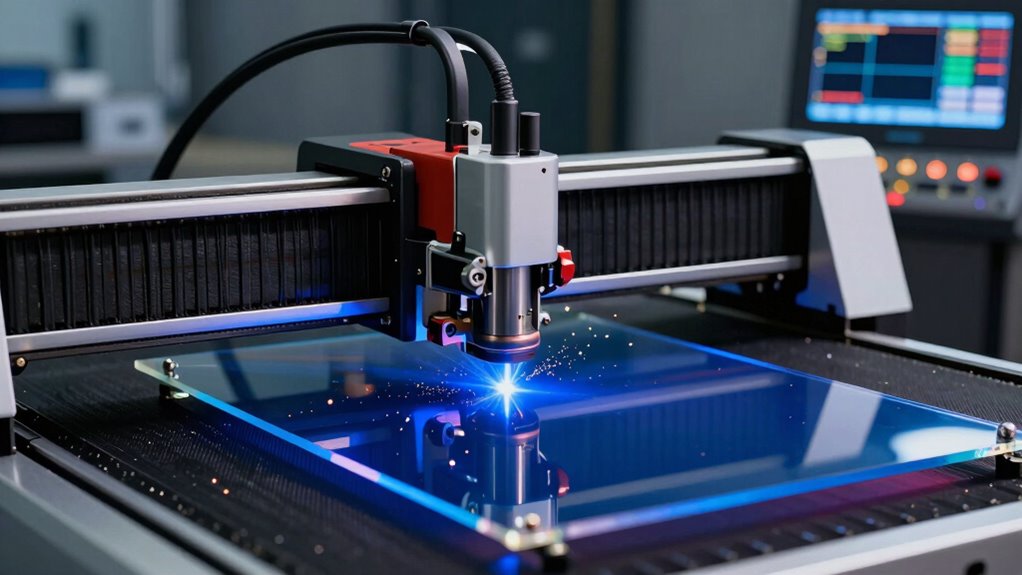
If your cuts aren’t coming out clean, the problem often lies in your blade pressure, speed, or passes. First, check blade compatibility to guarantee you’re using the right blade for your material. Using an incompatible blade can cause uneven cuts or tearing. Next, review your safety precautions—always wear safety gear and handle blades carefully to prevent injuries. Adjust your blade pressure to avoid applying too much or too little force, which can lead to rough edges. Speed matters too; cutting too fast can compromise quality, while going too slow might cause burning or melting. Make small, incremental changes and test on scrap pieces. Proper blade compatibility, safety precautions, and mindful adjustments are key to achieving clean, precise cuts every time. Additionally, utilizing energy-efficient cutting technology can improve overall efficiency and quality of your work. Paying attention to cutting parameters helps optimize results and prevents material damage. Being aware of cutting speed and its impact allows you to fine-tune your process for the best possible outcome, and understanding cutting pressure is essential for consistent results. Moreover, adjusting cutting passes can help improve cut quality when working with thicker or more challenging materials.
Nicapa StandardGrip Cutting Mat for Silhouette Cameo 4/3/2/1 (12×12 inch,3 pack) Standard Adhesive Sticky Quilting Cut Pads Replacement Accessories for Silhouette Cameo
Keep the clear film cover on the Nicapa Cutting Mat for Cameo when storing to keep cutting mat…
As an affiliate, we earn on qualifying purchases.
As an affiliate, we earn on qualifying purchases.
What Blade Pressure Is and How It Affects Your Material

Blade pressure refers to the amount of force you apply to the blade during cutting, directly influencing how clean and precise your cuts are. Too much pressure can cause tearing or blade wear, while too little might result in incomplete cuts. Proper blade tension ensures consistent pressure and smooth operation, preventing the blade from slipping or bending. Regular blade sharpening keeps the edge sharp, reducing the need for excessive pressure. When your blade is sharp and tensioned correctly, you can apply just enough pressure to cut cleanly without damaging your material. Adjusting blade pressure based on your material type helps achieve ideal results, whether you’re working with delicate or thick materials. Remember, maintaining blade tension and sharpening your blade regularly are key to consistent, high-quality cuts. Additionally, understanding the cutting technique and adjusting your pressure accordingly can lead to more precise and efficient results. Proper maintenance of your equipment, like ensuring blade tension, also contributes to better cutting outcomes. Using the correct cutting parameters tailored to your specific project can further improve your results and prolong blade life.
Furthermore, being aware of blade wear signs can help you identify when it’s time to replace or sharpen your blade for optimal performance.
Moreover, paying attention to the material characteristics can help you fine-tune your pressure for optimal cutting performance.
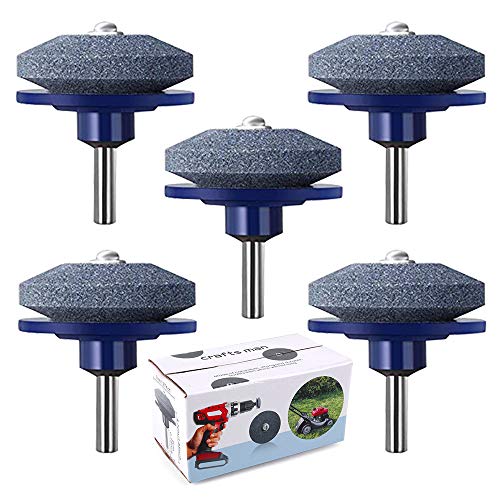
cenoz Crafts Man Lawn Mower Blade Sharpener for Any Power Hand Drill by (5 Packs Blue)
Lawn Mower Blade Sharpener : The new version of the Lawn Mower Blade Sharpener is Made of corundum,…
As an affiliate, we earn on qualifying purchases.
As an affiliate, we earn on qualifying purchases.
How to Set the Right Cutting Speed for Precision
Choosing the right cutting speed depends on your material, so start with the manufacturer’s recommendations. You should test different speeds and make small adjustments to find what provides the best precision. Remember, proper testing ensures consistent results and avoids damage to your material. Incorporating sound healing science principles can also inspire a calm and focused testing environment, leading to better outcomes. Additionally, understanding time zone differences can help you schedule your testing sessions more effectively if working across multiple locations. Being aware of material properties can further refine your speed choices, ensuring optimal cuts without risking damage or uneven edges.
Material Compatibility Tips
Selecting the right cutting speed is essential for achieving precise results without damaging your material. Start by considering your material selection—different materials require different settings. For example, delicate fabrics need slower speeds, while thicker plastics can handle faster cuts. Additionally, check adhesive compatibility; some adhesives may gum up blades or cause uneven cuts at high speeds. Always test a small piece first to see how your material responds. Knowing the properties of your material helps you choose a speed that balances clean cuts and blade longevity. Pay attention to connected equipment and how it interacts with your materials, as smart technology can help optimize these settings. Properly material properties such as density and hardness will inform your optimal cutting parameters. It’s also important to understand how cutting parameters influence the overall quality of your work and machine performance. Avoid pushing your machine too hard on unfamiliar materials, as this can lead to errors or damage. By paying attention to material compatibility, you guarantee smooth, accurate cuts every time. Incorporating industry trends into your process can further enhance precision and efficiency. Recognizing nanotechnology advancements can also open new avenues for improving cutting techniques and material interactions.
Optimal Cutting Speed
Finding the essential cutting speed is vital for achieving precise, clean cuts without putting unnecessary strain on your equipment. Start by ensuring your blade is properly calibrated; an uncalibrated blade can cause uneven cuts and hinder material adhesion. When setting the speed, consider the material’s thickness and density—harder or thicker materials often require a slower pace to prevent tearing or rough edges. Too fast, and you risk incomplete cuts or poor edge quality; too slow, and you may cause scorching or excess wear. Adjust the speed gradually, observing how the material responds. Proper calibration and understanding how material adhesion interacts with your cutting speed help you find that sweet spot, leading to consistent, professional results every time.
Testing and Adjustments
To set the right cutting speed for precision, start by conducting test cuts on scrap material similar to your project. Pay attention to blade durability—if the blade wears quickly or shows signs of damage, you may need to slow down. Keep an eye on cutting noise; excessive noise often indicates the blade is working too hard or the speed is too high, risking poor cuts or blade damage. Adjust the speed gradually, making small changes and testing each time. Listen and observe how the material responds, ensuring the cut is clean and the blade remains in good condition. Fine-tuning the speed helps maximize blade life, reduces unnecessary noise, and ensures precise, professional results. Incorporating cutting parameters and creative storytelling into your process can also help visualize and plan optimal settings for different materials and projects. Additionally, paying attention to pressure adjustments can further enhance the quality and consistency of your cuts. Understanding material types and their specific cutting requirements can also guide you in setting the most effective speeds for each project.

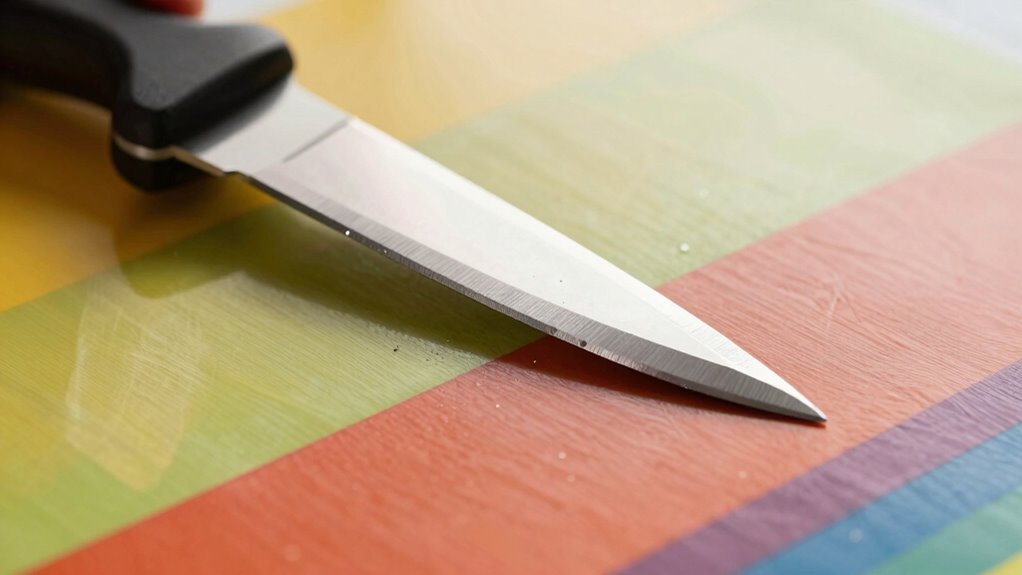
HAUTMEC 10PCS 18mm Triple Cutting-edge Snap Off Blades, Retractable Black Replacement Blades, SK2 Heavy Duty Utility Knife Blades, Strengthened Safety Box, for Box, Carpet, Rope HT0083-BL
【Quantity and Size】Includes 10 Pcs L type black blades with 60 degree angle in one package; 18mm in…
As an affiliate, we earn on qualifying purchases.
As an affiliate, we earn on qualifying purchases.
How Many Passes Do You Need for Different Materials

The number of passes needed with a blade varies depending on the material you’re cutting. Thicker materials typically require multiple passes to guarantee a clean cut, while thinner ones may need only a single pass. Your choice of blade type also influences this—more aggressive blades can often cut through thicker or tougher materials in fewer passes, whereas finer blades might need additional passes for accuracy. For example, a heavy-duty blade may handle dense materials like leather or chipboard with one or two passes, but a standard blade might need three or more. Always start with fewer passes and increase if the cut isn’t clean or fully through. Consider cutting parameters such as feed rate and blade speed, which impact the number of passes needed. Adjust based on material thickness and blade type for ideal results without overworking your equipment. Additionally, understanding blade pressure and how it interacts with material properties can help optimize your cutting process for better efficiency and quality. Proper material properties knowledge can further refine your approach to achieve precise cuts with minimal passes, especially when considering tuning techniques to match your specific cutting needs. Incorporating knowledge of safety protocols can also prevent damage to your tools and ensure safe operation during multiple passes.
How to Balance Blade Pressure, Speed, and Passes for Perfect Cuts
To achieve perfect cuts, you need to carefully adjust blade pressure, ensuring it’s neither too tight nor too loose. Then, optimize your speed and number of passes to match the material’s requirements. Balancing these factors is key to clean, precise results every time. Incorporating adaptive cutting technology can further enhance precision by automatically adjusting settings based on material feedback.
Adjust Blade Pressure Carefully
Balancing blade pressure is essential for achieving clean cuts without damaging your material or the blade itself. To do this, start with proper blade calibration, ensuring your machine’s settings match the manufacturer’s recommendations. Carefully adjust the pressure to avoid pressing too hard, which can cause tearing or uneven edges, or too light, resulting in incomplete cuts. Consider your material selection; thicker or tougher materials may need slightly more pressure, but always test first. Keep in mind that excessive pressure can dull your blade faster and compromise cut quality. Regularly check and fine-tune the pressure as you switch between different materials. Precise adjustments help you maintain suitable blade performance, ensuring clean, professional results every time.
Optimize Speed and Passes
Adjusting blade pressure sets the foundation for a clean cut, but achieving perfect results also depends on how you manage cutting speed and the number of passes. Proper blade calibration ensures your blade is sharp and accurate, reducing the need for excessive passes. When selecting material, consider its thickness and density, as these factors influence the ideal speed and passes. For delicate materials, use slower speeds and fewer passes to prevent tearing, while thicker materials may require increased speed and additional passes for a clean cut. Experiment with small adjustments to find the right balance, and always test on scrap material first. Balancing speed, passes, and blade calibration ensures smooth cuts and minimizes wear on your blade.
Common Cutting Problems and How to Troubleshoot Them
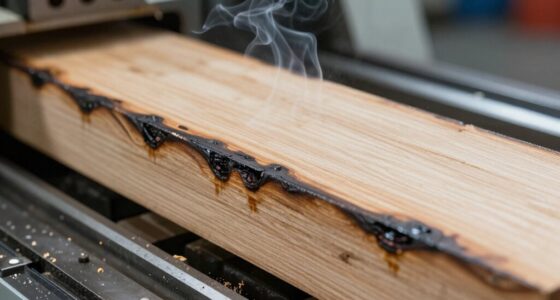
Cutting problems are common when working with blades, but many can be quickly identified and fixed with a bit of troubleshooting. If your cuts are jagged or incomplete, check your blade alignment—misalignment causes uneven cuts. For laser engraving, improper blade positioning can affect the quality of the cut or engraving depth. Ensure the blade is centered and securely fastened. If you notice burning or melting, your blade pressure might be too high, or the speed too slow. Dull blades can also cause tearing or rough edges; replace or sharpen as needed. Regularly inspecting your blade setup and maintaining proper alignment helps prevent common issues. Troubleshooting these areas guarantees cleaner cuts and better overall results, saving you time and material waste.
Testing and Fine-Tuning Your Settings for Consistent Results

Once you’ve confirmed your blade is properly aligned and in good condition, it’s time to test and fine-tune your settings to achieve consistent results. Start by running test cuts on scrap material similar to your project. Adjust blade pressure gradually, observing how it affects material adhesion and cut quality. Too much pressure can reduce blade longevity, while too little may cause incomplete cuts. Watch for clean edges and good material adhesion without tearing or lifting. Fine-tuning involves balancing speed and passes to prevent overheating or uneven cuts. Record your ideal settings for future use, ensuring repeatability. Regular testing and adjustments help maintain consistent results, prolong blade life, and improve overall cutting precision.
Final Tips for Achieving Perfect Cuts Every Time

To achieve perfect cuts every time, focus on maintaining consistent settings and paying close attention to your material and blade condition. Proper blade alignment is essential—misaligned blades cause uneven cuts and material damage. Before each cut, double-check the blade’s position and ensure it’s straight. Material selection also plays a critical role; choose the right type and thickness for your project. Using compatible materials reduces strain on your blade and improves cut quality. Regularly inspect your blade for dullness, nicks, or debris that can impact performance. Keep your machine clean and well-maintained to prevent issues. By carefully aligning your blade and selecting appropriate materials, you’ll consistently achieve clean, precise cuts with minimal effort.
Frequently Asked Questions
How Do Ambient Temperature and Humidity Impact Cutting Quality?
Ambient temperature and humidity greatly influence cutting quality by modifying environmental factors and material conditions. High humidity can cause materials to swell or become damp, leading to uneven cuts, while low humidity may dry out materials, making them brittle. Elevated temperatures can soften materials or cause warping, impacting precision. To guarantee ideal cuts, you should monitor and control environmental factors, adjusting your settings to compensate for changes in ambient temperature and humidity.
What Tools Can Help Precisely Measure Blade Pressure and Speed?
Imagine holding a digital gauge that feels like a precise compass for your cutting machine. These tools help you measure blade pressure and speed with accuracy, ensuring perfect cuts every time. Use calibration tools to fine-tune your settings, like tuning a musical instrument. With these instruments in hand, you gain control and confidence, transforming your workflow into a seamless process that produces consistent, high-quality results.
Can Material Thickness Variations Affect Optimal Cutting Settings?
Material thickness variations can definitely impact your ideal cutting settings. When your material isn’t consistent in thickness, it can cause uneven cuts and reduce cutting precision. To maintain quality, you should regularly check for material consistency before starting, and adjust your blade pressure, speed, or passes accordingly. Keeping a close eye on these variations helps guarantee your cuts stay clean and precise, regardless of slight changes in material thickness.
How Often Should I Recalibrate My Cutting Machine?
You should recalibrate your cutting machine regularly, ideally every few months, or after any significant machine maintenance or material change. Frequent calibration ensures your settings stay precise, especially when working with different materials or thicknesses. Consistent calibration frequency helps maintain ideal cutting quality, reduces errors, and prolongs your machine’s lifespan. Make it a routine to check calibration before major projects or when you notice performance issues.
Are There Industry Standards for Recommended Blade Pressure and Speed?
While industry benchmarks offer helpful guidance, your best bet is to follow the recommended guidelines for your specific machine and material. These standards suggest blade pressure and speed settings that optimize cut quality without undue wear. Keep in mind, adjustments may be needed based on your project’s nuances. So, use these benchmarks as a starting point, and fine-tune as you gain experience to achieve perfect results every time.
Conclusion
Mastering your blade pressure, speed, and passes is like fine-tuning a delicate instrument. With patience and a bit of experimentation, you’ll find the perfect harmony that brings your projects to life. Remember, even the best setups sometimes need gentle adjustments—think of it as guiding your cutter toward its best performance. Keep testing, stay curious, and soon you’ll enjoy flawless cuts that feel almost effortless. Happy crafting!