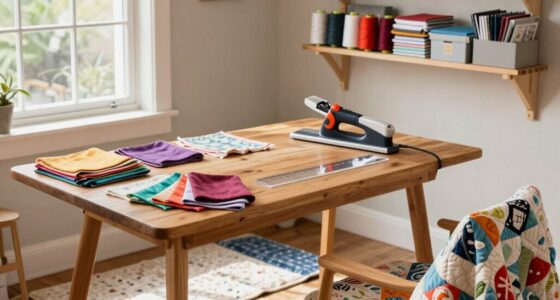
Before you start tufting, plan your workspace to stay organized and safe. Choose the right tool—manual for small projects or electric for larger ones—based on your skill level. Wear safety glasses and gloves, and keep the area well-ventilated. Think about sustainable materials to lessen environmental impact. Learning proper techniques and safety measures is essential to achieve professional results and enjoy your craft. Keep exploring further tips to make your tufting experience even smoother.
Key Takeaways
- Choose the right tufting tool (manual or electric) based on your skill level and project size.
- Organize a safe, well-ventilated workspace with proper storage and safety gear.
- Select suitable, eco-friendly yarns and adhesives for durability and sustainability.
- Learn tufting techniques thoroughly through tutorials to prevent mistakes and injuries.
- Plan your design and gather all materials beforehand to ensure a smooth crafting process.
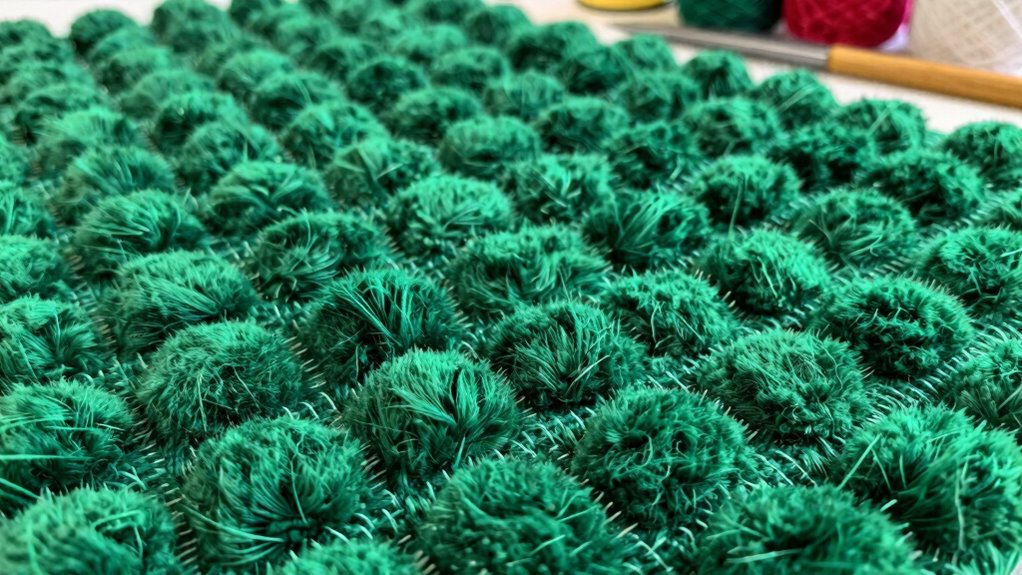
Have you ever watched a tufting project come together and thought, “That looks so fun”? It’s easy to get excited about creating your own plush, textured piece, but before you jump in, it’s important to plan carefully. The first step is understanding tool selection. Different tufting tools can dramatically impact your project’s outcome, so choose wisely. Manual tufting guns, for example, are great for small projects and beginners, offering precision and control. Electric tufting guns, on the other hand, are faster and better suited for larger pieces or more experienced crafters. Make sure to select tools that match your skill level and project scope. Also, consider the type of yarn you want to use; some tools work better with thicker or thinner fibers. Having the right tool for your project not only makes the process smoother but also helps you achieve cleaner, more professional results.
Once you’ve picked your tools, safety precautions should be your top priority. Tufting involves sharp needles, electrical components, and sometimes strong adhesives or dyes, all of which can pose risks if not handled properly. Always wear safety glasses to protect your eyes from flying fibers or accidental needle slips. Gloves can provide extra protection against sharp needles, especially if you’re working with high-powered tufting guns. Make sure your workspace is well-ventilated, especially if you’re using adhesives or dyes, to avoid inhaling fumes. Keep your workspace organized and free of clutter so you don’t accidentally trip over cords or knock over sharp tools. Remember to read the instructions that come with your tufting gun thoroughly — improper handling can lead to injuries or equipment damage. Unplug your tools when not in use, and never force a tool if it jams or seems malfunctioning. Additionally, understanding the safety precautions associated with tufting can significantly reduce the risk of accidents and ensure a smooth crafting experience. Proper workspace organization is equally essential to maintain a safe environment and streamline your workflow. Taking the time to familiarize yourself with tufting techniques can also help prevent common mistakes and improve your overall craftsmanship. Being aware of the biodiversity implications of materials and tools you choose can also contribute to more sustainable practices in your craft.
Planning your workspace and safety measures upfront saves you frustration and potential injuries later. It also helps you develop a smooth workflow, making the actual tufting process more enjoyable. When you’re prepared with the right tools and safety precautions in place, you’ll feel more confident and focus more on the creative aspect of tufting. This preparation ensures your project progresses efficiently and safely, letting you enjoy the craft without worry. Tufting is indeed fun, but a little planning goes a long way in turning that fun into a successful, satisfying experience. So, take the time to choose your tools carefully and prioritize safety — your future self will thank you as you craft beautiful, plush pieces with ease and confidence.

Tufting Gun Cut Pile and Loop Pile 2 in 1 Electric Rug Gun Machine Starter Kit for Tufting Lover
【GREAT DIY TOOLS】: The tufting gun cut pile has good durability, which can help to make kinds of…
As an affiliate, we earn on qualifying purchases.
As an affiliate, we earn on qualifying purchases.
Frequently Asked Questions
What Tools Do I Need for Tufting?
To get started with tufting, you’ll need essential tools like a tufting gun or needle, a sturdy frame, and yarn or tufting material. Make certain you understand tufting techniques to achieve your desired look. Also, regularly maintain your tools by cleaning and checking for damage. Proper tool maintenance ensures consistent results and longevity, helping you create beautiful, professional-looking tufted projects with ease.
How Much Fabric Is Required for a Project?
For your tufting project, you’ll need enough fabric to cover your desired project size plus some extra for stretching and handling. Consider your fabric selection carefully, choosing a durable material suited for tufting. Measure your project area accurately, then add at least 10-20% extra to account for adjustments and errors. This guarantees you have sufficient fabric to complete your design comfortably and achieve professional-looking results.
What Types of Yarn Are Best for Tufting?
For tufting, opt for yarns with good durability like wool or polyester blends, which withstand wear and tear. Consider your color selection carefully—choose vibrant or contrasting shades to make your design pop, or neutral tones for a subtle look. Avoid delicate or slippery yarns that might be hard to work with or won’t hold up over time. Your choice of yarn considerably impacts both the longevity and visual appeal of your tufted piece.
How Long Does It Take to Complete a Tufted Piece?
It typically takes anywhere from several hours to a few days to complete a tufted piece, depending on size and complexity. To manage your project timeline effectively, break the work into smaller tasks and set realistic deadlines. Good time management helps you stay on track and avoid rushing. Remember, larger or detailed projects might require more time, so plan accordingly to guarantee quality and enjoy the process.
Can I Customize the Design Easily?
Absolutely, you can customize your design easily. Imagine mixing vibrant color combinations or creating intricate patterns that reflect your style. The level of pattern complexity varies, giving you flexibility—from simple shapes to detailed artwork. You hold the power to make your tufted piece uniquely yours, adjusting colors and designs as you go. So, don’t hold back—your creative vision can truly come to life with a little planning and imagination.

And-et DuraTuft Yarn 45 Vibrant Colors Tufting Nylon Yarn Pack – Ideal for Crochet, Craft Projects -100% B.C.F. – 3 Cones x 1.66lbs -180yards -Perfect for Rug Weaving and Knitting (44 Black)
Pre-Separated Cones: DuraTuft yarn comes in three strands for easy handling; ideal for blending multiple colors and creating…
As an affiliate, we earn on qualifying purchases.
As an affiliate, we earn on qualifying purchases.
Conclusion
Before you plunge into tufting, remember that a little planning goes a long way—it’s like realizing you’ve had the perfect fabric all along, just waiting for the right project. As you gather your supplies, you might unexpectedly find that a forgotten scrap becomes the perfect accent. Sometimes, the best ideas come when you least expect them, turning a simple craft into something truly special. So, plan ahead, stay flexible, and enjoy the fun of creating something uniquely yours.

Schwer 2 Pairs Cut Resistant Gloves ANSI A6/A7 (Send Randomly) Cut Proof Work Gloves, Touchscreen, for Men and Women Used for Woodworking, Glass Cutting, Construction, Cargo Handling, Car Repair, M
ANSI A6 Cut Resistant—Our cut-resistant work gloves meet ANSI A6 standards, offering exceptional protection against medium to heavy…
As an affiliate, we earn on qualifying purchases.
As an affiliate, we earn on qualifying purchases.

Manual Tufting Gun, Loop Pile Tufting Gun Handheld Rug Gun Carpet Machine Rug Gun Carpet Machine Manual Tufting Carpet Tools for Beginners Skilled People DIY Tufting Artworks (8-15mm Loop Pile)
IMPROVE EFFICIENCY: It has the characteristics of fast weaving speed and flexible movement. The simple operation mode can…
As an affiliate, we earn on qualifying purchases.
As an affiliate, we earn on qualifying purchases.