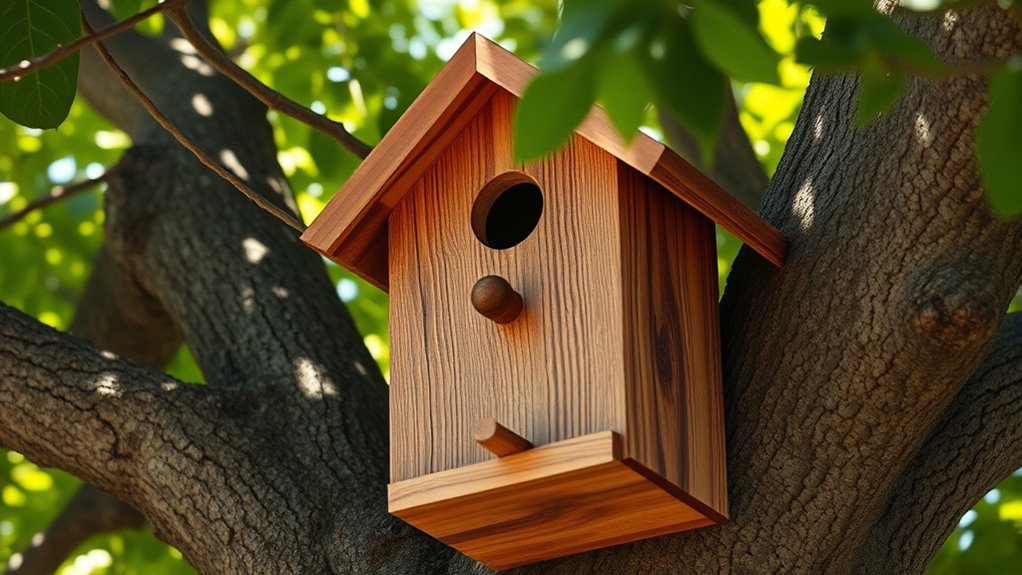

To build a DIY birdhouse, start by choosing untreated, weather-resistant wood like cedar or pine. Measure and cut the pieces carefully, including a base, walls, and a sloped roof. Drill a proper entrance hole and ventilation vents, then assemble using galvanized nails or screws. Seal seams with non-toxic waterproof caulk and add predator guards. Mount it at the right height in a sheltered spot. Keep learning steps to guarantee your birdhouse is safe, durable, and attracts your favorite birds.
Key Takeaways
- Select appropriate size, entrance hole diameter, and interior space based on target bird species.
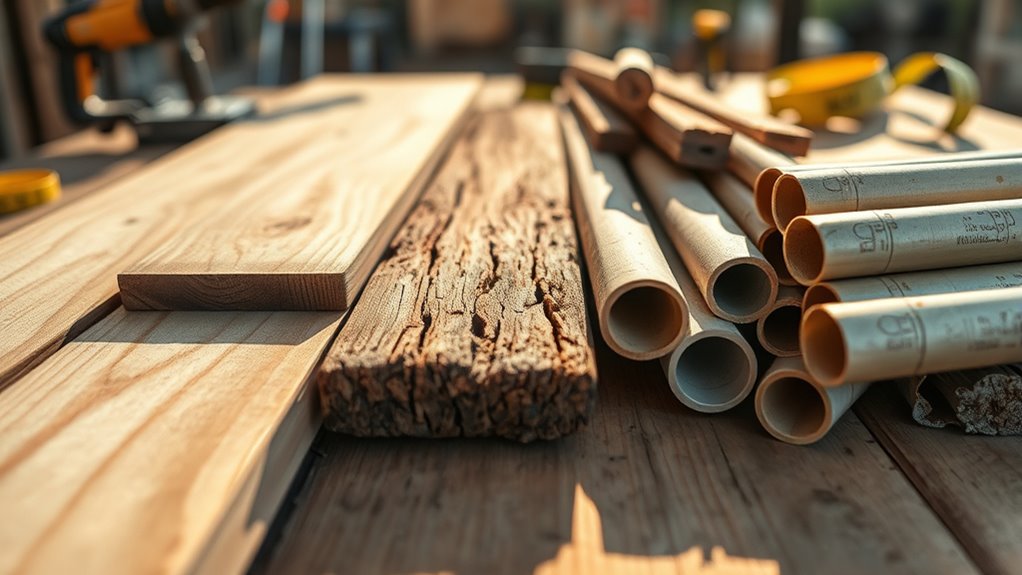
- Use untreated, weather-resistant wood like cedar or pine, and gather all necessary tools and fasteners.
- Cut and sand pieces carefully, then assemble with galvanized nails or screws, ensuring proper alignment and sealing.
- Mount the birdhouse at the correct height and location, away from predators and harsh weather.
- Regularly clean and inspect the birdhouse annually to maintain a safe and healthy nesting environment.
Selecting the Right Materials for Your Birdhouse
Choosing the right materials is essential to building a durable and safe birdhouse. You want materials that can withstand weather without cracking or rotting, so opt for untreated wood like cedar, pine, or redwood. Avoid pressure-treated wood, as chemicals can harm birds. Make certain the wood is solid and free of splinters to prevent injuries. For the roof, use weather-resistant materials like asphalt shingles or metal sheeting to keep rain out. When choosing nails or screws, opt for galvanized or stainless steel to prevent rust. Also, consider using non-toxic paint or stain if you want to add color or decoration, but keep it minimal to avoid disturbing the birds. Picking quality, bird-safe materials ensures your feathered friends stay safe and comfortable. Additionally, selecting materials that align with ethical and safe design choices can help you understand the importance of ethical and safe design choices.
Designing the Perfect Birdhouse Plan
Creating an effective birdhouse plan begins with understanding the needs of the species you want to attract. Focus on size, entrance hole diameter, and interior space to match their preferences. Consider the bird’s nesting habits and height preferences when designing the location. A well-thought-out plan guarantees your birdhouse provides comfort and safety.
| Bird Species | Preferred House Features |
|---|---|
| Bluebirds | Larger entrance, open floor plan |
| Chickadees | Smaller entrance, cozy interior |
| Material Durability | Ventilation Needs |
| Weather-resistant | Proper airflow to prevent overheating |
| Easy to clean | Accessible cleanout door |
Gathering Necessary Tools and Supplies
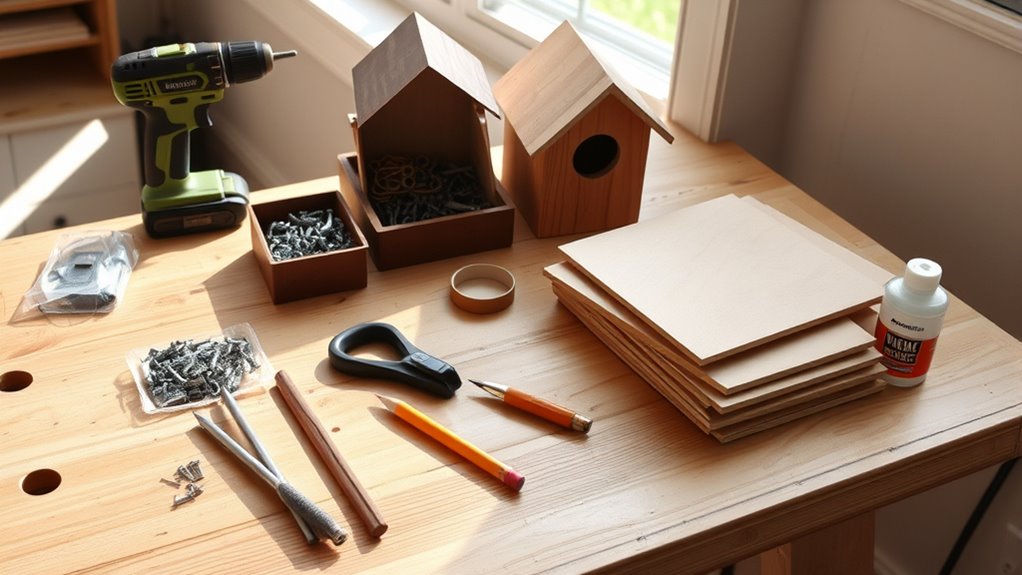
To start building your birdhouse, gather all the necessary tools and supplies beforehand. You’ll need basic hand tools like a saw, hammer, and screwdriver. A measuring tape or ruler is essential for accurate dimensions, and a pencil helps mark cuts. Have safety gear on hand, such as gloves and safety glasses. For supplies, pick weather-resistant wood like cedar or pine, along with nails or screws suitable for outdoor use. You might also want hinges or a latch if you plan to make an accessible cleanout. Don’t forget to gather paint or sealant if you want to add protective finishes. Ensuring your materials are durable is crucial for the longevity of your birdhouse in outdoor conditions. Additionally, selecting appropriate bird-friendly designs can help attract different bird species and support local wildlife. Incorporating environmentally sustainable materials can further enhance the ecological benefits of your project. Having everything ready before you begin guarantees a smooth building process and saves you from interruptions. Prepare your workspace to keep tools organized and accessible.
Cutting and Preparing the Wood Pieces
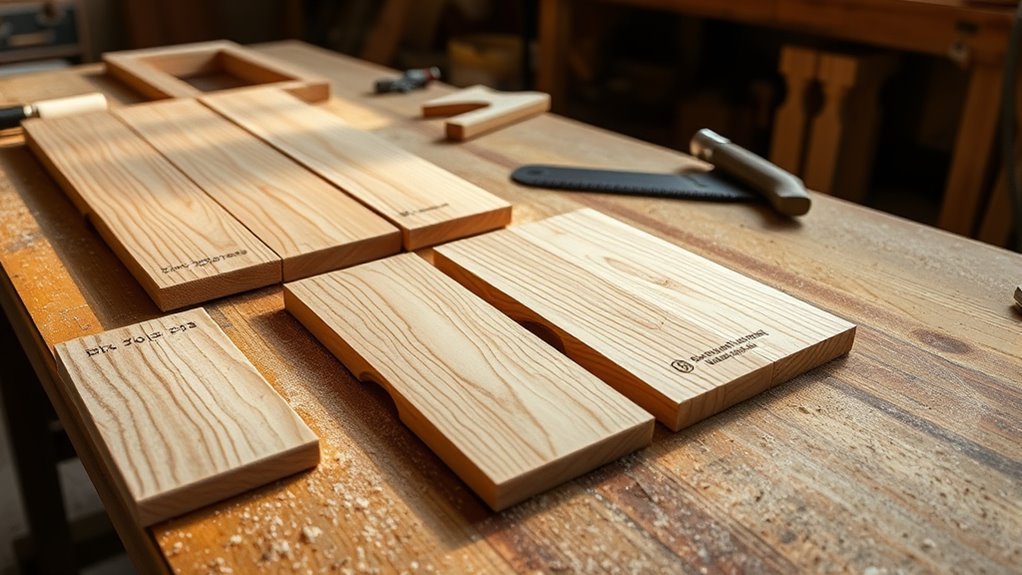
Have you measured and marked all your wood pieces yet? Now it’s time to cut them to size. Use your saw carefully, following your measurements precisely. Keep your hands clear of the blade and work on a stable surface. For clean cuts, saw slowly and steadily. When cutting, double-check each piece to ensure it matches your plans. Sand the edges after cutting to remove splinters and rough spots. Smooth edges help prevent injury to the birds and make assembly easier. If you’re using multiple pieces, label them to avoid confusion later. Take your time during this step; accuracy now makes the building process smoother. Additionally, inspecting the wood for any splinters or rough spots before assembly can prevent injuries and ensure a safer environment for the birds. Ensuring proper cutting techniques can also improve the overall quality of your birdhouse. Once all pieces are cut and prepared, you’re ready to move on to the next stage of assembly.
Assembling the Birdhouse Structure
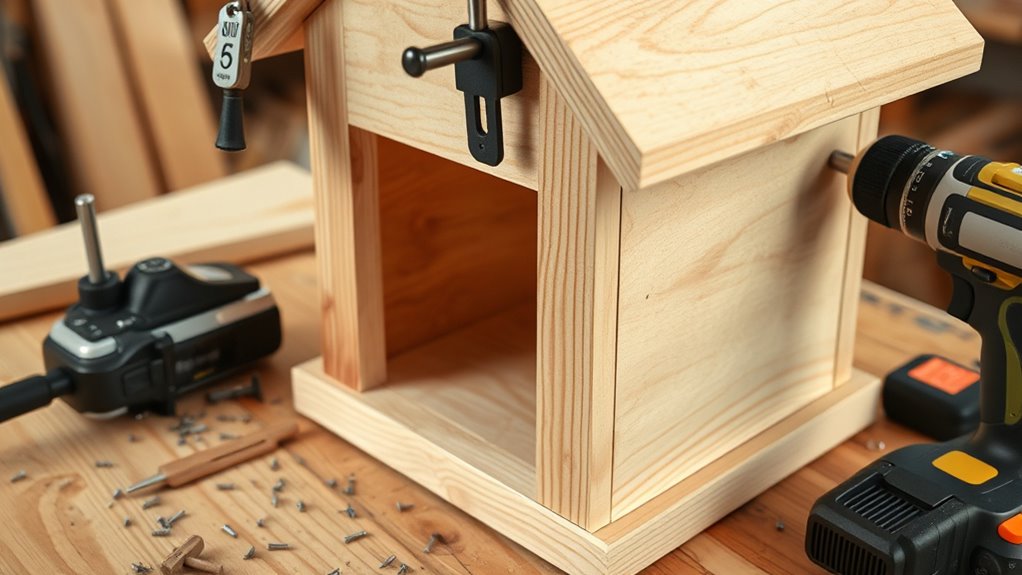
Start by choosing sturdy, weather-resistant materials to guarantee your birdhouse lasts. Next, assemble the base and walls securely, making sure everything fits snugly. Finally, attach the roof firmly to protect the birds from rain and wind.
Selecting Suitable Materials
Choosing the right materials is essential for building a durable and safe birdhouse. Opt for untreated wood like cedar or pine, which resist decay and are safe for birds. Avoid using pressure-treated wood, as chemicals can harm your feathered visitors. Use galvanized or stainless steel nails and screws to prevent rusting and ensure stability over time. Keep your materials simple—plywood with a smooth finish works well, but avoid painted or stained surfaces that could contain harmful chemicals. When selecting your wood, check for straight grains and minimal knots, which add strength. Additionally, ensure all pieces are cut precisely to fit, reducing gaps and weaknesses. Using quality, bird-safe materials guarantees your birdhouse will last and provide a safe haven for your local avian friends. Proper construction techniques are also vital to ensure the stability and safety of the birdhouse. Incorporating durable, weather-resistant materials can further enhance the longevity of your birdhouse, ensuring it withstands the elements over time. To maximize the durability of your birdhouse, consider weather-resistant finishes that can protect the wood without compromising the safety of the birds. Selecting materials with natural insect-repelling properties can also help protect your birdhouse from pests and prolong its usefulness.
Assembling Base and Walls
To begin assembling the birdhouse structure, lay out the base and side walls on a flat surface. Make certain the pieces are aligned correctly, with the edges matching up. Use wood screws or nails to attach the side walls to the base, starting with one corner and working your way around. Drill pilot holes first to prevent splitting. Hold the pieces firmly in place as you secure them. Check that the walls are perpendicular to the base using a square, and make adjustments if necessary. Once the sides are securely attached, reinforce the joints with additional nails or screws for stability. Keep your workspace organized to avoid losing small hardware, and work carefully to ensure a sturdy, well-formed frame for your birdhouse. Ensuring proper water-resistant treatment of the wood can help prolong the lifespan of your birdhouse in outdoor conditions. Additionally, applying a non-toxic sealant can provide extra protection for the birds and the structure. Incorporating proper ventilation can also improve the comfort and safety of the nesting environment. Using weatherproof materials and coatings can further enhance durability against the elements, especially when combined with natural materials that blend into the outdoor environment.
Securing the Roof Properly
Once the side walls are securely attached and the frame feels stable, it’s time to focus on securing the roof. Place the roof panels carefully on top of the birdhouse, aligning edges precisely. Use galvanized nails or screws to attach the roof, driving them in along the edges to ensure it stays firmly in place. Check for any gaps or loose spots and reinforce them as needed. If your roof has overhangs, make sure they’re even to protect the entrance from rain. For extra security, consider applying a small bead of waterproof caulk along the seams. This prevents water from seeping in and prolongs the life of your birdhouse. A well-secured roof provides safety and durability for your feathered visitors. When attaching the roof, ensure the proper fastening techniques are used to maximize stability and prevent potential damage over time. Using the correct fastening methods can also help in maintaining the overall integrity of the birdhouse structure.
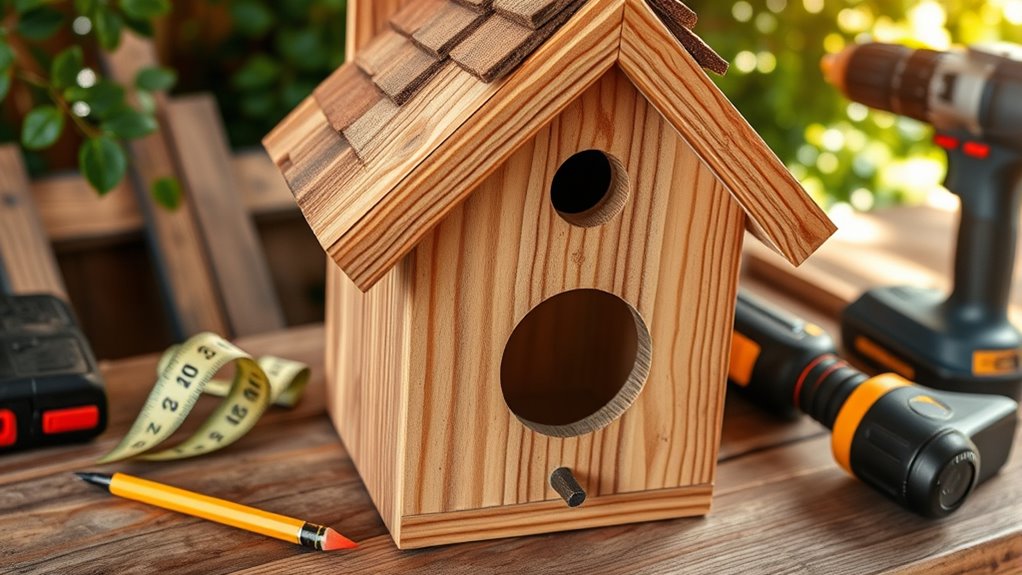
Adding Entrance and Ventilation Openings
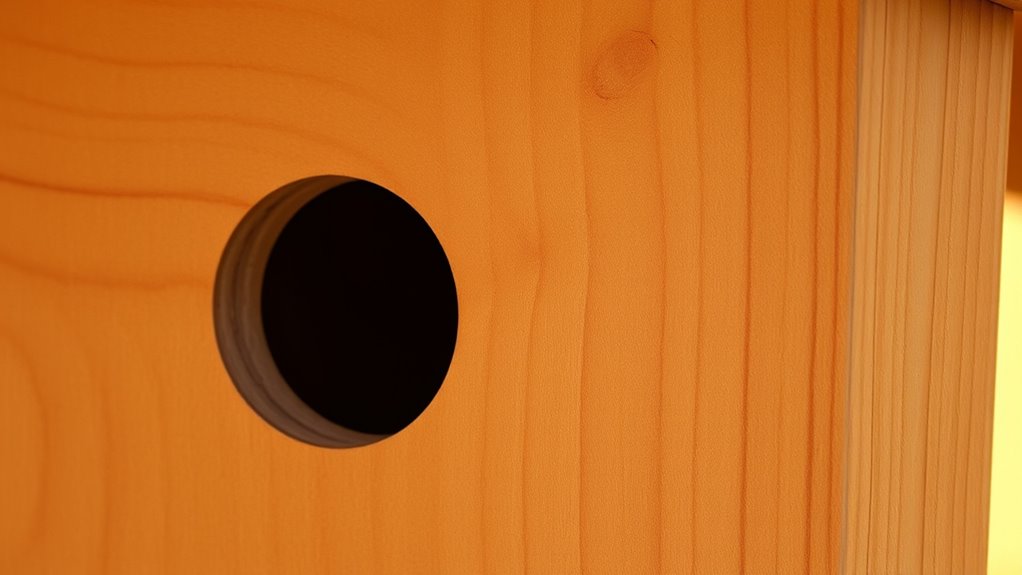
Adding entrance and ventilation openings is essential for the birdhouse’s functionality and the birds’ well-being. Proper openings allow birds to enter comfortably and ensure good airflow inside. You’ll want to choose a size that’s suitable for the species you’re targeting—typically around 1 to 1.5 inches in diameter. Position the entrance hole about 6 inches above the base to keep predators out. Ventilation holes near the top help prevent overheating and humidity buildup, promoting a healthy environment. Be sure to:
Ensure proper airflow and predator protection with well-placed entrance and ventilation holes.
- Drill the entrance hole at the appropriate height and size
- Add small vents near the roof for airflow
- Avoid placing openings where rain can enter easily
- Incorporate proper ventilation design to optimize airflow and temperature control inside the birdhouse.
Ensuring proper AI integration in design can help monitor the conditions inside your birdhouse. These adjustments make your birdhouse safe and inviting for its new inhabitants.
Finishing Touches for Durability and Safety
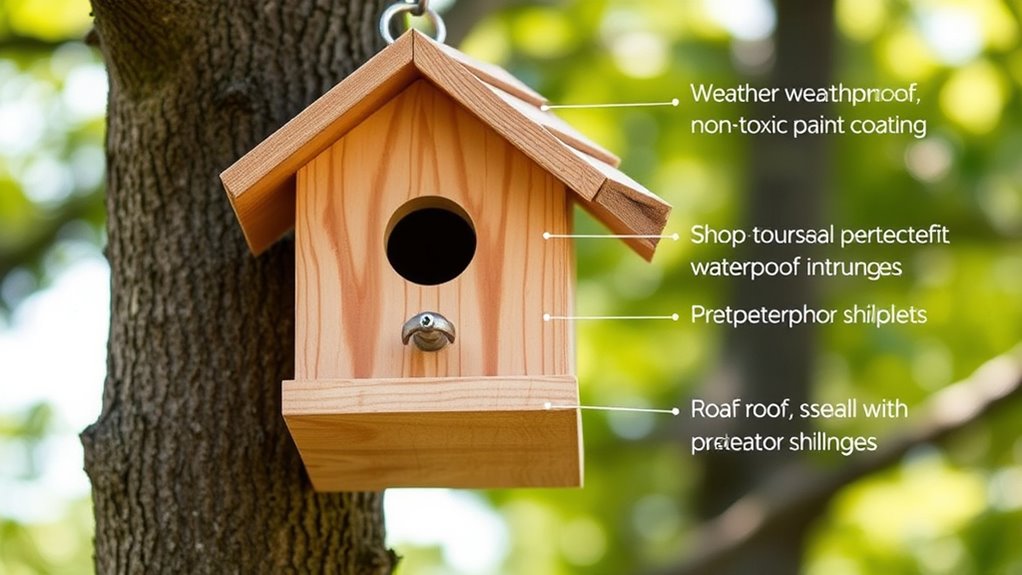
Ensuring your birdhouse is both durable and safe involves applying finishing touches that protect it from the elements and predators. Start by sealing all surfaces with a non-toxic, weatherproof finish to prevent wood rot. Use predator guards like metal bates or baffles around the entrance to deter predators. Elevate the birdhouse off the ground on a sturdy post or mount to avoid moisture and pests. Additionally, consider adding a sloped roof to shed rain effectively. Here’s a quick overview:
| Finish & Protection | Purpose |
|---|---|
| Weatherproof Sealant | Protects wood from moisture and decay |
| Predator Guards | Prevents predators from reaching nest |
Installing Your Birdhouse in the Ideal Location
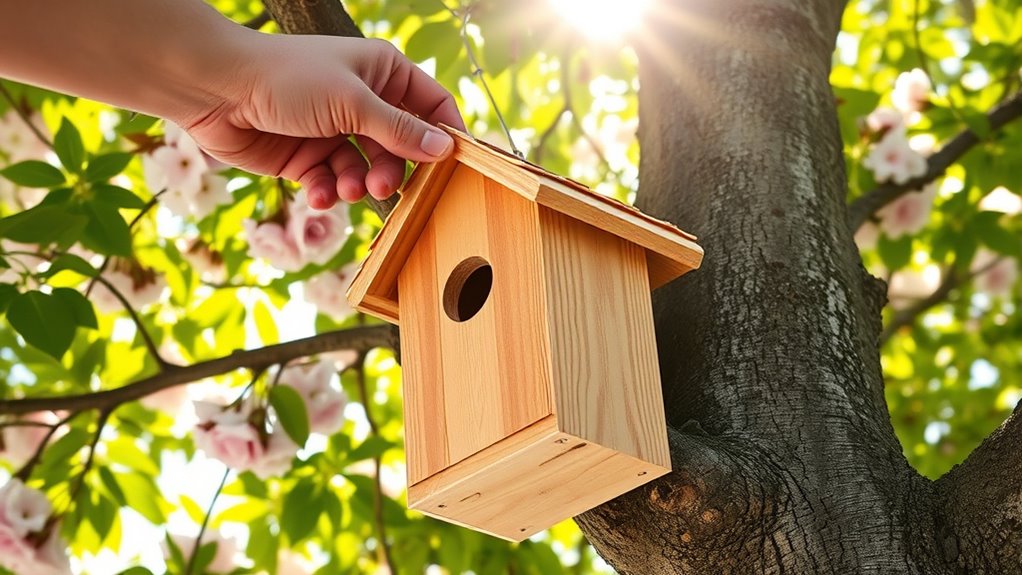
Choose a height between 5 and 10 feet to keep your birdhouse safe from predators. Look for a spot with plenty of natural cover, like trees or shrubs, to make birds feel secure. Make sure the area is free of harsh chemicals and busy human activity to encourage nesting.
Placement Height Tips
Where you place your birdhouse can make all the difference in attracting and keeping birds safe. Position it at the right height to guarantee birds feel secure while also making it easy for them to access. Generally, mount your birdhouse between 5 to 12 feet above the ground, depending on the species you’re targeting. Too low, and predators might reach the nest; too high, and birds may struggle to find it. Consider the local environment, avoiding spots exposed to harsh weather or heavy activity. Keep the entrance clear of branches or vegetation that could block access. Proper height encourages safe nesting and reduces disturbance, giving the birds a welcoming home.
- Place the house at the height preferred by local bird species
- Avoid mounting near dense foliage or branches
- Ensure the entrance is visible but protected from predators
Choosing Safe Surroundings
Selecting a safe spot for your birdhouse involves more than just finding the right height; it requires careful consideration of the surrounding environment. You want to choose a location that offers shelter from harsh weather and predators. Avoid placing the house near busy areas or noisy equipment, as disturbance can scare away birds. Look for a spot with some shade during the hottest parts of the day to prevent overheating. Guarantee the area has nearby trees or shrubs for birds to perch and forage. Keep the birdhouse away from direct sunlight and prevailing winds to maintain a stable environment. By selecting a location with these considerations in mind, you’ll give your feathered visitors a safe, comfortable place to nest and thrive.
Maintaining and Cleaning Your Birdhouse Over Time
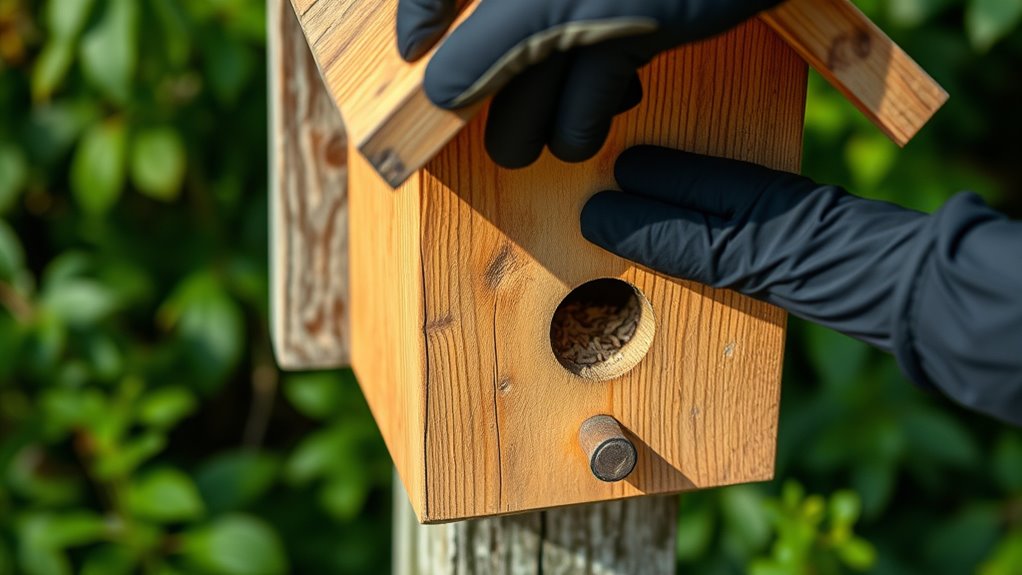
Regular maintenance and cleaning are essential to keep your birdhouse safe and inviting for your feathered visitors. Over time, nests, droppings, and debris can accumulate, which may spread disease or deter new birds from nesting. To sustain a healthy environment, clean your birdhouse at least once a year, preferably after the breeding season. Remove old nesting material carefully and scrub the interior with a solution of water and mild soap or vinegar. Rinse thoroughly and let it dry completely before reusing.
- Inspect for damage or wear and repair as needed
- Replace any rotting or broken parts to ensure safety
- Reposition the birdhouse if it’s in a high-traffic or exposed area
Frequently Asked Questions
How Do I Attract Specific Bird Species to My Birdhouse?
To attract specific bird species, you need to tailor your birdhouse to their preferences. Research their nesting habits, preferred size, and location. For example, bluebirds like open areas with low shrubs, so place your birdhouse accordingly. Offer their favorite nesting materials nearby, like soft grasses or pine needles. Avoid scented paints or chemicals, and keep the house clean. Patience and consistent effort will help draw the species you’re targeting.
What Are Common Mistakes to Avoid When Building a Birdhouse?
When building a birdhouse, you should avoid common mistakes like choosing the wrong size or material, which can deter birds. Don’t forget proper ventilation and drainage to keep the interior dry and comfortable. Position the house at the right height and away from predators. Also, avoid using treated wood or toxic paints, and confirm the entrance hole is appropriate for your target species. These steps help create a safe, inviting home.
How Often Should I Clean and Inspect My Birdhouse?
You should clean and inspect your birdhouse at least once a year, ideally after the breeding season ends. Check for damage, mold, or pests, and remove old nests to prevent disease. If you notice any issues, clean thoroughly with a mild solution and repair as needed. Regular inspections guarantee a safe, healthy environment for the birds and help you spot problems early before they worsen.
Can I Paint or Decorate My Birdhouse Without Harming Birds?
Ever imagined your birdhouse as a tiny art gallery? You can paint or decorate it, but choose non-toxic, water-based paints to keep birds safe. Avoid bright colors that might deter them, and steer clear of toxic or oil-based paints. Would you want your feathered friends to move in? Keep decorations simple, natural, and bird-friendly so they feel welcome and secure in their cozy new home.
What Safety Precautions Should I Take During Construction?
During construction, you should wear gloves and a mask to protect yourself from dust and splinters. Guarantee your workspace is well-ventilated and keep tools organized to prevent accidents. Use non-toxic, bird-safe paints or finishes if you plan to decorate later. Always follow safety instructions for power tools, and keep your work area clean. Taking these precautions helps you build safely while creating a safe home for the birds.
Conclusion
Now that your birdhouse is ready, it’s like opening a cozy, inviting nest for feathered friends to sing and dance. With each nail hammered and each perch placed, you’re crafting a tiny sanctuary amidst nature’s grand symphony. Watch as your new creation becomes a bustling hub of chirps and fluttering wings, turning your backyard into a lively paradise. Your effort transforms a simple project into a welcoming haven where nature’s melodies can flourish.