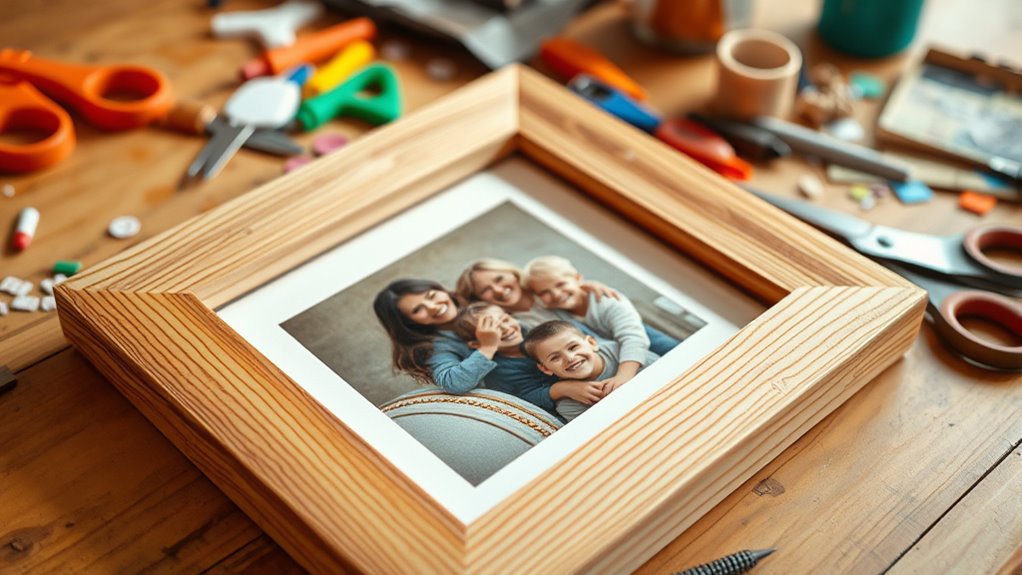
To make a DIY photo frame, gather materials like wood, cardboard, or recycled items, then measure and cut your pieces carefully. Assemble the frame by securing the corners with glue or nails, reinforcing for stability. Decorate it with paints, embellishments, or memorabilia that match your style. Finish by adding a sealant or paint for a polished look, then insert your photo and find the perfect spot to display your personalized creation. If you keep going, you’ll discover more tips to perfect your frame.
Key Takeaways
- Gather suitable materials and tools, then decide on your frame style and photo size preferences.
- Measure, mark, and cut the frame pieces accurately using rulers and appropriate cutting tools.
- Assemble the pieces securely, reinforcing corners with glue, nails, or brackets for stability.
- Decorate and personalize the frame with embellishments, memorabilia, or paint to match your style.
- Finish with paint or sealant, insert the photo, and find a suitable spot to display your DIY frame.

Lesnala 6Pcs Unfinished Wood Picture Frames with 4 Sheets Crystal Diamond Stickers Crafts DIY Kits for Adults Kids Party Present Fits 4 X 6 Inch Photo
- Package Includes: 6 unfinished wood frames and 4 diamond sheets
- Size Compatibility: Fits 4×6 inch photos
- DIY Creative Surface: Blank surface for painting and decorating
As an affiliate, we earn on qualifying purchases.
As an affiliate, we earn on qualifying purchases.
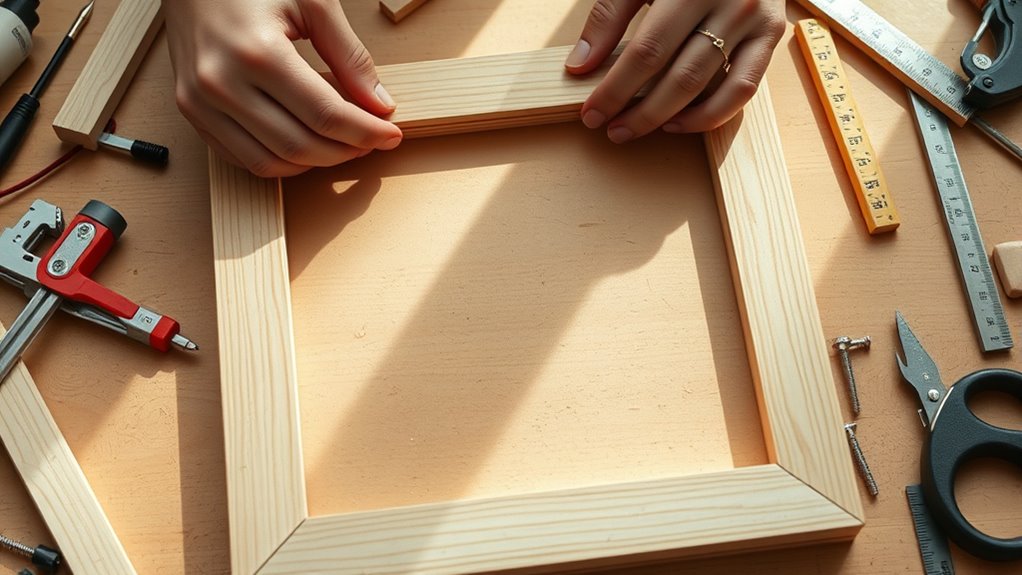
Gather Your Supplies and Choose Your Design
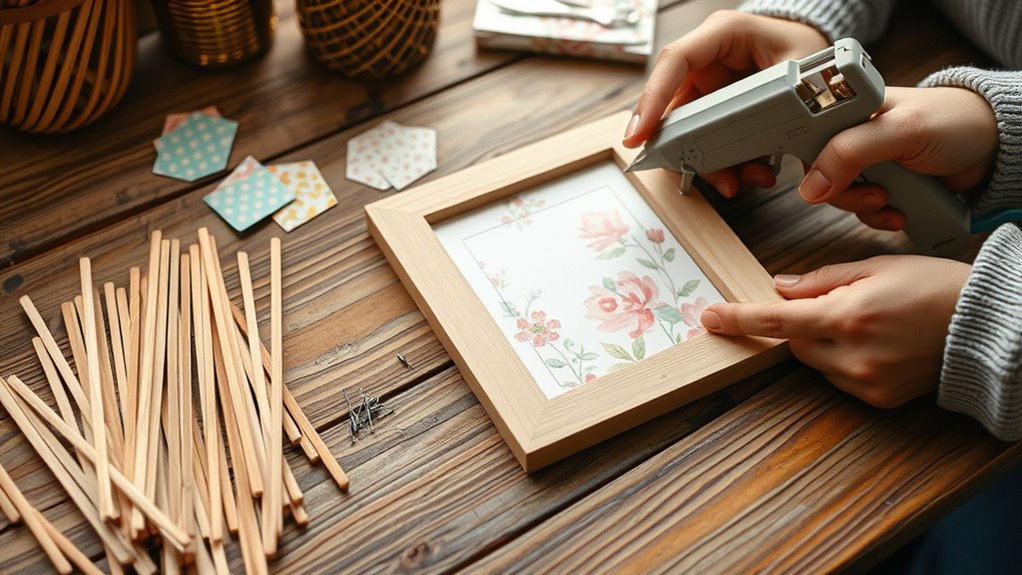
Before you begin building your DIY photo frame, it’s important to gather all the necessary supplies and decide on a design that suits your style. Start by choosing the materials you want to work with—wood, cardboard, or even recycled items. Collect tools like scissors, glue, a ruler, and a cutting knife. Next, pick a style that matches your decor or personal taste—simple, rustic, vintage, or modern. Consider the size of your photo and how much border you want around it. Sketch a rough idea or find inspiration online to guide your choices. Having everything ready and a clear vision in mind will make the building process smoother, quicker, and more enjoyable. Additionally, understanding personal growth and transformation can inspire your creative process and give it a meaningful touch. Incorporating rustic elements can enhance the charm of your DIY photo frame and make it more aligned with farmhouse aesthetics. Embracing creative confidence can help you experiment with different designs and materials to craft a unique piece. Exploring upcycling techniques can also add a distinctive touch and promote sustainable crafting. Furthermore, considering project planning and organization ensures that your crafting process remains efficient and enjoyable.
Measure and Cut the Frame Pieces

Start by gathering your necessary tools, like a ruler, pencil, and saw, so everything’s ready. Incorporate precision in measurement to ensure your frame pieces fit together seamlessly. Measure each piece carefully to make certain the frame fits your photo perfectly. Use your tools to cut with precision, avoiding mistakes that could affect the final look. Remember that accurate measurement is crucial for achieving a professional-looking finished product. Additionally, considering the type of material you are working with can help determine the best cutting techniques to use. Being aware of material properties can also prevent damage or splintering during cutting. Furthermore, understanding the best tools for cutting can improve your accuracy and safety during the process.
Gather Necessary Tools
To accurately measure and cut your frame pieces, you’ll need a few essential tools. First, grab a sturdy measuring tape or ruler to ensure precise measurements. A pencil will help you mark where to cut, so keep one handy.
You’ll also need a saw suitable for your material—whether it’s a handsaw or a power saw—so you can make clean, straight cuts. Clamps are useful for holding the material steady while cutting, preventing slips and ensuring safety.
If you’re working with delicate or thin materials, a miter box can help guide your saw for accurate angles. Finally, having a work surface or cutting mat protects your workspace and keeps your tools in good condition.
Gather these tools before starting to make the process smoother and safer.
Measure Accurate Lengths
Accurately measuring your frame pieces is essential for a perfect fit. Take your time to get precise measurements so your frame looks professional and holds your photo securely. Use a ruler or measuring tape to determine the length and width for each side. Double-check your measurements before cutting, because even small mistakes can affect the final look. Remember, a well-measured frame enhances the beauty of your photo and boosts your confidence in your craftsmanship. Incorporating measurement accuracy techniques when planning your measurements can further improve your project’s success.
Cut With Precision
Since precise measurement is essential for a clean cut, take your time to mark your frame pieces carefully before cutting. Use a ruler and a sharp pencil to draw straight lines along your marked measurements, ensuring accuracy. Double-check your measurements to prevent mistakes, as even small errors can affect the final look. Incorporate safe cutting techniques to maintain control and reduce the risk of accidents. When you’re ready to cut, secure the wood firmly with clamps to prevent shifting. Use a miter saw or a sharp handsaw for clean, straight edges. Follow your markings closely, applying steady pressure without forcing the saw. Take your time with each cut to avoid uneven edges or splinters. Remember, fatherly guidance can be a helpful reminder to stay patient and meticulous throughout your project. Additionally, practicing proper tool handling can enhance safety and precision during your cutting process. Being mindful of workplace organization and keeping your workspace tidy can also prevent accidents and improve your workflow.
Assemble the Frame Structure
Before assembling the frame, lay out all the pieces to guarantee everything fits together smoothly. Check each corner and side to ensure they’re straight and clean.
Lay out all pieces first to ensure a smooth assembly process.
Place the frame pieces on a flat surface, aligning the edges carefully. Start by connecting two pieces at a corner, applying gentle pressure to fit them snugly. Make sure the mitered edges meet evenly for a seamless look.
Continue attaching each piece in a similar manner, working your way around the frame. Keep the pieces aligned and double-check measurements as you go.
Take your time to avoid gaps or misaligned corners. Once all the pieces are connected, you’ll have the basic structure ready for the next steps in strengthening and finishing your DIY photo frame.
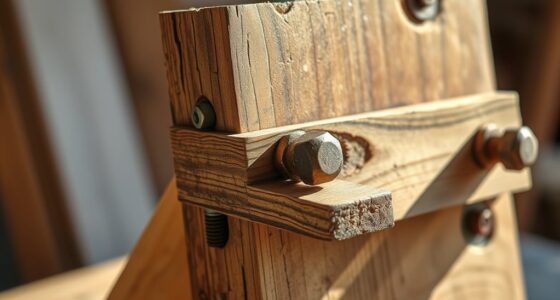
Secure the Corners and Reinforce
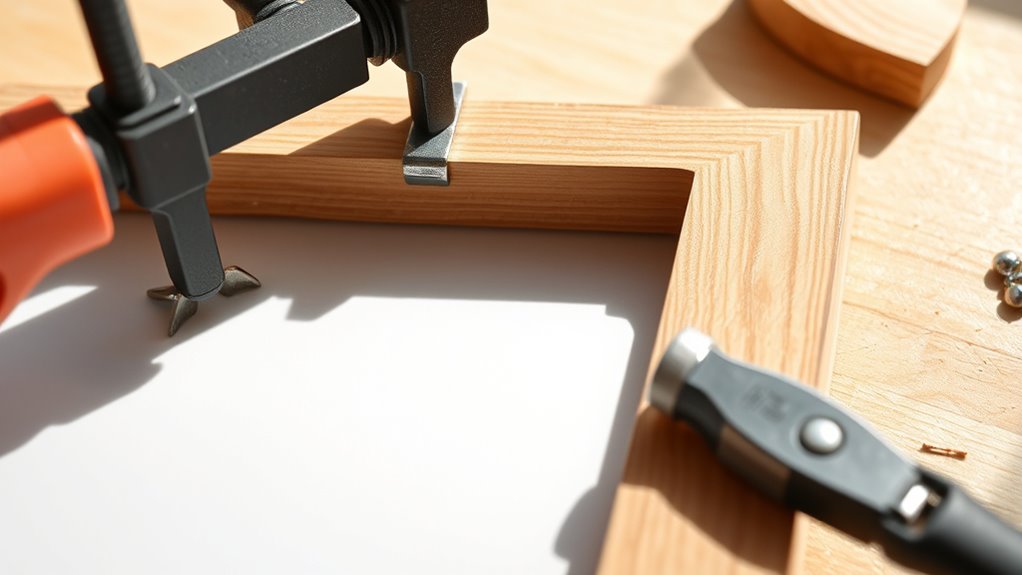
To guarantee your photo frame remains sturdy and looks professional, start by securing each corner with corner brackets or braces. These metal or wooden supports help hold the joints tightly together, preventing wobbling or shifting over time. Using proper fasteners ensures the stability of the frame, much like co-parenting responsibilities are essential to maintain children’s welfare during divorce. Use a drill or screwdriver to fasten the brackets securely into the wood, applying gentle pressure to avoid splitting the material. Once the brackets are in place, reinforce the corners with wood glue for added stability. Wipe away any excess glue before it dries. For extra reinforcement, consider adding small nails or screws through the brackets into the frame corners. This extra step ensures your frame holds its shape and durability, providing a solid foundation for your photo display. Incorporating proper fastening techniques can further enhance the longevity of your DIY frame and prevent future issues, especially when combined with knowledge of materials and construction for optimal results. Additionally, understanding different dog breeds and their specific traits can help in selecting the right materials that suit your craft project needs.
Add Decorative Elements and Personal Touches
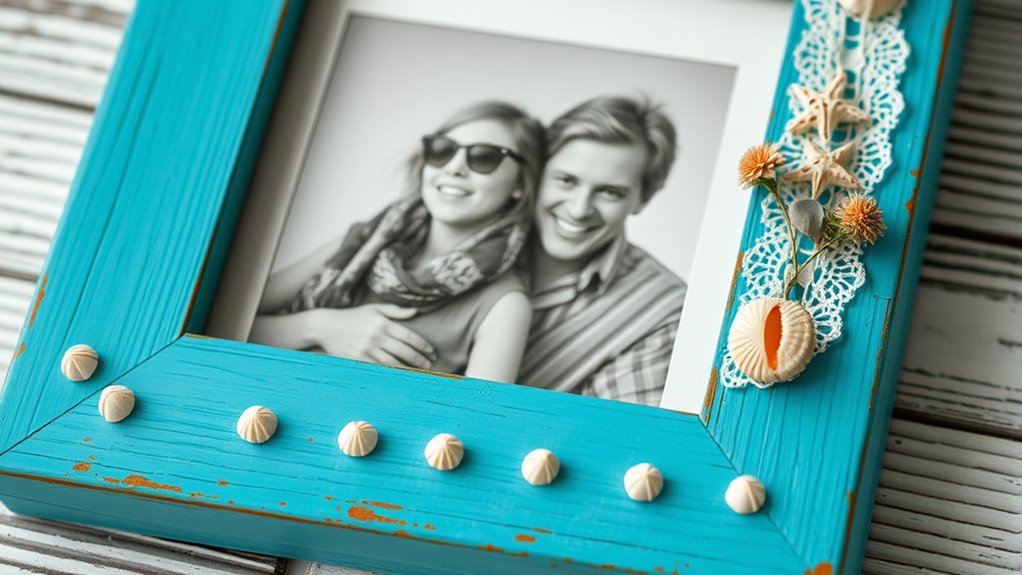
You can make your photo frame stand out by adding unique embellishments that match your style. Personalize it further by including memorabilia or small keepsakes that hold special meaning. These touches will make your frame truly one-of-a-kind and meaningful. Incorporating secure payment processing options can also ensure safe transactions if you decide to sell your handmade frames online. Additionally, using customizable accessories can enhance the overall aesthetic and make your creation even more personalized.
Incorporate Unique Embellishments
Ever wondered how to make your DIY photo frame truly stand out? Adding unique embellishments allows you to showcase your personality and creativity. Think outside the box—use buttons, beads, shells, or even small charms to create texture and visual interest. Layering different materials can give your frame a distinctive look. To help guide your choices, consider this table:
| Embellishment Type | Effect |
|---|---|
| Buttons | Playful, vintage vibe |
| Beads | Elegant, colorful accents |
| Shells | Coastal, natural feel |
| Charms | Personal, meaningful |
| Glitter | Sparkly, eye-catching |
Choose embellishments that reflect your style, and don’t be afraid to mix and match for a truly personalized piece.
Personalize With Memorabilia
Adding personal memorabilia to your photo frame instantly makes it more meaningful and unique. You can include small keepsakes like ticket stubs, pressed flowers, or tiny souvenirs that hold special memories. Attach these items securely with glue, washi tape, or small clips, depending on the material.
Incorporate items that complement your photo’s theme or story, making the display more heartfelt. Consider layering memorabilia behind the photo or around the edges for a textured look. Personal touches like handwritten notes, initials, or dates can also add significance.
Don’t be afraid to mix different memorabilia for a layered, eclectic vibe. This approach transforms a simple frame into a reflection of your personality and experiences, turning it into a treasured keepsake.
Finish the Frame With Paint or Sealant
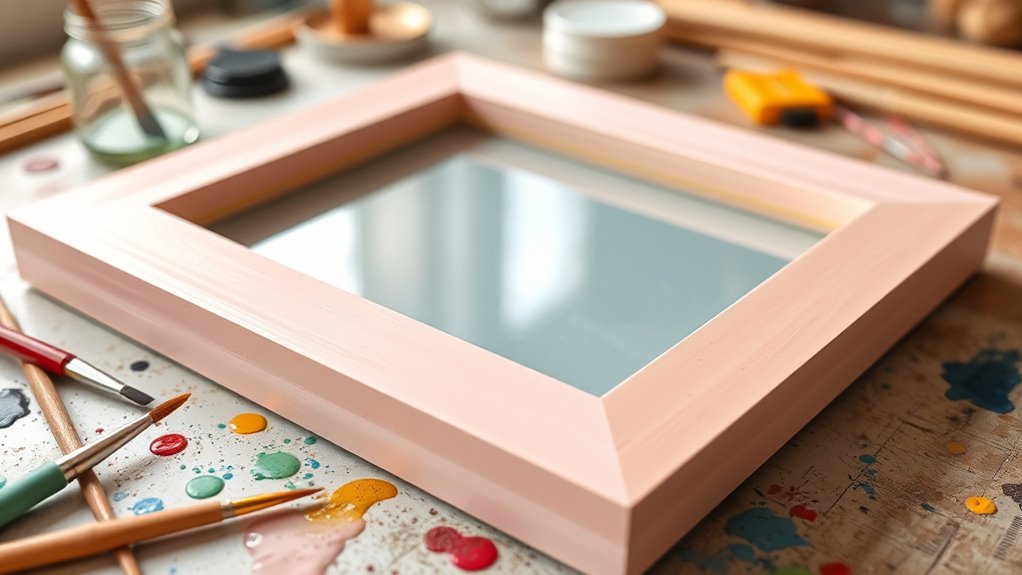
Once the paint or sealant is ready, apply it evenly across the entire surface of the frame to protect and enhance its appearance. Use a brush or sponge to spread a thin, consistent layer, making sure to cover all edges and corners. Take your time to avoid drips or streaks, and work in smooth, even strokes.
If you prefer a richer color or added protection, consider applying a second coat once the first dries thoroughly. Sealants help safeguard your frame from moisture and scratches, ensuring it lasts longer.
Allow sufficient drying time, following the manufacturer’s instructions. Once fully dry, you’ll have a finished frame that’s not only durable but also beautifully polished, ready to showcase your cherished photos.
Insert Your Photo and Display Your Frame
After your frame has fully dried and dried sealant has set, it’s time to insert your photo and display your creation. Carefully remove the backing or glass, if applicable.
Once your frame is dry and sealed, carefully insert your photo and display proudly.
Place your photo behind the glass or within the frame, making sure it’s centered and straight. Use gentle pressure to secure the photo in place, ensuring it doesn’t shift.
If your frame has clips or tabs, close them firmly to hold everything securely.
Now, find a perfect spot to showcase your handmade frame. Whether on a wall or a tabletop, display it where it can be appreciated.
Enjoy your DIY project and the personal touch it adds to your space. You’ve successfully created a unique, stylish way to showcase your favorite photos!
Frequently Asked Questions
What Types of Materials Are Best for DIY Photo Frames?
When choosing materials for your DIY photo frame, consider durability and style. Wood offers a sturdy, classic look.
While cardboard is lightweight and easy to customize. You might also use plastic for a modern touch or repurpose items like old magazines and fabric for a unique, eco-friendly design.
Select materials based on your desired aesthetic and skill level, ensuring they’re easy to work with and hold your photo securely.
How Can I Customize My Frame for Different Photo Sizes?
Imagine transforming your cherished memories into something uniquely yours. To customize your frame for different photo sizes, start by measuring each photo precisely.
Use adjustable or removable inserts, like mats or spacers, to guarantee a perfect fit. You can also add decorative elements that complement each size, creating a harmonious display.
This way, your frame becomes a showcase of your creativity and your treasured moments, perfectly tailored to each photo.
What Tools Are Essential for Assembling a Sturdy Frame?
To assemble a sturdy frame, you’ll need essential tools like a saw for cutting, a drill for making holes, and a screwdriver for securing joints.
Clamps help hold pieces in place while you work, and a measuring tape ensures accuracy.
Sandpaper smooths edges, and wood glue adds extra strength.
With these tools, you can confidently build a durable, professional-looking frame that supports your photos securely.
How Do I Prevent the Frame From Warping or Breaking?
Think of your frame as a delicate bridge, and you want it to stand tall. To prevent warping or breaking, use high-quality, kiln-dried wood or sturdy materials.
Seal the wood with a protective finish to guard against moisture, and avoid exposing it to extreme temperature changes.
Reinforce corners with glue or brackets, and handle it gently during assembly. These steps keep your frame strong, like a fortress protecting your cherished photo.
What Are Creative Ways to Incorporate Lighting Into My Frame?
You can get creative by adding LED strip lights around the edges of your frame for a subtle glow. Consider installing tiny fairy lights inside the frame for a whimsical effect.
You might also embed small battery-operated puck lights behind the photo for a soft backlight. Using transparent or semi-transparent materials allows the light to shine through beautifully, adding dimension and warmth to your display.
Just make certain the lighting is securely fixed and safe.
Conclusion
Creating your own photo frame is a fun, personalized project that’s easier than you think. If you worry it won’t last, just reinforce the corners and seal the wood for durability. With a little effort and creativity, you’ll end up with a beautiful, unique frame that showcases your favorite photo. So don’t hesitate—grab your supplies and start crafting today. Your perfect frame is just a DIY away, ready to add a special touch to your space!