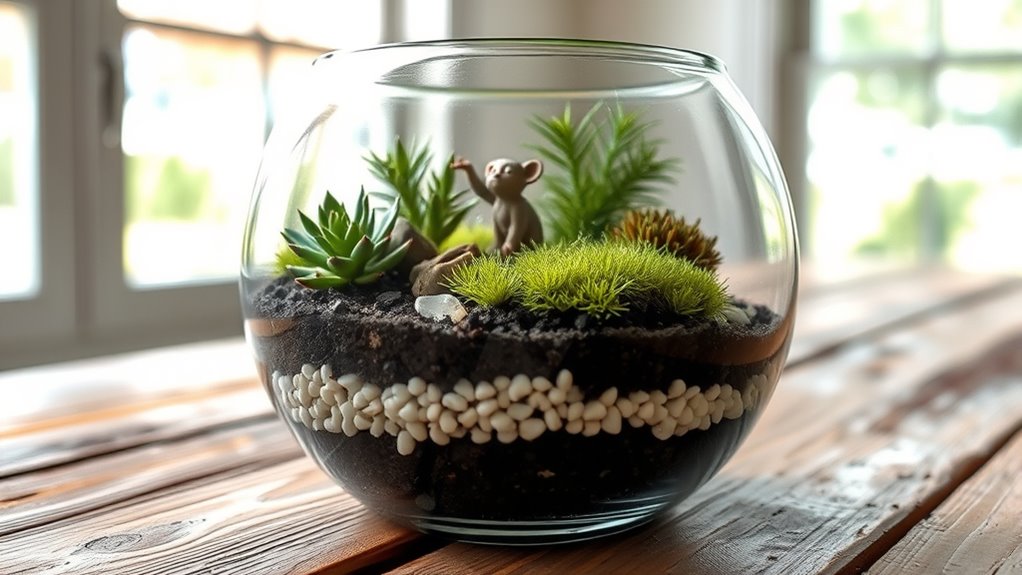

To make a DIY terrarium, start by choosing a clear container with good airflow and stability. Add a drainage layer of small rocks or gravel, then top it with activated charcoal to prevent odors. Fill with moisture-retentive soil suited to your plants. Carefully select and place small plants like succulents or ferns, arranging them for visual balance. Finish with decorative touches, and you’ll create a thriving mini ecosystem—keep going to learn more about perfecting your terrarium.
Key Takeaways
- Select a clean, suitable container with drainage options and prepare your environment with necessary materials like gravel, activated charcoal, and soil.
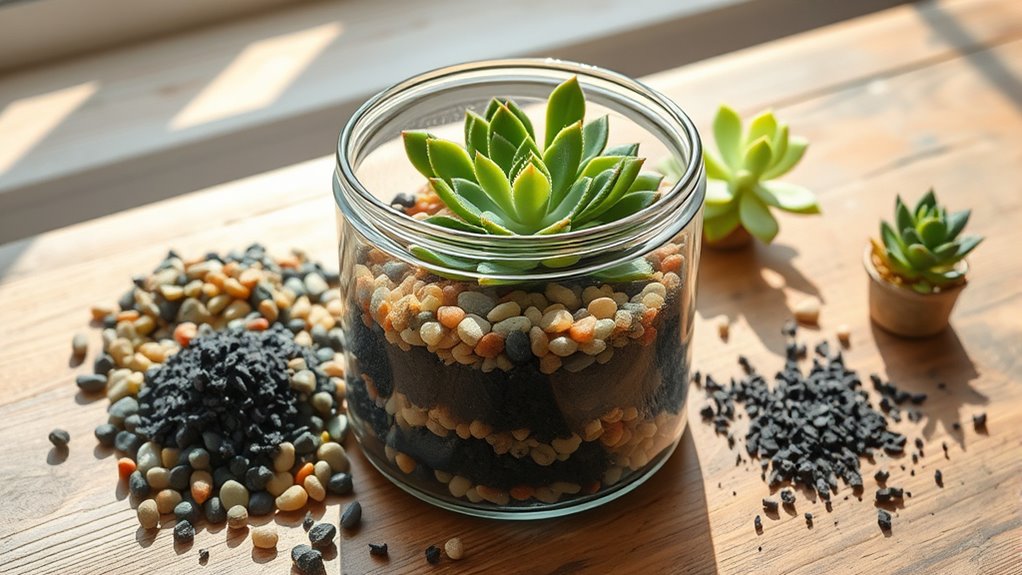
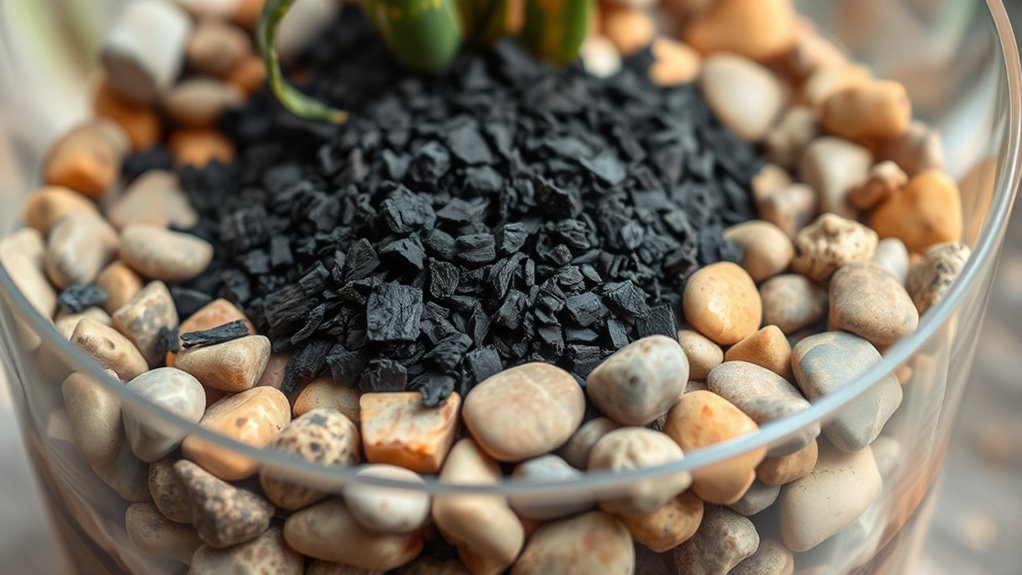
- Create a drainage layer with gravel, add activated charcoal to prevent odors, then fill with moisture-retentive soil based on plant needs.
- Choose small, compatible plants such as moss, succulents, or ferns, and arrange taller plants at the back or center for visual balance.
- Plant your selections carefully, fill gaps with smaller plants or decorative elements, and water lightly to avoid overwatering.
- Place the terrarium in bright, indirect light, monitor moisture levels regularly, and perform maintenance like pruning and cleaning for healthy growth.

PYEF CRAFTS Terrarium Kit, Succulents & Indoor Plants Set DIY
- Complete DIY Planting Kit: All-in-one kit for planting and ecosystems
- Includes All Materials: Soil, stones, moss, charcoal, tools included
- Compatible with Any Plant: Suitable for terrariums, succulents, cacti, and more
As an affiliate, we earn on qualifying purchases.
As an affiliate, we earn on qualifying purchases.
Gather Your Materials and Tools
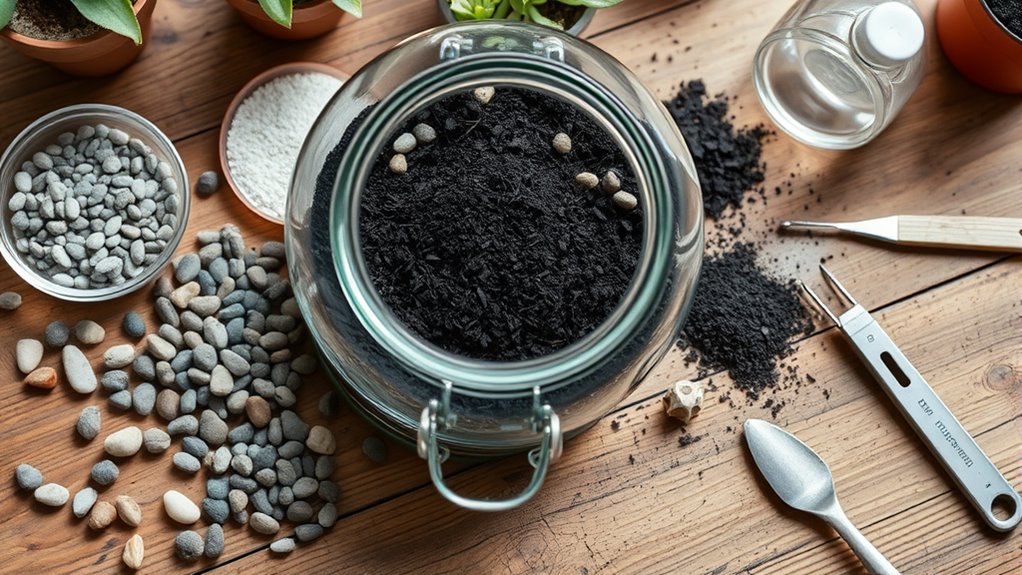
Before you begin assembling your terrarium, you need to gather all the necessary materials and tools. Start with a clean, dry container—glass jars or aquariums work well. You’ll also need small rocks or gravel for drainage, activated charcoal to keep the environment fresh, and potting soil suited for your plants. Choose your plants based on light and water needs—succulents, cacti, or mosses are popular options. For tools, have a small spoon or scoop for layering, tweezers for placing plants, and a spray bottle or watering can for gentle watering. Keep scissors handy for trimming, and wear gloves if handling soil or plants that may cause skin irritation. Incorporating self watering planters can help maintain consistent moisture levels, making your terrarium easier to care for. These planters are especially useful if you are new to plant care or want to reduce the frequency of watering. Additionally, selecting appropriate aesthetic containers can enhance the visual appeal of your terrarium and complement your home decor. Using diverse plant varieties can also add texture and interest to your miniature ecosystem. Gathering everything upfront ensures a smooth, enjoyable terrarium-making process.
Choose and Prepare Your Container
Selecting the right container sets the foundation for a successful terrarium. You want a clear glass or plastic container that’s wide enough to allow your plants to grow comfortably. Consider the size of your plants now and their growth potential—too small, and they’ll outgrow the space quickly; too large, and the terrarium may feel crowded. Make sure your container has a stable base and, if it doesn’t have a lid, plan to add one later for humidity control. Clean your container thoroughly with soap and water to remove any residues or contaminants. Dry it completely before adding layers, ensuring no moisture or debris remains. Choosing a suitable container helps create a healthy environment where your plants can thrive. Incorporating sustainable materials into your container choice can also support eco-friendly gardening practices. Additionally, selecting containers with drainage options can prevent overwatering and promote plant health. Opting for containers with ventilation features can further enhance airflow, reducing the risk of mold and root rot. To improve plant growth and longevity, consider using containers that are easy to clean and maintain, ensuring your terrarium remains healthy over time.
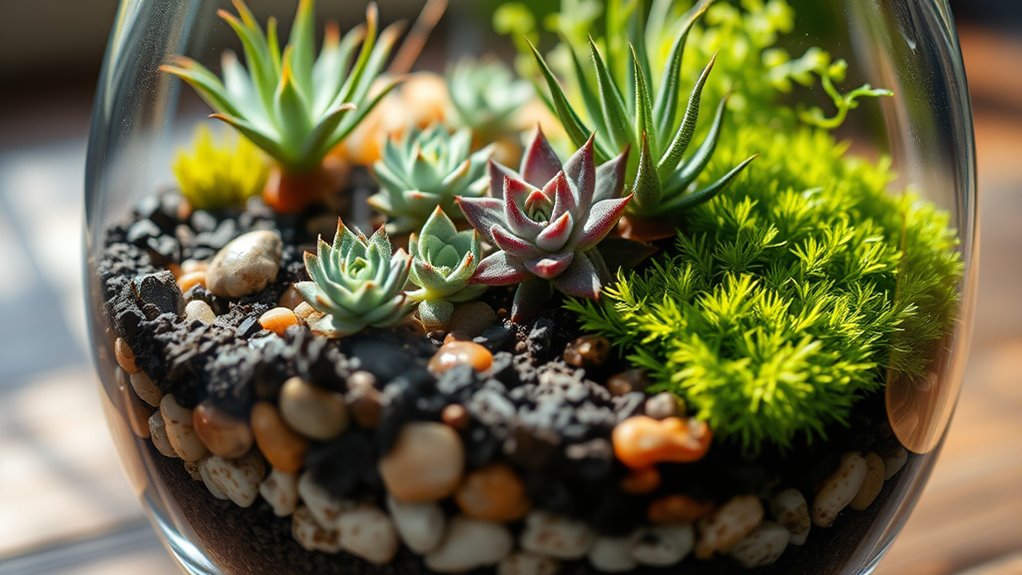
Add the Drainage Layer
Start by choosing materials like gravel or small stones that won’t decompose over time. Spread the layer evenly across the bottom of your container to guarantee proper drainage. Make sure the layer is thick enough to prevent water from pooling around your plant roots. Proper drainage is essential for healthy plant growth and can be achieved by selecting the right materials. Additionally, ensuring the ventilation of your terrarium can help prevent excess moisture buildup that might harm your plants. Incorporating air circulation techniques and moisture control measures can further promote a healthy environment. keto-friendly plants, which thrive in low-humidity environments, can also enhance your terrarium’s health and longevity. Using moisture meters can help monitor humidity levels and maintain optimal conditions for your plants.
Choose Appropriate Materials
Adding a drainage layer is essential to prevent excess water from pooling at the bottom of your terrarium, which can lead to root rot and plant health issues. To do this effectively, choose materials that are porous and lightweight. Common options include small pebbles, gravel, or broken pottery shards. These materials allow water to flow freely away from plant roots, keeping the soil aerated and healthy. Avoid using materials that can decompose or retain too much moisture, like clay or organic matter, in this layer. Make certain the layer is evenly spread across the bottom of your container, creating a stable base for the soil and plants. Selecting the right drainage materials helps maintain proper moisture levels and promotes thriving, healthy plants in your DIY terrarium. Proper size and dimensions of the drainage layer are crucial to ensure effective water flow and prevent clogging.
Layer in Gravel First
To create an effective drainage layer, place a layer of gravel or small pebbles at the bottom of your container. This layer helps prevent water from stagnating around the roots, reducing the risk of rot. High-quality gravel ensures better water flow and durability over time. Spread the gravel evenly, filling about one to two inches of space, depending on your container’s size. Make sure the stones are clean and free of debris before adding them. This base will facilitate proper water flow, ensuring excess moisture drains away from the soil and roots. Proper drainage is essential for maintaining optimal plant health, preventing issues like root rot and overwatering. Incorporating drainage materials can further enhance water management in your terrarium. Additionally, choosing the right container material can improve drainage efficiency and overall plant health. Once you’ve added the gravel, you’re ready to move on to the next step in building your DIY terrarium.
Ensure Even Distribution
Make certain the gravel layer is spread evenly across the bottom of your container. An even layer guarantees proper drainage and prevents water from pooling, which can lead to root rot. Use your hands or a small tool to distribute the gravel uniformly, covering all areas without gaps or uneven spots. Proper drainage is essential for maintaining healthy plant roots and preventing excess moisture buildup. Check that the layer is about an inch thick, providing enough space for excess water to escape. Smooth out any high spots or depressions so that water flows freely through the drainage layer. This step is vital for maintaining a healthy environment for your plants. Additionally, material quality can impact the effectiveness of your drainage system and the overall health of your terrarium, so choose high-quality gravel or stones. Incorporating aesthetic appeal by selecting visually pleasing materials can enhance the overall look of your terrarium. Once you’re satisfied with the evenness, gently tap the container to settle the gravel, making sure it’s secure and level. Proper distribution now sets a strong foundation for your terrarium’s success.
Add Soil and Plant Selection
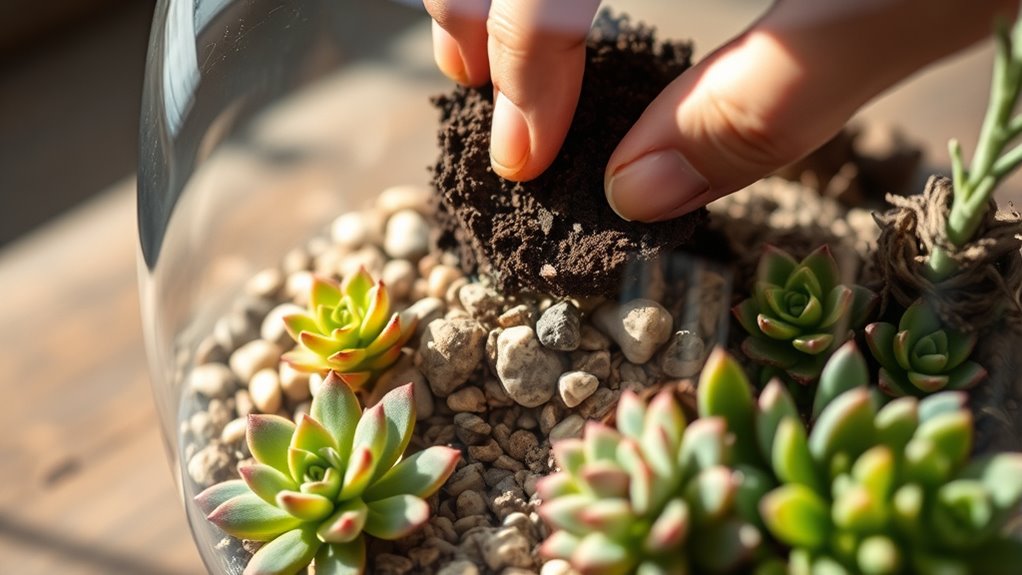
Choosing the right soil and plants is essential for a thriving terrarium. Start by selecting a well-draining soil mix, such as cactus or succulent soil, to prevent root rot. If you’re including tropical plants, opt for a moisture-retentive potting mix.
When choosing plants, pick species suited to your terrarium’s environment—moist or dry, sunny or shaded. Small, slow-growing plants like moss, ferns, or succulents work well. Consider their size and growth habits to ensure they’ve enough space to thrive.
Avoid overcrowding, which can lead to poor airflow and disease. Always check the specific needs of each plant and match them with your terrarium conditions. Proper soil and plant selection set the foundation for a healthy, beautiful miniature ecosystem.
Arrange and Plant Your Greenery
Now, it’s time to choose the right plants and arrange them thoughtfully in your terrarium. You should consider each plant’s size and growth habits to create a balanced display.
Carefully plant and position each greenery to guarantee a healthy, attractive setup.
Selecting the Perfect Plants
Selecting the right plants is key to creating a thriving terrarium. You want plants that suit the environment you’re creating and require similar care.
First, choose low-maintenance species like succulents or air plants, which tolerate dry conditions.
Second, consider size; select plants that won’t outgrow your container, keeping everything proportionate.
Third, opt for plants with compatible light needs—shade-loving plants for low-light setups or sun-loving for bright spots.
Make sure to research each species’ watering habits and growth patterns.
By selecting plants with similar needs, you’ll ensure your terrarium stays healthy and vibrant.
Avoid overly delicate or fast-growing plants that could quickly overrun your space.
Thoughtful selection now sets the foundation for a beautiful, sustainable miniature ecosystem.
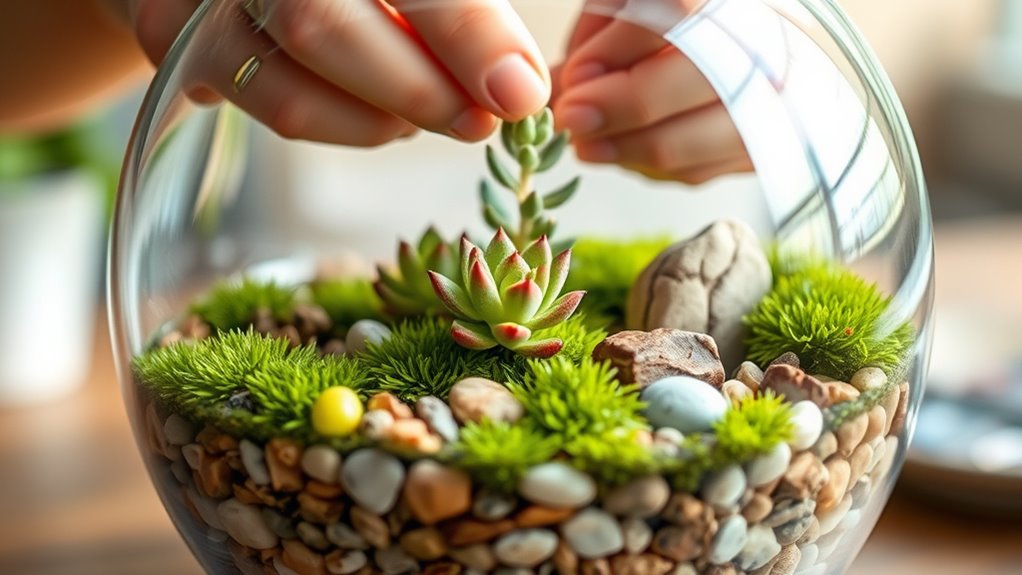
Planting and Arranging Carefully
Have you ever wondered how to create a balanced and visually appealing arrangement in your terrarium? To do this, start by placing the tallest plants toward the back or center, depending on your design.
Gently remove each plant from its container and loosen the roots if needed. Position them carefully, adjusting their placement until the arrangement feels harmonious.
Fill in gaps with smaller plants or decorative elements, ensuring they don’t overcrowd the space. Use your fingers or tools to gently press the soil around the roots, securing each plant firmly.
Aim for a natural look by varying heights and textures, and make sure each plant has enough room to grow. Take your time to create a balanced, lively scene that reflects your style.
Final Touches and Care Tips
Once you’ve assembled your terrarium, it’s important to give it a final check to guarantee everything looks balanced and healthy. First, inspect the plants to ensure they aren’t overcrowded and have enough space to grow.
Second, lightly water the soil, avoiding overwatering to prevent mold or root rot.
Third, place the terrarium in a spot with appropriate light—bright but indirect sunlight works best.
For ongoing care, keep an eye on soil moisture and avoid letting it dry out completely. Prune any dead or yellowing leaves promptly to promote healthy growth.
Regularly dust the glass to maintain visibility, and rotate the terrarium periodically for even light distribution.
With these simple steps, your miniature ecosystem will thrive and stay vibrant.
Frequently Asked Questions
What Are the Best Plants for a Low-Light Terrarium?
You’re wondering about the best plants for a low-light terrarium. To thrive in dim conditions, choose plants like pothos, snake plants, peace lilies, and ferns. These plants adapt well to low light and add lush greenery to your space.
Make sure you don’t overwater them, and place your terrarium in a spot with minimal natural light. With these choices, your terrarium will stay healthy and beautiful.
How Often Should I Water My DIY Terrarium?
Imagine your tiny glass world, lush and vibrant. You should water your terrarium sparingly, about once every 2-4 weeks, depending on humidity and plant needs.
Feel the soil; if it’s dry and crumbly, it’s time to water gently. Avoid overwatering, which can drown your plants.
Keep an eye on your greenery, and with a little care, your mini garden will thrive and stay beautiful.
Can I Use Recycled Materials for the Container?
Yes, you can definitely use recycled materials for your terrarium container. Just verify the container is clean, has proper drainage, and is non-toxic for plants.
Glass jars, old aquariums, or plastic containers work well. Avoid containers with sharp edges or toxic paints.
Recycling not only gives new life to items but also adds a unique touch to your terrarium. Just make sure it’s suitable for plant growth and ventilation.
How Do I Prevent Mold and Pests in My Terrarium?
You won’t believe how fast mold and pests can take over your mini jungle! To prevent this, make sure your terrarium has proper drainage, avoid overwatering, and keep it in a well-ventilated spot.
Regularly remove dead leaves and debris, and check for pests often. Using natural pest repellents like neem oil can also help.
Staying vigilant is your best defense against unwanted invaders, keeping your tiny ecosystem healthy and thriving.
What Size Tools Are Recommended for Planting?
For planting your terrarium, use small, precise tools like tweezers, long-handled spoons, or small trowels. These help you carefully place soil and plants without disturbing existing layers.
Choose tools that fit comfortably in your hand and suit the size of your container. Keep them clean to prevent introducing mold or pests.
Using the right size tools makes planting easier and ensures your terrarium stays healthy and visually appealing.
Conclusion
Creating your own terrarium is a fun way to bring nature indoors. Did you know that indoor plants can boost your mood and air quality? With just a few simple steps, you can craft a beautiful, low-maintenance mini garden that lasts for months. Whether you’re a beginner or a seasoned plant lover, your DIY terrarium will be a charming addition to any space. So go ahead, get creative and enjoy your lush, personalized oasis!