
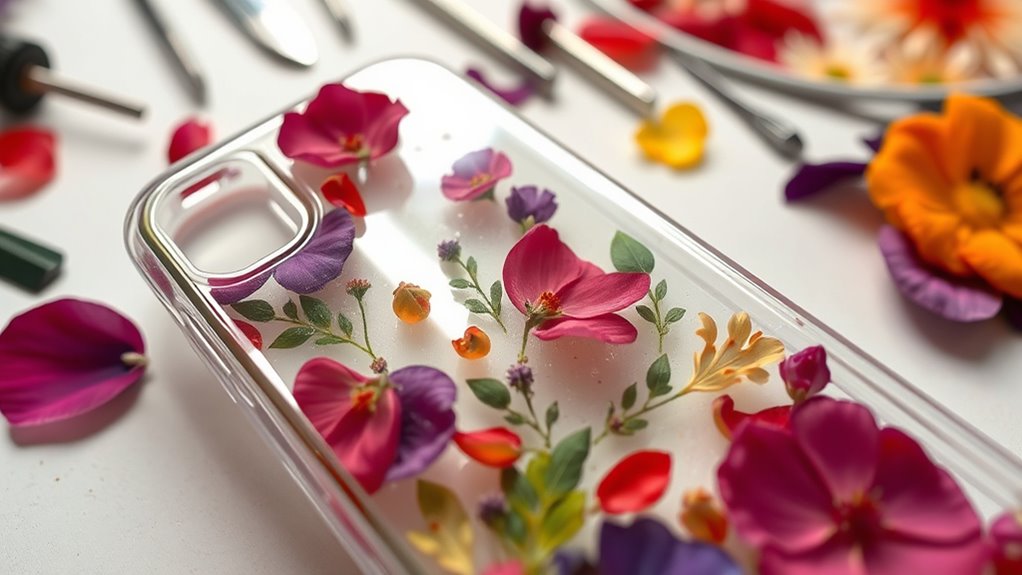
To make a pressed-flower phone case, start by gathering flowers, a flower press or heavy books, scissors, tweezers, and glue. Select flat, colorful blooms that will dry well and arrange them on your case, then glue them in place carefully. Seal the design with a clear protective coating to keep the flowers vibrant and safe. For detailed tips on each step and creating a stunning results, keep exploring the process further.
Key Takeaways
- Gather flat, sturdy flowers and press them between heavy books or a flower press until fully dried.
- Plan your floral layout on the phone case, balancing colors, sizes, and shapes for aesthetic harmony.
- Attach pressed flowers securely to the case using clear, compatible adhesive, adjusting placement as needed.
- Seal the design with a clear, UV-protective epoxy or varnish to preserve colors and prevent damage.
- Allow the sealant to dry completely, then add finishing touches for a polished, durable pressed-flower phone case.
Gathering Your Materials and Preparing Your Workspace
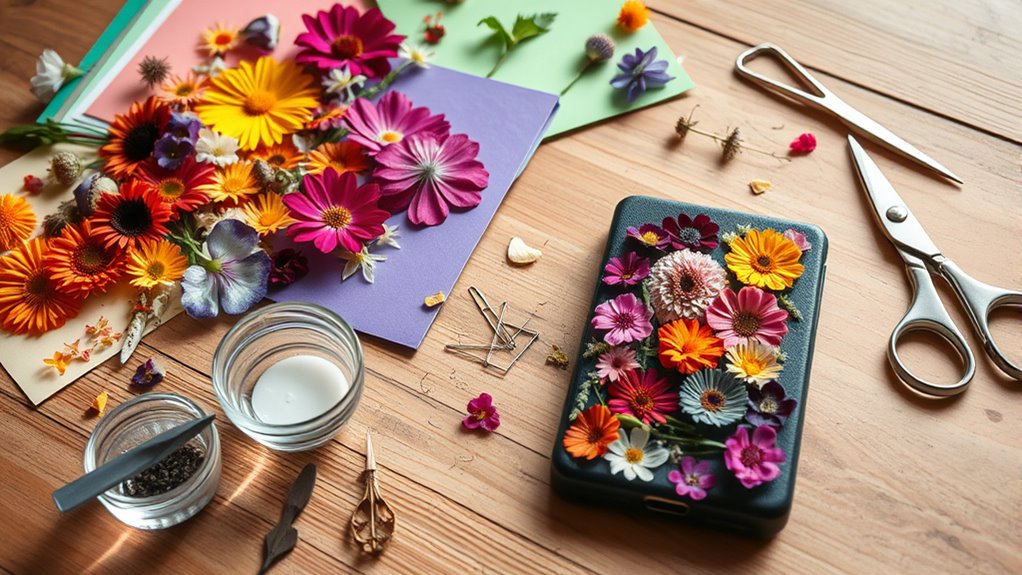
Before you start pressing flowers, it’s essential to gather all the necessary materials and set up a clean, organized workspace. This helps guarantee a smooth process and minimizes mistakes. Begin by choosing flowers compatible with pressing; soft petals and thin leaves work best. Keep color theory in mind—select a variety of hues that will complement each other on your phone case, creating a balanced and appealing design. Lay out your materials, including heavy books or a flower press, tweezers, scissors, glue, and a protective surface. Make sure your workspace is free of dust and clutter, so you can handle delicate flowers carefully. Proper preparation and understanding material compatibility will help you achieve vibrant, long-lasting pressed flowers for your custom phone case. Additionally, understanding projector technology can inspire creative ways to enhance your design with vibrant colors and sharp details. Familiarity with self watering plant pots can also be useful if you wish to add some greenery or incorporate botanical elements into your design for a unique touch. Being aware of nutritional benefits of chia seeds can also spark ideas for incorporating natural, plant-based elements into your decorative projects, emphasizing health and sustainability themes. Moreover, researching best free keto diet app options can provide insights into healthy eating habits that promote overall wellness, inspiring eco-friendly and health-conscious design choices.
Selecting and Pressing Your Flowers
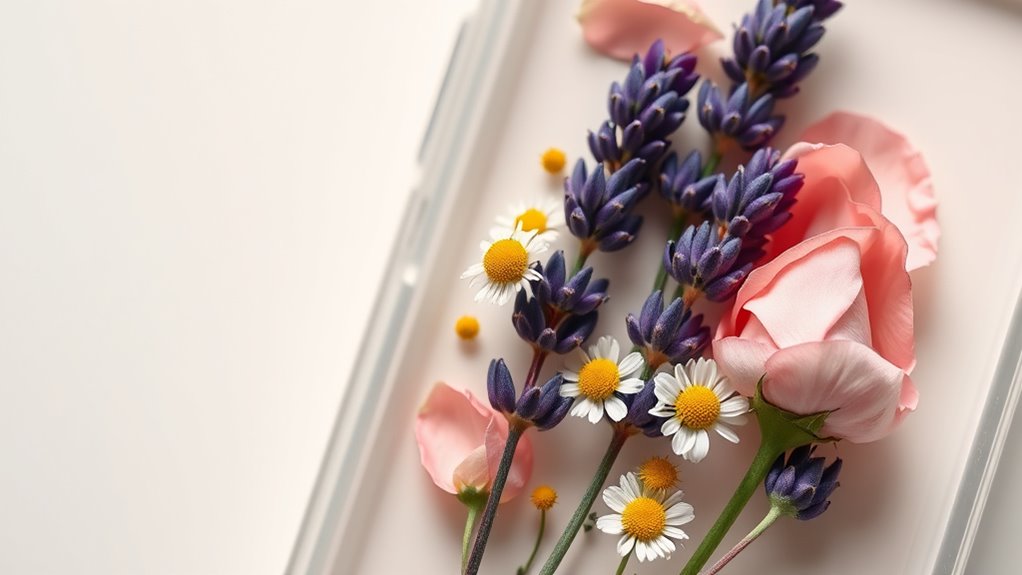
Choosing the right flowers is essential for creating a beautiful pressed-flower phone case. To achieve stunning botanical art, select blooms that are flat and sturdy, like pansies or daisies. Keep these tips in mind:
Select flat, sturdy blooms like pansies or daisies for beautiful pressed-flower phone cases.
- Pick flowers at their peak, when colors are vibrant for better flower preservation.
- Avoid thick or bulky blooms that won’t flatten well during pressing.
- Gather a variety of shapes and sizes to add visual interest and depth.
- Using a proper pressing method ensures your flowers dry flat and retain their color. This careful process preserves the delicate beauty needed for your project, turning fresh blooms into lasting botanical art for your phone case. Additionally, selecting appropriate materials during pressing can help prevent damage and enhance the final appearance of your pressed flowers. For optimal results, understanding flower types suitable for pressing can guide you in choosing the best blooms for your craft. Proper flower type selection is crucial for achieving vibrant and durable pressed flowers that enhance your design.
Designing Your Phone Case Layout
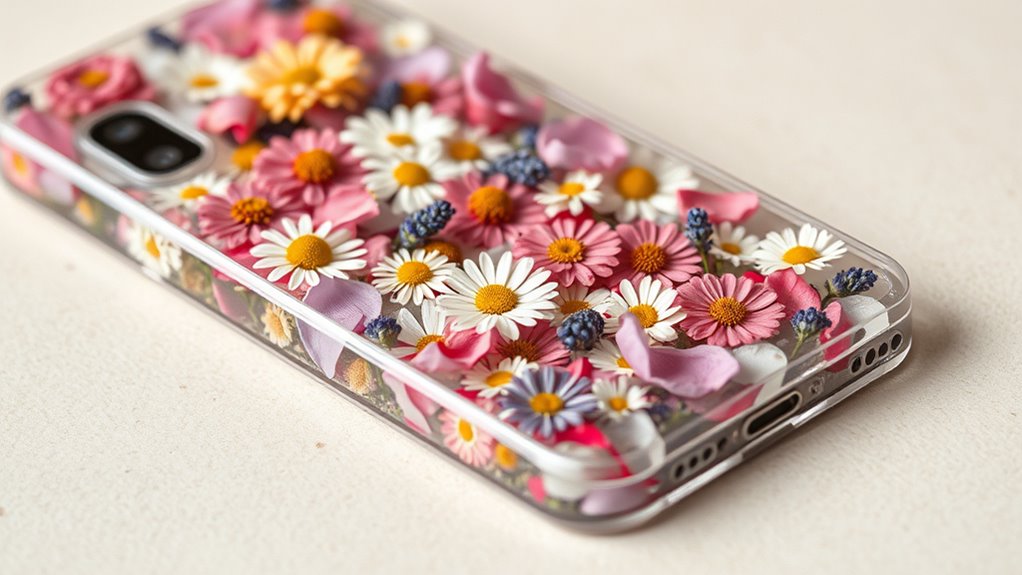
Now that you have your flowers pressed, it’s time to plan your phone case layout. Think about how to arrange your flowers, leave enough space, and add personal touches that reflect your style. This step lets you create a unique, eye-catching design you’ll love showing off. Remember to practice self-reflection to evaluate what design resonates most with your personal style and boosts your confidence. Embracing a creative practice mindset during this process can help you explore new ideas and develop your artistic skills further.
Choosing Your Flower Arrangement
When designing your flower arrangement for the phone case, it’s important to contemplate how each flower’s size, shape, and color will work together to create a balanced and visually appealing layout. Start by considering:
- Flower color combinations – choose hues that complement or contrast for visual impact.
- Seasonal flower choices – select blooms that reflect the time of year and add freshness.
- Size and placement – balance small and large flowers to guide the viewer’s eye naturally.
Planning Layout and Spacing
Once you’ve selected your flowers, it’s time to plan how they’ll fit together on your phone case. Use color theory to create a balanced and harmonious design, pairing contrasting hues for visual interest or complementary colors for unity. Consider floral symbolism to convey a specific message or mood—roses for love, daisies for innocence, or lavender for calm. Play with spacing to guarantee each flower stands out without overcrowding. Keep some negative space to give your design room to breathe and increase visual impact. Arrange your flowers thoughtfully, balancing larger blooms with smaller accents. By carefully planning layout and spacing, you’ll craft a cohesive, meaningful design that catches the eye and expresses your personal style.
Incorporating Personal Touches
Adding personal touches to your phone case design allows you to create a truly unique piece that reflects your personality. To do this effectively, consider these steps:
- Choose flowers with meaningful symbolism that resonate with you, such as roses for love or daisies for innocence.
- Opt for a color scheme that complements your style and guarantees good color coordination, making the pressed flowers pop.
- Arrange your flowers thoughtfully, balancing size and placement to highlight your favorite blooms and create visual harmony.
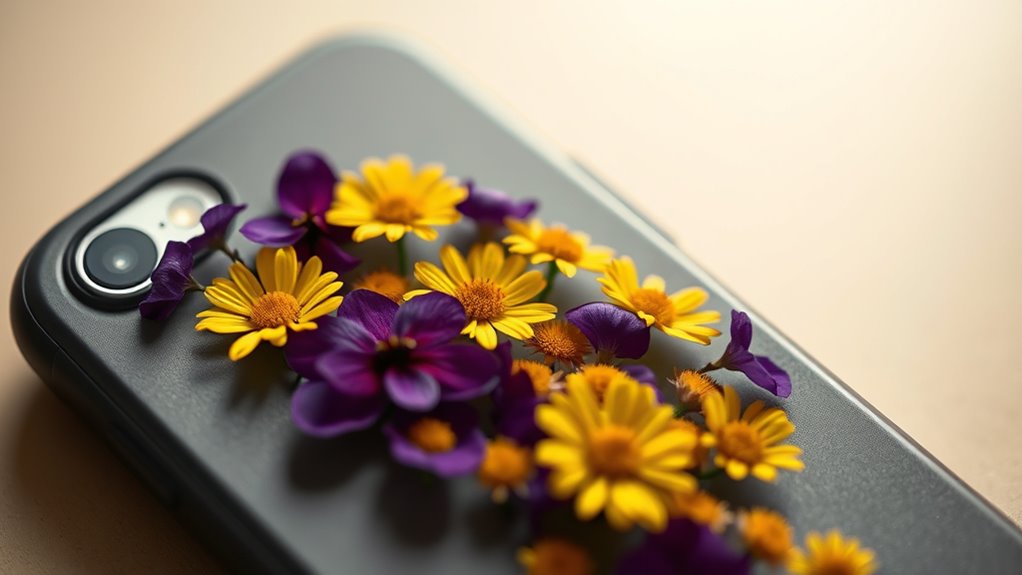
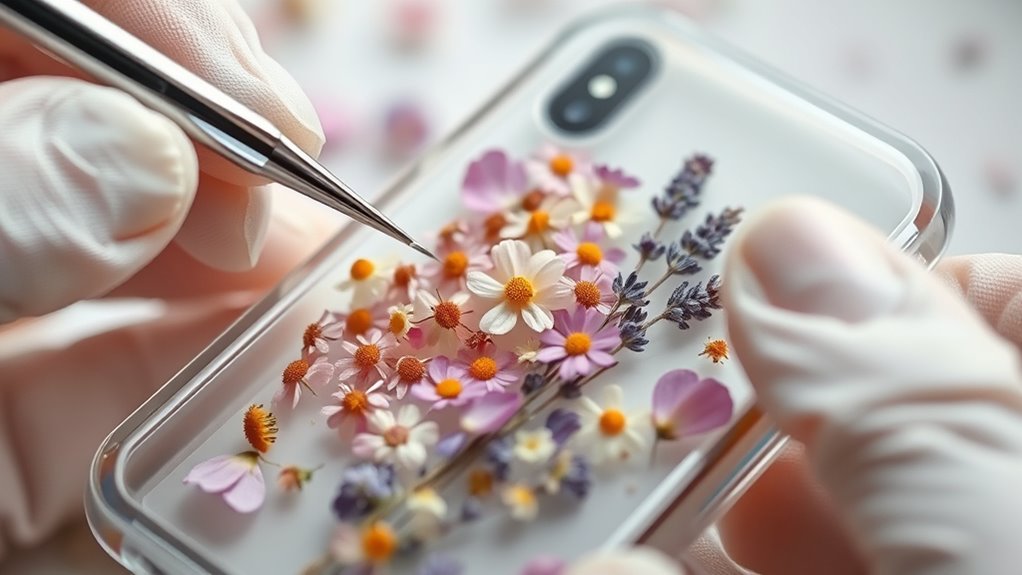
Applying the Flowers to the Case
Start by carefully arranging your flowers on the case to get the perfect look. Then, apply a clear adhesive to secure each piece firmly in place. Incorporating proper preparation of your flowers can help ensure they adhere well and last longer. Additionally, using secure bonding techniques can prevent your design from peeling over time. Finally, seal everything with a protective layer to guarantee your design lasts. To ensure your design remains durable and authentic, consider using natural materials like linen or wood accents in your presentation.
Arrange Flowers Precisely
To guarantee your pressed flowers look tidy and professional on the phone case, take your time arranging them carefully before gluing. Focus on flower color coordination to create a harmonious design, choosing colors that complement each other. Also, consider case material compatibility to ensure the flowers adhere properly without damage.
Follow these steps:
- Lay out your flowers on the case, experimenting with placement for balance and visual appeal.
- Adjust flower sizes and positions, keeping in mind the overall design and color flow.
- Double-check that the arrangement fits well with the case’s curves and surface, maintaining symmetry if desired.
Use Clear Adhesive
Applying the flowers to your phone case requires a clear adhesive that bonds well without damaging the material. Choose an adhesive compatible with both your case’s surface and the pressed flowers. Clear epoxy or craft glue often work well, providing a strong bond while remaining transparent. Always test a small amount first to ensure it won’t cause discoloration or damage. If you prefer alternatives, double-sided tape or adhesive dots can also secure flowers without mess or excess glue. Be cautious with thicker adhesives, as they might create bumps under the flowers. Applying a thin, even layer guarantees a smooth finish. Using the right adhesive guarantees your pressed flowers stay in place and keeps your design looking neat and professional.
Seal for Longevity
Once you’ve secured the pressed flowers with a suitable adhesive, sealing them guarantees they stay vibrant and protected over time. To ensure flower preservation, choose a clear sealant that creates a durable barrier.
Here’s what to do:
- Select a sealant, such as a clear epoxy or varnish, to lock in the flowers.
- Apply the sealant evenly over the entire surface, including edges, using a brush or spray.
- Allow it to fully dry according to the manufacturer’s instructions before handling.
This step prevents moisture and UV damage, keeping your pressed-flower design looking fresh. Using the right adhesive options and sealant ensures your phone case remains beautiful and protected for the long haul.
Sealing and Protecting Your Design
After you’ve arranged your pressed flowers on the phone case, sealing and protecting your design is essential to keep it vibrant and intact. Use a clear sealant that offers UV protection to prevent fading from sunlight exposure. Make sure the adhesive you choose is compatible with both your case material and the sealant, ensuring a strong bond without discoloration or damage. Apply the sealant evenly over the flowers, covering the entire design while avoiding excess buildup at the edges. This step not only preserves your pressed flowers but also creates a smooth, durable surface that resists scratches and moisture. Proper sealing guarantees your personalized phone case stays beautiful and protected over time. Additionally, selecting an appropriate sealant technology can enhance the longevity of your design and maintain its vibrant appearance, especially considering the importance of child well-being beyond technology management in fostering resilience and creativity. Using a sealant with UV protection can further prevent color fading caused by sun exposure. Incorporating performance cookies in your project management can help track the durability and user satisfaction with your customized phone case over time. To ensure the best results, consider the effectiveness of protective coatings and how they contribute to the overall durability of your custom design.
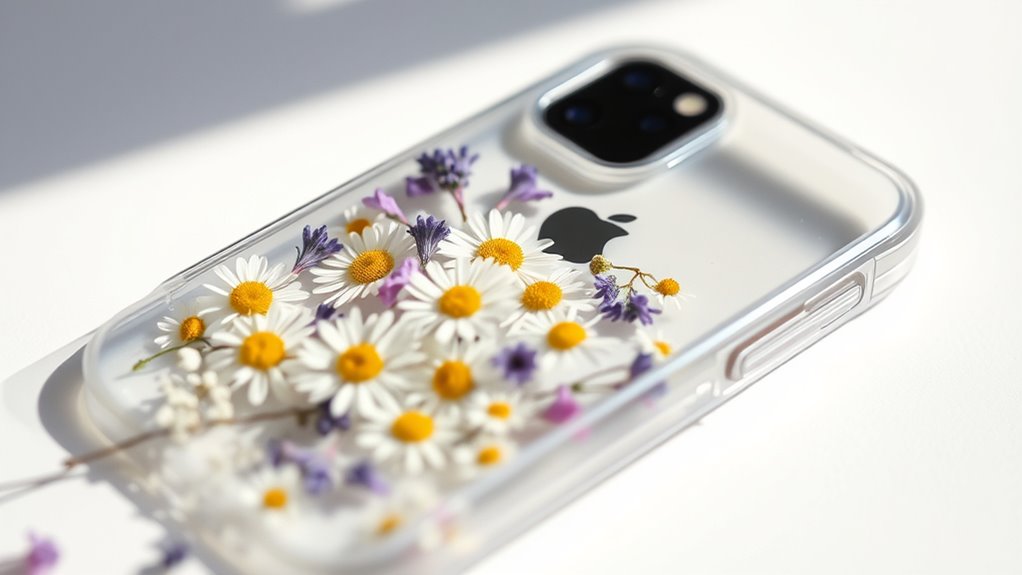
Final Touches and Assembling the Phone Case
With your pressed flowers sealed and protected, it’s time to focus on the final touches and assemble your phone case. First, select the case material that best suits your style and provides durability. Next, carefully position your flowers, considering their flower color and how they complement the case material’s background. Finally, secure everything by applying a thin layer of adhesive or resin, ensuring the flowers stay flat and vibrant. Incorporating timeless classics or innovative designs can also enhance your customized look. These steps will give your pressed-flower phone case a polished look, highlighting the natural beauty of your flowers while ensuring it’s sturdy. Additionally, understanding cookie and privacy preferences can help you manage your browsing experience while customizing your project.
Frequently Asked Questions
Can I Use Dried Flowers From a Craft Store?
You can definitely use dried flowers from a craft store for your project. When selecting dried flower options, look for those that are flat and sturdy to guarantee they press well. Craft store options often include a variety of flowers suitable for pressing and decorating. Just make sure the flowers are completely dry and free of moisture to prevent mold or damage during the pressing process.
What Type of Glue Is Best for Attaching Flowers?
When attaching dried flowers, you want an adhesive with strong adhesive strength to guarantee your flowers stay put. A clear, quick-drying glue like craft or PVA glue works well, especially for flower preservation. It provides good adhesion without damaging delicate petals. Avoid hot glue, as it can be too harsh. Apply a small amount, press gently, and let it dry completely to keep your pressed flowers secure and beautiful.
How Long Does It Take for the Sealant to Dry?
The drying time for sealant varies depending on the type you use, but generally, it takes about 24 hours for proper curing. During this period, avoid touching or handling your project to guarantee the sealant fully cures and bonds well. Keep in mind that factors like humidity and temperature can affect drying time. For the best results, follow the manufacturer’s instructions for ideal sealant curing and durability.
Can I Customize the Design for Different Phone Models?
Yes, you can customize the design for different phone models. When creating a custom design, make sure to take into account phone compatibility so your pressed-flower case fits perfectly. You can choose specific patterns or images that match the size and shape of various phones. Just double-check measurements and model details before finalizing your design. This way, you guarantee your personalized case looks great and fits securely on your device.
Is It Necessary to Use a Protective Coating on Real Flowers?
Oh, sure, you could skip the protective coating, but then your flowers might fade faster than your favorite jeans. A protective coating isn’t just for show; it’s essential for flower preservation and coating durability. It seals in the beauty, preventing damage from moisture, scratches, or sunlight. Trust me, a little extra effort now guarantees your pressed flowers stay vibrant and stunning on your phone for the long haul.
Conclusion
Now, your pressed-flower phone case isn’t just a accessory — it’s a tiny garden bursting with life, color, and delicate beauty, transforming your phone into a masterpiece of nature’s wonder. Every glance will feel like walking through a blooming meadow, where petals shimmer like jewels and colors dance in the sunlight. Get ready to show off a creation so stunning, it’ll make everyone stop in awe and wonder if you’ve captured a piece of magic right in your hands.