To do punch needle embroidery, start by choosing a sturdy fabric and setting it in an embroidery hoop to keep it taut. Thread your punch needle with a manageable length of yarn or thread, then transfer your design onto the fabric. Insert the needle into the fabric, then pull it out to create loops, maintaining consistent tension. Move the needle in straight lines or overlapping stitches depending on your pattern. For more tips, let’s explore each step in detail.
Key Takeaways
- Select a sturdy, tightly woven fabric and secure it in an embroidery hoop or frame.
- Thread the punch needle with yarn or embroidery thread, ensuring smooth sliding through the eyelet.
- Transfer your design onto the fabric using a water-soluble pen or transfer paper for accuracy.
- Insert the punch needle into the fabric at the starting point, then pull out and reinsert to create loops, maintaining consistent tension.
- Finish by trimming loose threads, securing ends, and gently washing or storing your embroidered piece properly.

DIY Punch Needle Kits for Beginners Cute Cartoon Highland Cow with Daisy Flower with Hoop Embroidery Punch Needle Starter Craft Set Easy for Adults and Children Festival Gift and Decoration 20x20cm-1
- Complete Crafting Kit: Includes fabric, yarn, needle, hoop, and instructions
- Ideal for Beginners: Perfect for adults and children new to punch needle
- Quality Materials: Sturdy needle, durable fabric, soft vibrant yarn
As an affiliate, we earn on qualifying purchases.
As an affiliate, we earn on qualifying purchases.
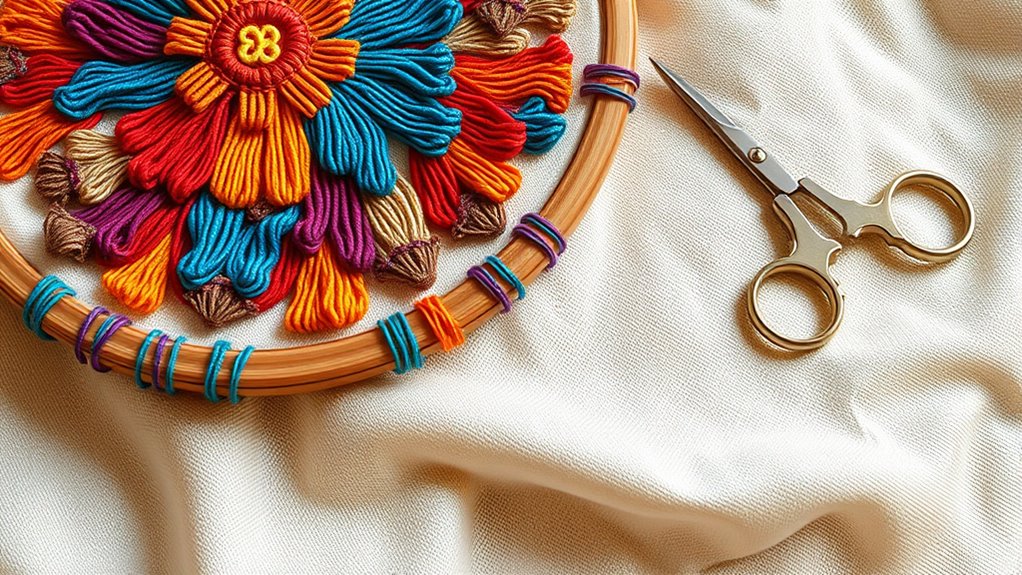
Gathering Your Supplies and Tools
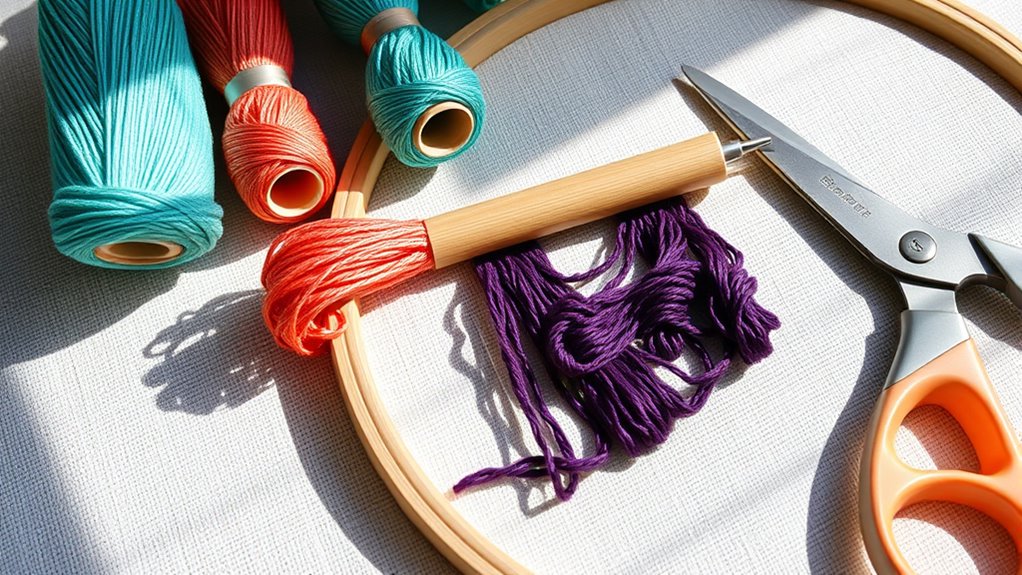
Before you begin your punch needle embroidery project, you need to gather all the necessary supplies and tools.
You’ll need a punch needle tool, which comes in various sizes depending on your desired stitch thickness.
Pick out embroidery hoops or frames to keep your fabric taut.
Choose a sturdy fabric like monk’s cloth or linen as your base.
Select colorful embroidery threads or yarns suited for punch needle work.
Have scissors ready for trimming threads, and a marking pen or pencil to outline your design.
You might also want a thimble or finger guard for added protection during stitching.
Organize everything beforehand to avoid interruptions.
Having all your supplies in place makes the process smoother and more enjoyable, setting you up for successful punch needle embroidery.
Setting Up Your Workspace and Choosing Fabrics
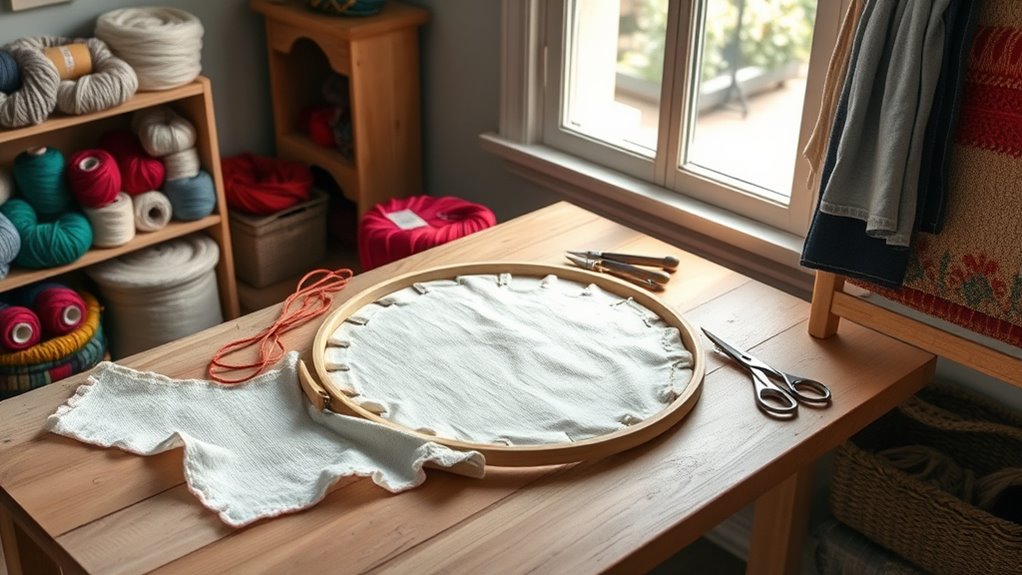
Creating an organized and comfortable workspace is essential for a smooth punch needle embroidery experience. Choose a well-lit area with a flat surface to prevent strain and make your work easier. Incorporating vertical storage solutions can help keep your tools and supplies accessible and reduce clutter. Keep your tools within reach—scissors, a hoop, and your fabric—so you don’t have to search for them mid-project. When selecting fabrics, opt for tightly woven materials like monk’s cloth or linen; these hold the stitches securely and prevent fraying. Avoid stretchy or loosely woven fabrics, which can distort your design. Set up your workspace to minimize distractions and ensure good posture. A clean, clutter-free environment helps you focus and work efficiently, making your embroidery process more enjoyable and successful. Additionally, paying attention to color accuracy in your fabric choices can enhance the vibrancy and overall appearance of your finished piece. Using self-watering plant pots in your workspace can also keep your environment comfortable and lively, promoting a calming atmosphere conducive to creativity. Incorporating ergonomic tools can further reduce fatigue and improve comfort during long embroidery sessions.
Threading the Punch Needle and Preparing Your Design
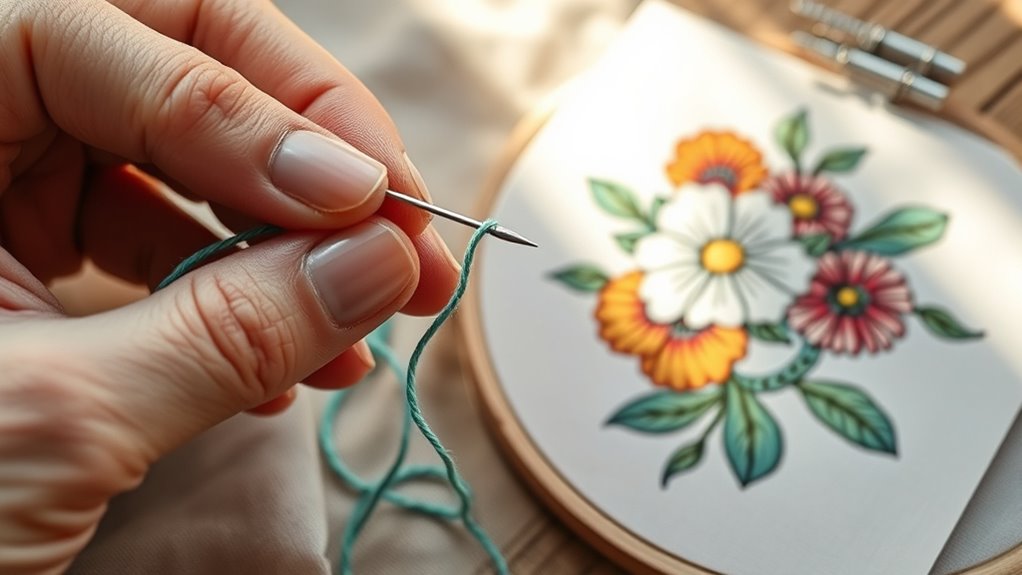
To begin working on your punch needle embroidery, you’ll need to properly thread your punch needle and prepare your design. Start by choosing a suitable thread or yarn, then cut a length that’s easy to handle. Thread the yarn through the eye of the punch needle’s eyelet, making sure it slides smoothly without bunching. Ensure compatibility by selecting the right type of thread or yarn for your punch needle to prevent jams or uneven stitches. Once threaded, secure the yarn by gently pulling it through the needle’s hollow shaft. Proper threading technique can help avoid common issues such as thread tangling or breaking. Additionally, selecting the correct thread or yarn based on your project’s needs will contribute to better results. Next, prepare your design by transferring it onto your fabric—use a water-soluble pen or transfer paper for accuracy. Proper fabric tension is essential; ensure your fabric is taut in your hoop to prevent distortion. Maintaining consistent fabric tension is crucial for achieving even stitches and a professional finish. Having your design ready and your punch needle properly threaded sets the stage for smooth stitching and accurate embroidery.
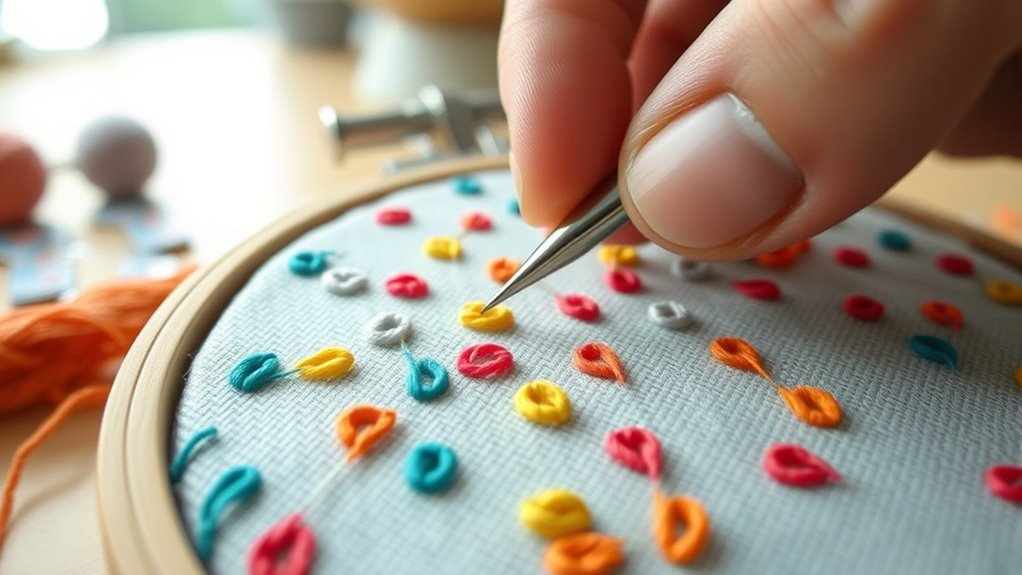
Executing Basic Punch Needle Stitches
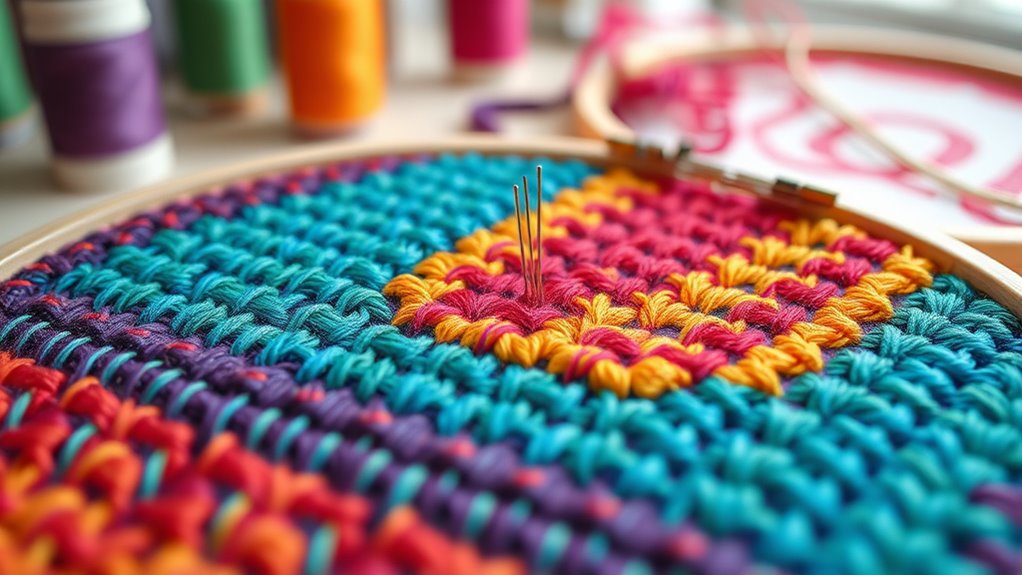
Once your punch needle is properly threaded and your design is secured, you can start executing basic stitches. Begin by inserting the needle into the fabric at your starting point. Pull the needle out slightly, then push it back in a short distance away, creating a loop or bump of yarn on the surface. Maintain consistent tension to keep stitches even. Proper tension is essential for achieving neat and uniform stitches. For straight lines, keep your needle perpendicular to the fabric and move smoothly along the outline. To fill larger areas, work in small sections, overlapping stitches slightly for uniform coverage. Keep your hand steady and avoid pulling too tightly, which can distort the fabric. Being mindful of market growth projections helps you understand the increasing popularity and innovation in punch needle techniques. Developing a consistent technique and paying attention to stitch consistency will help improve your overall results. Additionally, understanding creative practice overview can inspire new designs and techniques to enhance your embroidery skills. Staying informed about craft industry trends can motivate you to experiment with new stitches and materials. With practice, you’ll develop a rhythm that produces neat, even stitches. This foundational skill is key to creating beautiful punch needle designs.
Finishing Your Project and Caring for Your Embroidery
After finishing your punch needle embroidery, it’s important to properly secure your work to guarantee it lasts. Start by trimming excess thread and securing loose ends with a knot or dab of fabric glue. To prevent fraying, consider backing your piece with stabilizer or fabric. Once secured, gently wash your embroidery with mild soap and cold water, then lay it flat to dry. To maintain its vibrancy, avoid direct sunlight and harsh detergents. Store your finished piece in a cool, dry place, preferably in a frame or protective cover. Here’s a quick guide:
| Step | Action | Tip |
|---|---|---|
| Secure loose ends | Tie or glue threads | Keeps stitches intact |
| Wash and dry | Gentle cleaning | Preserves colors |
| Store properly | Flat or framed | Prevents damage |
| Avoid sunlight | Keep away from direct light | Prevents fading |
| Regular care | Dust lightly, check for wear | Extends longevity |
Additionally, incorporating proper storage techniques can help preserve your embroidery’s quality over time, especially by avoiding exposure to moisture. Using climate-controlled environments can further extend its lifespan and maintain its vibrancy.
Frequently Asked Questions
Can Punch Needle Embroidery Be Done on Any Fabric?
You wonder if punch needle embroidery works on any fabric. While it’s versatile, some fabrics are better suited than others. Tightly woven materials like linen, monk’s cloth, or canvas provide the best foundation because they hold the loops securely.
Avoid loose or stretchy fabrics, which can cause uneven stitches or difficulty in working. Choosing the right fabric guarantees your embroidery stays even, neat, and durable.
What Are Common Mistakes Beginners Make?
When starting punch needle embroidery, you might find yourself making common mistakes like pulling too tightly on the thread, which can distort your stitches. You could also rush through the process, resulting in uneven loops or missed spots.
Additionally, using the wrong needle size or fabric can cause frustration. Take your time, keep your stitches even, and choose appropriate materials to improve your craft and enjoy the process!
How Do I Choose the Right Thread or Yarn?
Choosing the right thread or yarn is like picking the perfect paint color for your art. You want something sturdy yet easy to work with.
Look for embroidery or rug yarns that are thick and smooth, ensuring they slide through the needle easily. Avoid overly fuzzy or loose fibers, which can tangle.
Experiment with small swatches first, so you find the texture and thickness that feel best for your project.
How Long Does It Take to Complete a Project?
The time it takes to finish your punch needle project depends on its size and complexity. Smaller pieces like ornaments may only take a few hours, while larger wall hangings can take several days or weeks.
If you dedicate consistent time each day, you’ll see progress faster. Remember, patience matters—enjoy the process, and don’t rush.
With steady effort, you’ll complete your project and be proud of your handiwork.
Can Punch Needle Embroidery Be Machine-Stitched or Only Hand-Made?
Sure, you can machine-stitch punch needle embroidery if you want to turn it into a high-speed, less charming version of art. But honestly, where’s the fun in that? Punch needle is all about the hand-crafted charm, the texture, the personal touch.
Conclusion
Now that you’ve learned the basics, think of punch needle embroidery as planting a vibrant garden. With patience and care, your stitches will bloom into beautiful artwork that reflects your creativity. Keep experimenting, and don’t be afraid to try new designs. As you nurture your skills, your embroidery will flourish just like a well-tended flower bed. Enjoy the process and watch your craftsmanship grow with every stitch you make.