
To get crisp, professional heat-embossed results, choose the right embossing powders for the effect you want, and guarantee your surface is smooth and dust-free. Use a heat tool with adjustable temperature, preheat it properly, and keep the heat moving evenly across your design. Focus on steady pressure and consistent technique, and clean your supplies regularly. Stick with these tips, and you’ll discover how to perfect your embossing every time.
Key Takeaways
- Use high-quality, pigment-based inks and ensure your surface is smooth and dust-free before embossing.
- Preheat your heat tool thoroughly and maintain a consistent, moderate temperature during embossing.
- Apply even pressure and keep the heat tool moving to prevent burning or uneven melting.
- Choose embossing powders suited to your desired finish, and avoid overapplying to prevent clumping or uneven coverage.
- Regularly clean your tools and monitor heat to maintain crisp, professional embossed results every time.
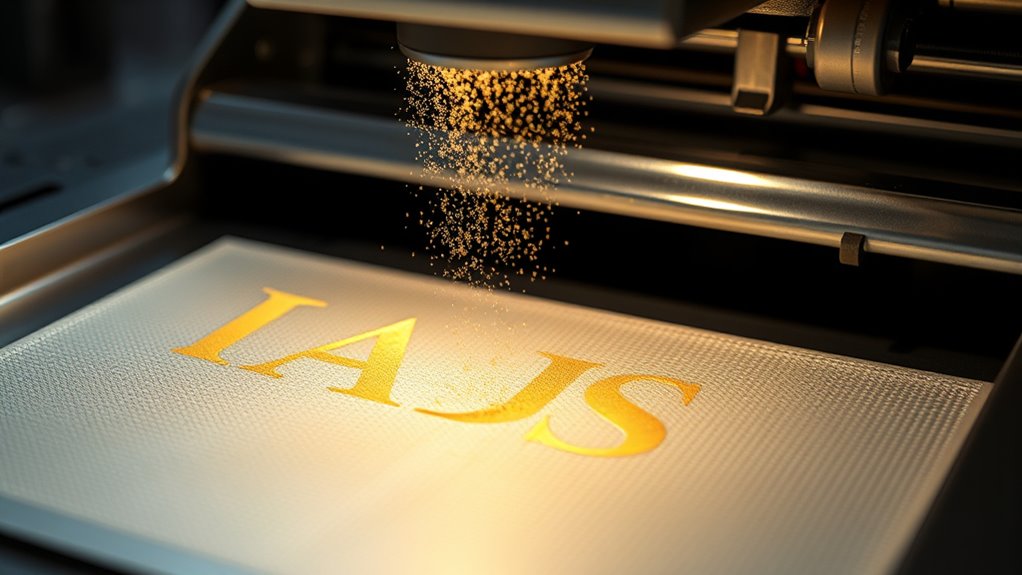
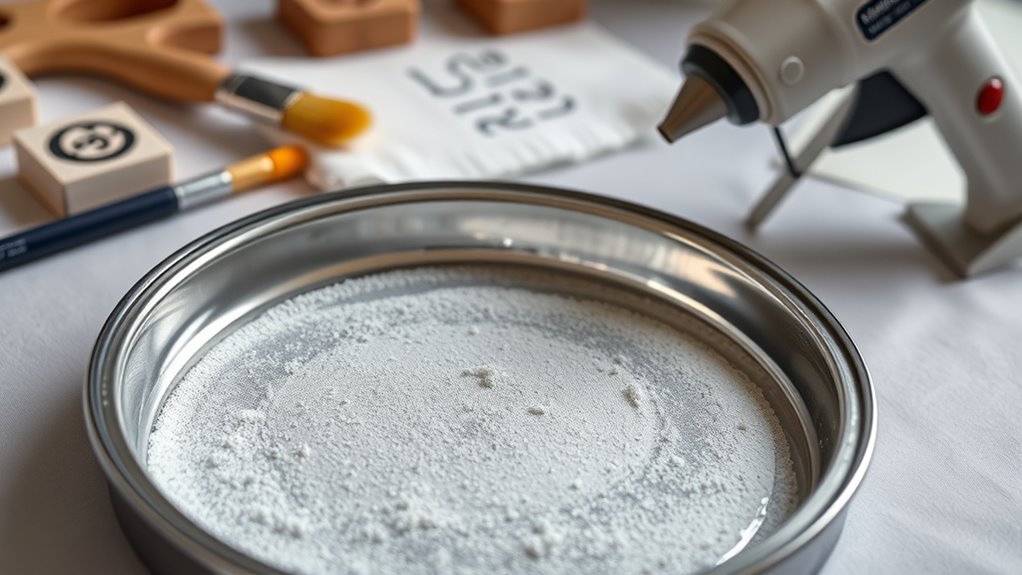
Choosing the Right Embossing Powder

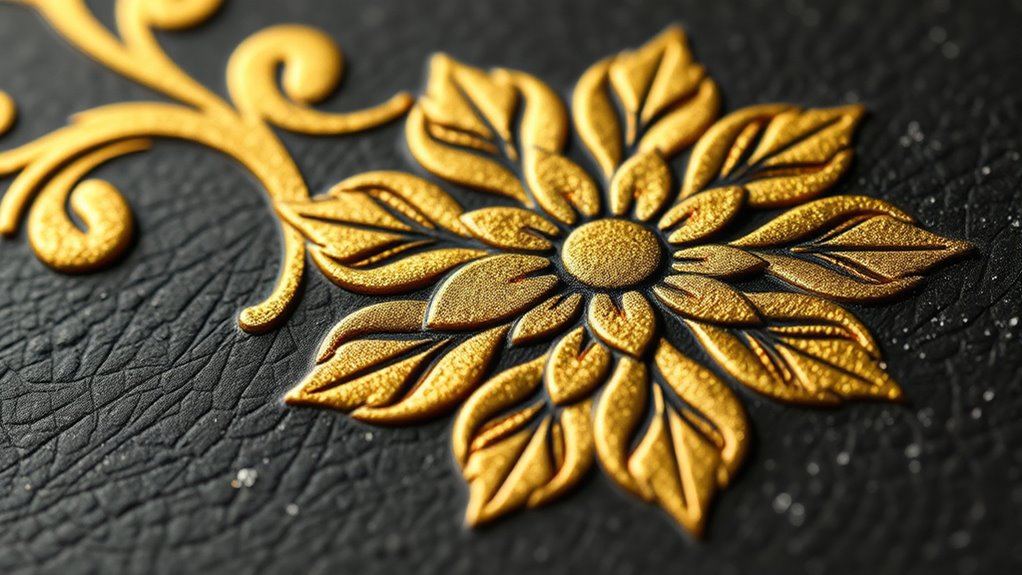
Choosing the right embossing powder is essential for achieving the best results in heat-embossing projects. Your choice directly impacts the final look, so understanding embossing techniques and powder selection is key. There are different types of powders, such as opaque, translucent, or glitter, each suited for specific effects. For crisp, clean lines, opt for fine detail powders that melt evenly. If you want a shiny finish, select a gloss or metallic variety. Consider the color contrast between your ink and embossing powder to ensure your design stands out. The right powder enhances your project’s overall quality, making your embossed images crisp and professional-looking. Taking the time to choose carefully simplifies the process and guarantees stunning results every time. Additionally, understanding the trustworthiness of AI models can help you stay informed about the reliability of various digital tools you might use in your crafting or design process. Moreover, knowing about eye patch benefits can be useful for personal skincare routines, ensuring you select products that truly enhance your appearance and skin health. To further improve your projects, exploring embossing techniques can provide new ideas for creating textured and layered effects.
Preparing Your Surface for Perfect Embossing
Before applying embossing powder, it’s important to prepare your surface properly to guarantee clean, sharp results. Start by ensuring the surface texture is smooth and free of dust, oils, or fingerprints, as these can interfere with the embossing process. Choose a substrate compatible with heat embossing; some materials, like glossy cardstock or vellum, work better than porous or textured surfaces that might absorb the powder unevenly. If necessary, lightly sand or wipe your surface with a tack cloth to remove any debris. Proper surface preparation helps the embossing powder adhere evenly and prevents smudging or bleeding. Additionally, understanding the compatibility of different materials can help in selecting the best surface for a flawless finish. For example, selecting materials that are heat-safe ensures that they won’t warp or discolor during the embossing process. Being aware of material properties can guide you in choosing the most suitable surface for your project, leading to consistently professional results. Considering surface texture can also impact how well the embossing powder sticks and how crisp the final image appears. Recognizing the importance of surface preparation can significantly enhance the overall quality of your embossed designs. Taking these steps ensures your embossed design will be crisp, professional-looking, and durable every time.
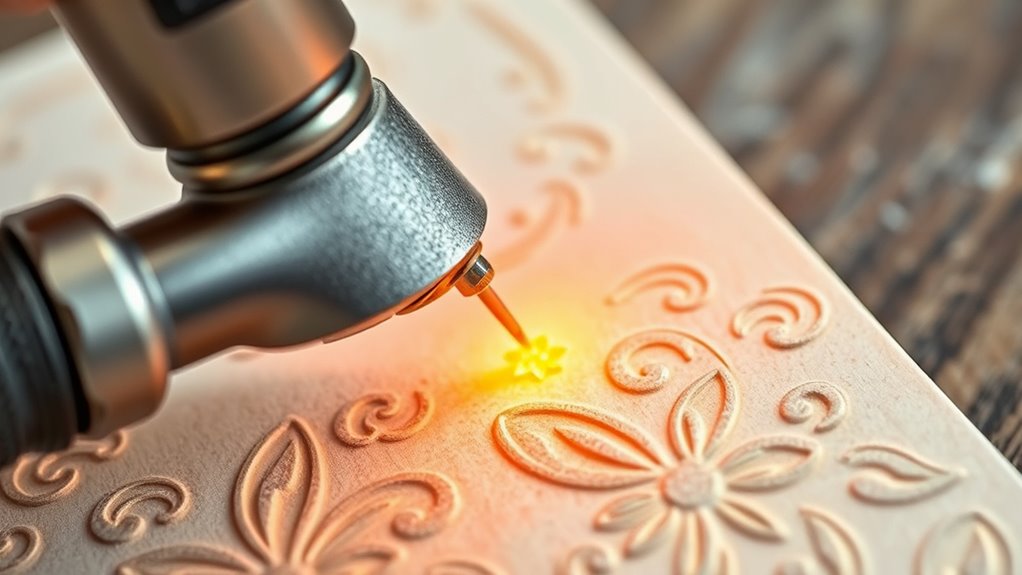
Using the Correct Heat Tool Settings
To achieve crisp, clean embossing results, it’s essential to set your heat tool to the right temperature. Proper temperature control ensures the embossing powder melts evenly without burning or smudging. Start by selecting a moderate heat setting; too high, and you risk scorching your design, too low, and the powder won’t fully melt. Adjust according to your project’s needs. Use this guide to help you find the perfect balance: Wax types, such as soy or beeswax, can influence how quickly and evenly the powder melts during embossing. Additionally, temperature control features on some tools allow for more precise adjustments, leading to better results. Being aware of the embossing process can also help in achieving consistent, professional-looking designs. Understanding the heat distribution across your tool can further optimize your embossing technique for flawless finishes. Developing an awareness of creative practice can also enhance your overall embossing skills and outcomes.
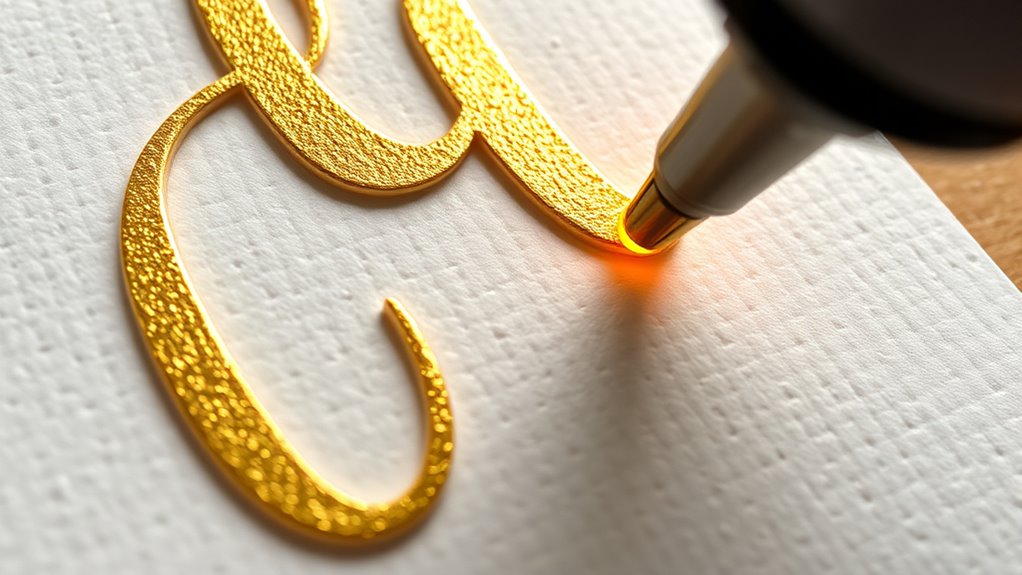
Applying Even Heat for Consistent Results
To get consistent heat, use a thermometer to monitor your tool’s temperature regularly. Keep steady pressure on your embossing tool to avoid uneven heating, and always preheat it before starting. These steps help guarantee your designs turn out smooth and professional every time. Additionally, selecting the right supportive mattress and pillow that suits your sleep needs can enhance your overall comfort and back health. Proper handling of your embossing tools also involves understanding embossing heat settings, which can vary depending on the materials used. Maintaining your airless paint sprayer properly ensures consistent performance and accurate heat application during embossing projects. Being aware of food safety rules for cooking raw chicken can help prevent cross-contamination, ensuring your projects remain safe and hygienic.
Use a Thermometer
Using a thermometer guarantees you apply heat evenly across your heat-embossing projects, which is crucial for consistent results. Accurate thermometer readings ensure you maintain the right temperature, preventing overheating or under-heating your embossing powder. When measuring heat, focus on thermometer accuracy—an essential factor for precise heat measurement. A reliable thermometer helps you monitor the temperature of your heat source, whether it’s a heat gun or embossing tool, so you can adjust as needed. Consistent heat application minimizes the risk of uneven embossing, ensuring crisp, professional-looking results. Investing in a quality thermometer allows you to fine-tune your process, making every heat-embossing session predictable and foolproof. Mastering heat measurement is the key to achieving perfectly embossed designs every time.
Maintain Steady Pressure
Maintaining steady pressure while applying heat guarantees your embossing remains even and professional-looking. Proper pressure control is key to achieving consistent embossing results. When you keep uniform pressure, the heat penetrates evenly, preventing uneven or smudged designs. Consistent pressure helps you build confidence in your technique and ensures each project looks polished. Focus on these tips to enhance embossing consistency:
- Keep a firm, gentle grip without squeezing too tightly
- Use a press or weight to maintain uniform pressure throughout
- Avoid sudden movements that disrupt pressure control
- Practice patience to sustain steady pressure during heating
Preheat Embossing Tool
Preheating your embossing tool guarantees the heat is evenly distributed, which is essential for consistent results. To achieve this, set your embossing temperature to the recommended level for your project. Allow the tool to warm up fully before use, ensuring the heat penetrates the tip evenly. This prevents uneven embossing and reduces the risk of damaging delicate papers. Good tool ergonomics also helps, so choose a comfortable grip that allows you to maintain steady pressure without strain. When preheated properly, your embossing tool maintains a stable temperature, leading to crisp, clean impressions. Remember, patience during preheating pays off with consistent, professional-looking embossing results every time.
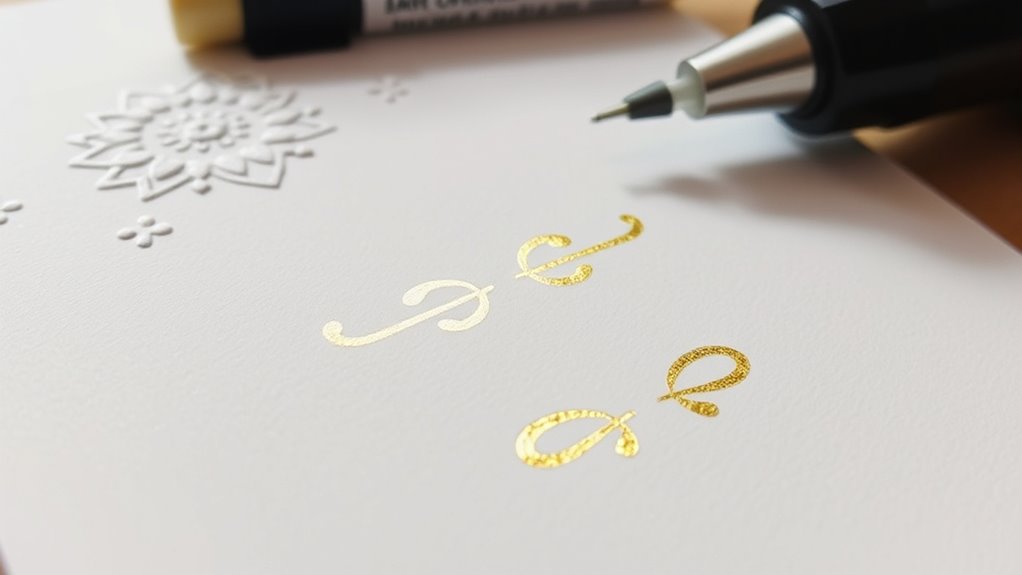
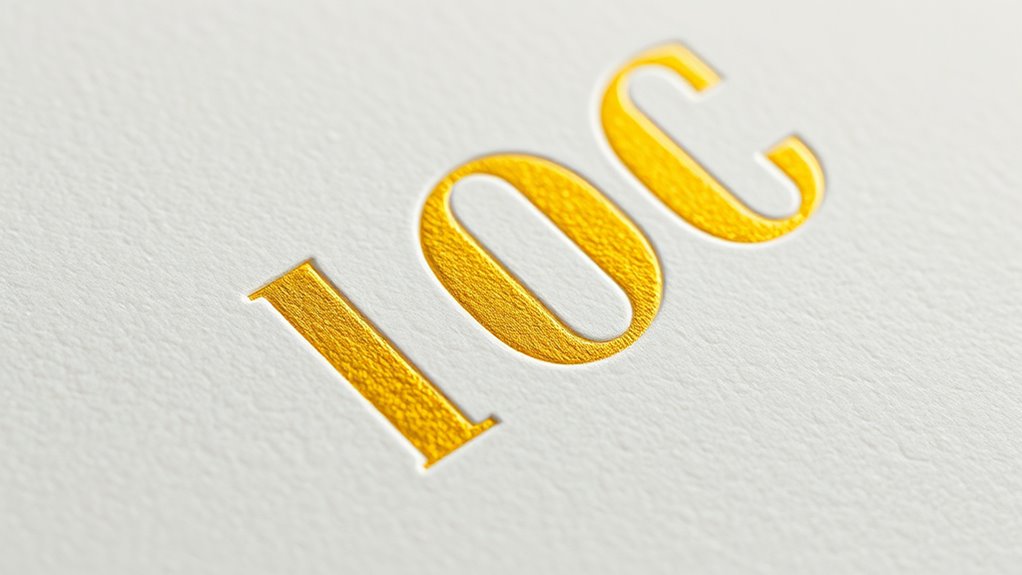
Crafting Clear, Precise Designs With Your Stamp
Achieving clear, precise designs with your stamp starts with preparing your surface and stamp properly. Focus on perfecting your stamp placement to avoid smudges and misaligned images. Choose the right ink selection—high-quality, pigment-based inks work best for crisp lines and vibrant results. Before stamping, verify your surface is clean and flat to prevent ink bleeding or uneven impressions. Incorporating vintage decor elements can also inspire your design choices and add authenticity to your stamped projects.
To elevate your stamping game, consider these tips:
- Position your stamp carefully to align perfectly with your design
- Use firm, even pressure for consistent ink transfer
- Test on scrap paper to refine your technique
- Apply ink evenly, avoiding excess that can cause smudges
With attention to detail, your stamped images will be sharp, clean, and professional-looking every time.
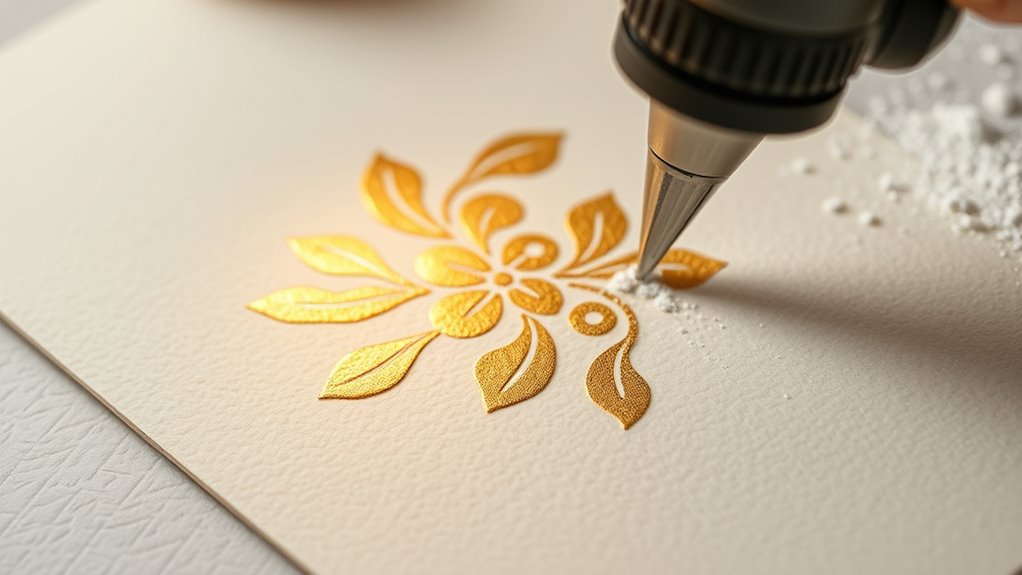
Preventing Powder Clumping and Overheating
To prevent powder clumping and overheating during embossing, it’s essential to handle your powders carefully and monitor your heat source closely. Maintaining proper powder consistency ensures even melting and reduces clumps. Use a light hand when applying powders, avoiding excessive amounts that can cause uneven coverage. When heat regulating, keep your heat tool moving constantly to prevent localized overheating, which can lead to powder scorch marks or melting issues. Adjust the heat setting as needed, especially if you notice the powder bubbling or burning. Consistent heat application helps achieve crisp, clean embossing results. Additionally, selecting durable materials suited for heat can improve your embossing outcomes and reduce mishaps. Remember, patience and attentiveness are key—by controlling heat and managing powder consistency, you’ll prevent issues and get flawless embossed designs every time.
Cleaning Your Embossing Supplies for Sharp Details
To get crisp, sharp embossing details, you need to keep your supplies clean. Regularly remove any leftover residue from your tools to prevent smudges. Use gentle cleaners that won’t damage your supplies, ensuring every impression stays clear and precise.
Remove Residue Regularly
Regularly removing residue from your embossing supplies is essential for maintaining sharp, crisp details. Residue buildup can hinder surface preparation, leading to smudged or blurry impressions. Keeping your tools clean guarantees each project looks professional and polished. Don’t let stubborn residue dull your creativity or cause frustration.
- Feel the satisfaction of perfectly crisp embossing every time
- Watch your designs pop with vibrant clarity
- Experience the confidence that comes with clean, well-maintained tools
- Enjoy the process without constantly battling leftover residue
Use Gentle Cleaners
Using gentle cleaners is key to preserving the fine details of your embossing tools. When cleaning your supplies, opt for gentle cleaners that won’t damage the surface preparation of your tools. Harsh chemicals can degrade the metal or plastic, leading to less crisp embossing results. Instead, use a soft cloth or a mild soap solution to remove ink, residue, and dust. Proper surface preparation ensures your embossing powders flow smoothly and produce sharp, clean impressions. Regularly cleaning with gentle cleaners also prevents buildup that can distort delicate details. Remember, the goal is to keep your tools in top condition without compromising their precision. With proper cleaning techniques, your embossing supplies will last longer and deliver consistently crisp, professional results every time.
Troubleshooting Common Embossing Issues
Embossing issues can be frustrating, but many problems have simple solutions. If your heat-embossed images aren’t crisp or even, don’t worry—try these troubleshooting tips. First, verify your heat tool is at the right temperature; too hot or cold can cause uneven embossing. Next, check your embossing powder; using the wrong type or applying too little can affect results. Also, confirm your embossing techniques, like proper paper choice and alignment. Finally, avoid rushing your process—patience ensures even melting and crisp results.
Troubleshooting common embossing issues is all about patience and precision.
- Powder not sticking? Check your ink and application.
- Embossed image is blurry? Adjust your heat timing.
- Powder clumping? Use fresh embossing powder.
- Uneven embossing? Maintain consistent heat and pressure.
Frequently Asked Questions
How Long Should I Wait Before Handling Embossed Projects?
You should wait until the embossing powder cools and sets before handling your project. Embossing patience is key, as rushing can smudge the design. Typically, you need to give it a few minutes for the drying time, but it depends on the heat gun used and paper type. Make sure the powder is shiny and smooth, indicating it’s fully cooled, so you can handle it without disturbing the crisp embossed look.
Can I Reuse Leftover Embossing Powder?
Think of leftover embossing powder as a treasure chest—you wonder if you can reopen it. Yes, you can reuse it if stored properly in airtight containers to prevent contamination. Keep in mind, it might lose some of its vibrancy over time. For alternative embossing techniques, try layering or using different powders to achieve unique effects. Proper storage guarantees your embossing powder remains a versatile tool for future craft adventures.
What Are Signs of Overheating Embossing Powder?
You’ll notice overheating embossing powder through signs like bubbling, melting, or losing its defined texture, which can damage your design. Keep in mind embossing powder chemistry, as excessive heat alters its structure. Always prioritize heat gun safety—use the lowest effective temperature and keep it moving to prevent overheating. If you see signs of melting or smoky fumes, stop immediately to protect your project and equipment.
Is It Necessary to Use a Heat Gun for All Embossing?
You don’t need a heat gun for all embossing techniques, but it’s essential for many. embossing tools like heat guns quickly melt embossing powders, creating crisp, professional results. For delicate projects, you might use a craft torch or a heat tool with a smaller nozzle. It’s all about choosing the right embossing tools based on your project’s needs; a heat gun often provides the quickest, most effective heat for embossing.
How Do I Fix Smudged or Blurred Embossing Designs?
Think of your embossing design as a fragile butterfly; smudges can easily crush its beauty. To fix embossing mistakes, gently reheat the blurred area with a heat gun, then carefully wipe away excess powder with a brush or cloth before it cools. For stubborn errors, use correction techniques like repositioning or re-embossing. Patience and gentle touch are key to restoring your design’s crispness and elegance.
Conclusion
With these heat‑embossing hacks in hand, you’ll effortlessly achieve crisp, clean, and mesmerizing creations. By choosing the right powders, preparing your surface, and applying even heat, you transform simple stamps into stunning works of art. Keep patience in your process, prevent pitfalls, and practice perfecting your technique. With perseverance and a bit of passion, you’ll produce professional‑looking projects that impress every time — turning crafting chaos into a polished, pristine masterpiece.