To get clean, hard prints quickly, follow an efficient Wash & Cure workflow by choosing the right equipment, like ultrasonic or automated wash stations, and controlling curing conditions with uniform light exposure and temperature. handle prints carefully, avoid shadowing, and regularly maintain tools for ideal results. Speed up post-processing while ensuring quality by following proven techniques and avoiding common mistakes. Keep exploring these tips to master a faster, more reliable process for perfect prints.
Key Takeaways
- Use automated wash stations and ultrasonic cleaners for quick, thorough resin removal.
- Match curing equipment to resin type and ensure uniform light exposure for even hardening.
- Optimize print orientation to facilitate easier cleaning and support removal, reducing post-processing time.
- Maintain equipment regularly to prevent buildup and ensure consistent curing and washing performance.
- Follow manufacturer instructions precisely, using timers and temperature controls to prevent over- or under-curing.
Why a Fast Wash & Cure Workflow Boosts Your 3D Print Quality

A fast wash and cure workflow can substantially enhance your 3D print quality by minimizing the risk of residual resin and surface imperfections. Effective resin handling during cleaning is vital, as leftover resin can cause smoothing issues and weaken the final product. Using the right cleaning solvents quickly and thoroughly dissolves uncured resin, reducing surface tackiness and improving detail sharpness. The quicker you remove excess resin, the less time it has to settle into crevices or cure unevenly, leading to cleaner, smoother surfaces. Additionally, a streamlined process minimizes resin waste and exposure to chemicals, making your workflow safer and more efficient. Incorporating high-performance cleaning equipment ensures thorough resin removal and reduces manual effort. Employing environmentally friendly solutions supports sustainable practices and reduces environmental impact. Implementing a fast wash process also decreases the overall time spent on post-processing, allowing for faster project completion. Using proper curing techniques further guarantees your prints reach their maximum strength and detail fidelity. Overall, adopting a fast wash and cure routine guarantees your prints are cleaner, more precise, and ready for any finishing steps.
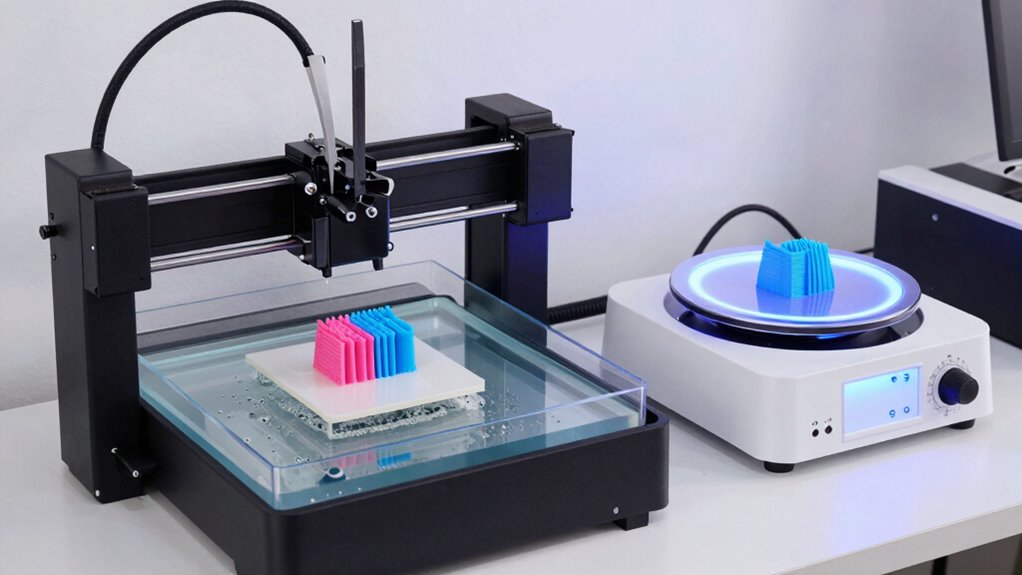
How to Choose the Best Washing Method for Your Prints
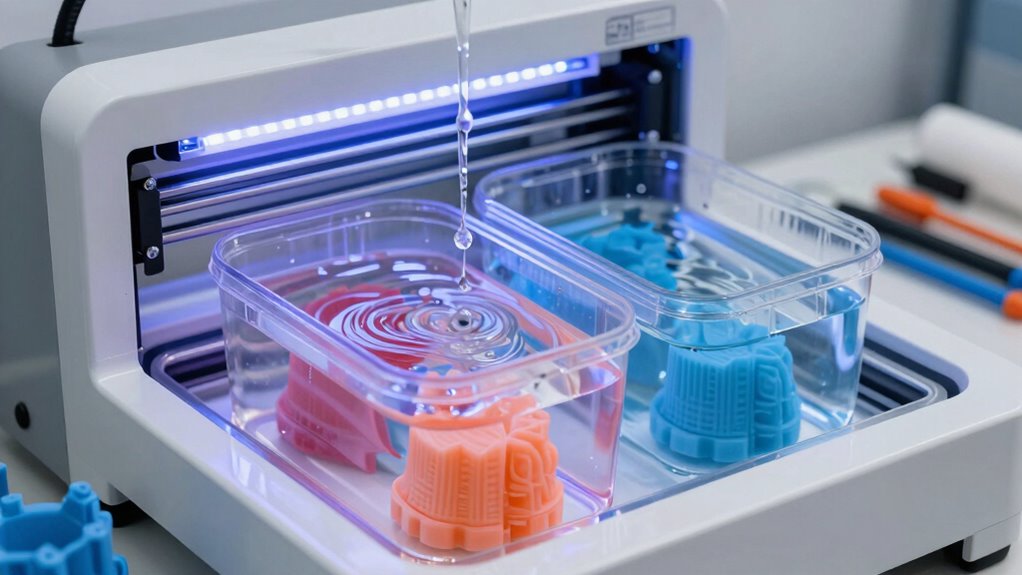
Choosing the right washing method for your 3D prints depends on your specific resin types, print size, and desired finish. Different resin types may require particular cleaning solvents to guarantee effective removal of uncured resin without damaging the print. For small, delicate models, gentle rinses with isopropyl alcohol can suffice, while larger prints might need more efficient solutions like ultrasonic cleaners or washing stations. Consider whether you prefer manually washing or using automated systems, as each method impacts cleaning thoroughness and time. Always match your cleaning solvents to your resin type, checking manufacturer recommendations to prevent damage or residual chemicals. Selecting the appropriate washing method ensures your prints are clean, ready for curing, and achieve the best possible finish. Proper cleaning techniques are essential to maintain safety and maximize print quality, especially when working with different resin formulations. Additionally, understanding the navigation and mapping of cleaning equipment can help optimize workflow efficiency and ensure consistent results. Proper post-processing procedures, including curing and handling, also play a crucial role in final print quality and durability. Incorporating training and education on best practices can further improve your overall workflow and results. Being aware of the environmental impact of different cleaning agents can also help promote more sustainable practices in your post-processing routine.
Picking the Right Curing Equipment for Strong, Durable Models
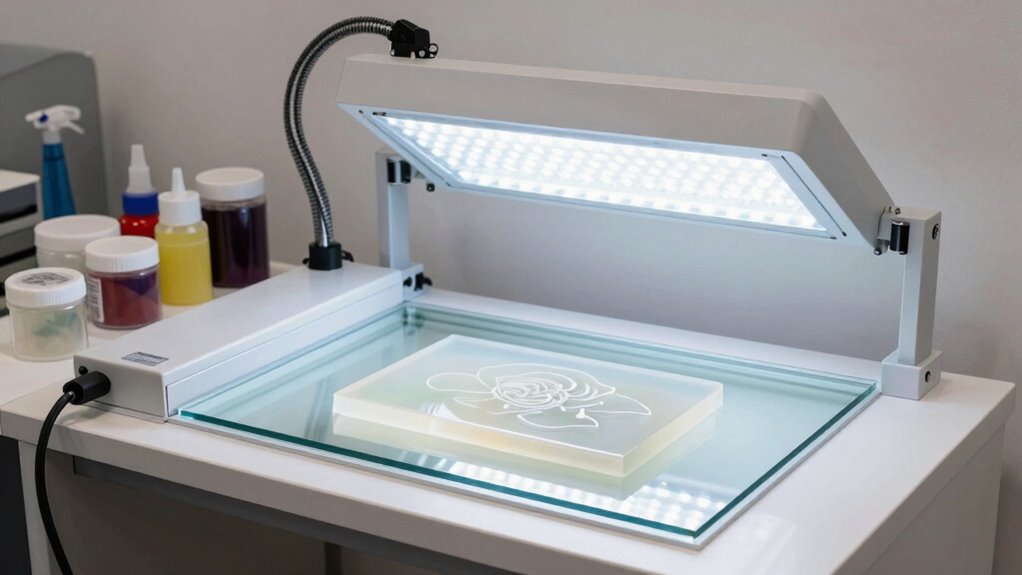
Selecting the right curing equipment directly impacts the strength and durability of your 3D prints. Different resin types require specific curing conditions, so choose equipment compatible with your resin’s requirements. For instance, standard resins may need basic curing lights, while specialty resins like tough or flexible ones benefit from high-intensity or targeted curing lights to ensure proper cross-linking. Look for a curing station that offers uniform light exposure to prevent weak spots and ensure consistent results. Consider whether you want a handheld device or an enclosed curing chamber, depending on your volume and precision needs. Proper curing lights help optimize resin properties, resulting in stronger, more durable models that last longer and resist damage during handling. Additionally, selecting equipment with industry-standard safety features ensures safe operation and longevity of your curing station. Incorporating proper handling techniques can further improve curing outcomes and safety during the process. Understanding UV light distribution can also enhance the uniformity of curing and improve overall print quality. Ensuring your curing setup includes accurate timer controls is vital for consistent results across multiple prints.
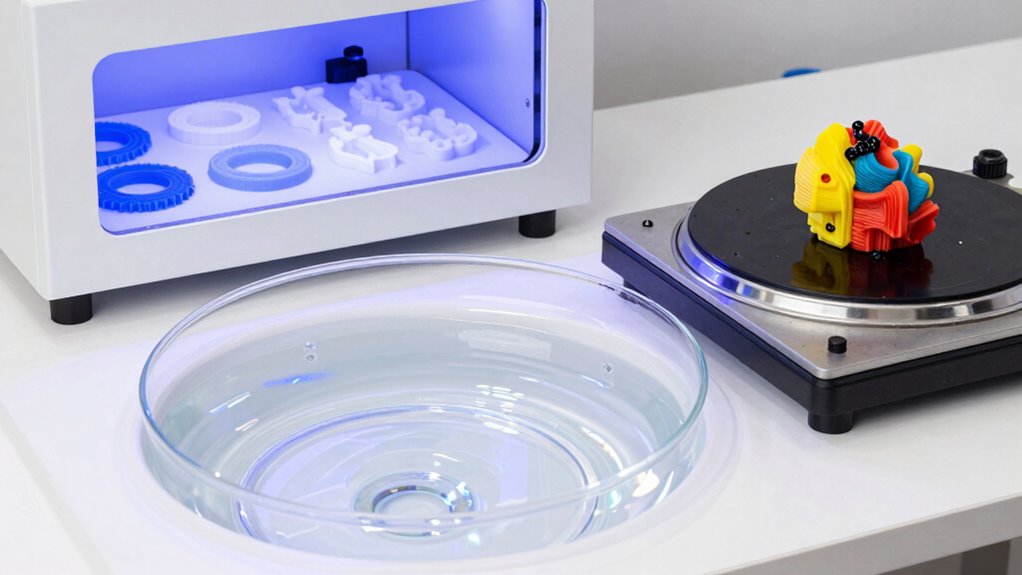
A Quick Step-by-Step Guide to Fast Wash & Cure Processes
To speed up your wash and cure routine, focus on efficient washing techniques that remove resin quickly without compromising quality. Proper cleaning can also help prevent residual odors, such as ear wax odor, from lingering on your models. Incorporating solar energy into your workflow can reduce environmental impact and promote sustainability. Additionally, using reliable cleaning tools ensures thorough removal of uncured resin, saving time and effort. Using high-quality wash stations designed for rapid cleaning can further streamline the process. Next, implement ideal curing strategies to solidify your models fast and evenly. With the right methods, you can considerably cut down processing time while ensuring great results. Incorporating thoughtfully curated essentials into your workflow helps streamline processes and maintain consistent quality.
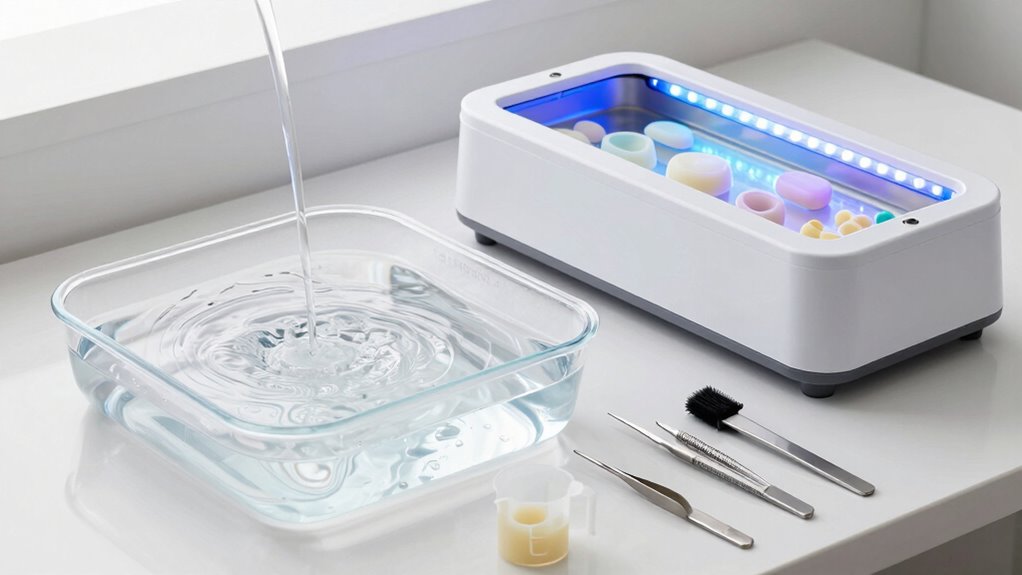
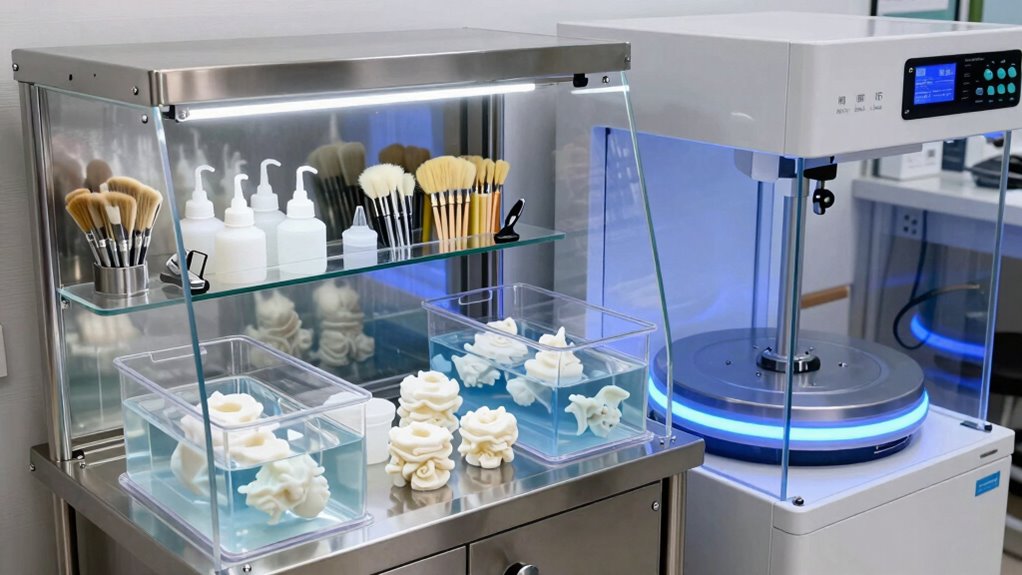
Efficient Washing Techniques
Efficient washing is vital for ensuring your 3D prints come out clean and ready for curing, especially when time is limited. To speed up the process, use a dedicated wash container filled with fresh resin-safe solvent. Agitate your print gently to loosen uncured resin, then rinse thoroughly. Regularly drain and replace the wash solution to prevent resin buildup, which can slow cleaning. Proper resin disposal is essential—never pour leftover resin down the drain; instead, follow local disposal regulations. Use a simple step-by-step approach:
| Step | Action | Tip |
|---|---|---|
| 1 | Submerge print | Use a clean wash container |
| 2 | Agitate gently | Loosen residual resin |
| 3 | Drain wash | Replace solution frequently |
| 4 | Rinse and dry | Prepare for curing |
Additionally, paying attention to the filtration process can help protect your equipment and ensure a cleaner finish.
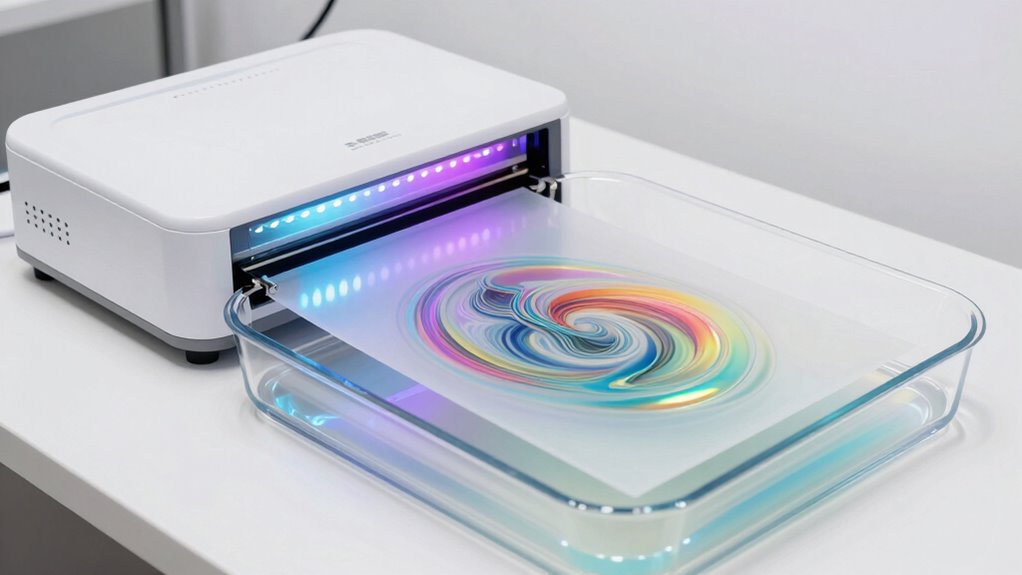
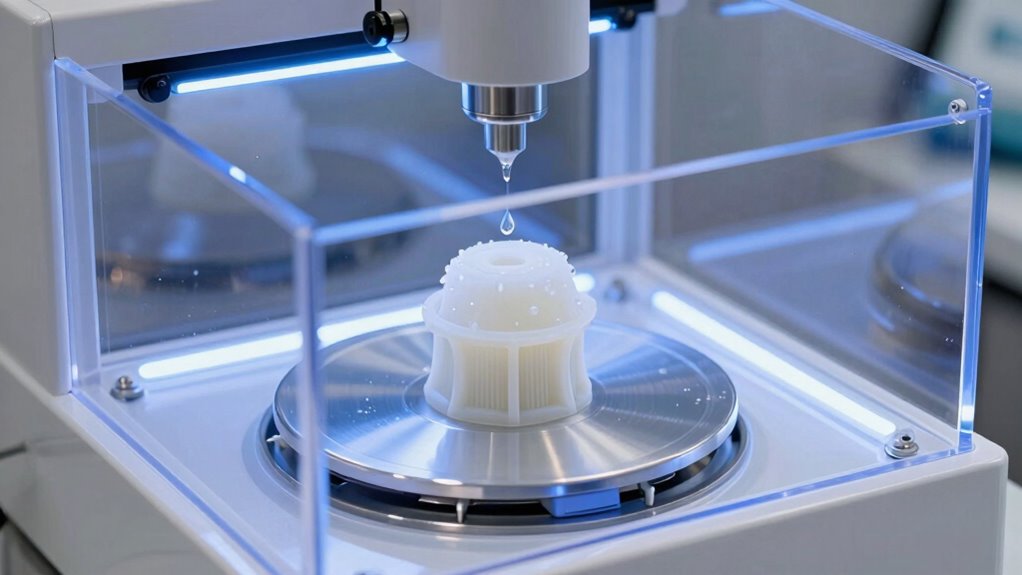
Optimal Curing Strategies
Achieving perfect curing results quickly requires the right strategies. First, choose the right resin, as different types have specific curing needs—some require longer exposure or higher temperatures. Always follow the manufacturer’s recommendations for resin selection to guarantee maximum hardness and detail. Next, control your curing temperature carefully; maintaining the recommended temperature accelerates curing without compromising quality. Using a curing station with adjustable temperature settings helps you stay consistent. Avoid curing at too high a temperature, which can cause warping or brittleness. Conversely, too low a temperature prolongs curing time and affects strength. Proper curing environment is essential to optimize results and prevent defects. Additionally, managing thermal conditions within your curing area ensures uniform curing and reduces the risk of print failures. Incorporating temperature regulation devices can further optimize the process, especially when working with sensitive resins. Being aware of ambient humidity levels is also important, as excess moisture can negatively impact curing quality. Maintaining a stable airflow around your prints can help prevent temperature fluctuations and ensure even curing. By selecting the appropriate resin and maintaining ideal curing temperature, you streamline the process, minimize errors, and produce consistently high-quality, fully cured prints with a smooth finish.
Common Mistakes in Washing & Curing: and How to Avoid Them
Many people make simple mistakes during the washing and curing process that can compromise the quality of their prints. One common error is resin contamination, which occurs when you don’t clean tools properly or handle prints with bare hands, transferring oils or uncured resin. Improper handling can also lead to damage or surface defects. To avoid these issues, always wear gloves and use dedicated tools for cleaning. Rushing the washing or curing steps can leave residual resin on the surface, weakening the print or causing post-processing issues. Make sure to thoroughly rinse prints in alcohol or water and follow recommended curing times. These small precautions prevent contamination and ensure your prints are clean, strong, and accurately finished. Proper handling techniques play a crucial role in maintaining print integrity and preventing surface imperfections. Additionally, choosing Suprem fabric for your apparel projects can offer benefits like durability and eco-friendliness, which are important considerations even in 3D printing applications.
Tips to Save Time Without Sacrificing Print Quality
To save time without sacrificing print quality, focus on streamlining each step of your washing and curing process. Proper print orientation reduces the need for extensive post-processing, making cleaning more efficient. Selecting the right resin for your project ensures easier removal of supports and cleaner finishes, saving curing time. When washing, keep prints in a consistent orientation to prevent missed spots and reduce repeat cycles. During curing, use a timer and set the ideal exposure to avoid over-curing or under-curing, which can compromise quality. Additionally, consider these tips:
- Use a rotating or agitation system for thorough cleaning
- Choose resins that cure quickly and cleanly
- Position prints strategically for even curing and easier handling
These practices help you save time while maintaining first-rate quality.
How to Maintain Your Wash & Cure Equipment for Best Results
Regular maintenance of your wash and cure equipment guarantees consistent results and prolongs their lifespan. To achieve this, establish a regular cleaning schedule for all components, including tanks, brushes, and UV LEDs. Remove residues after each use to prevent buildup, which can affect print quality. Check for signs of wear or damage regularly, and replace parts as needed. Keep the equipment dry and store it in a clean, dust-free environment. Follow manufacturer recommendations for maintenance routines to ensure peak performance. Proper equipment maintenance not only preserves the efficiency of your wash and cure stations but also minimizes downtime caused by unexpected issues. Staying diligent with cleaning schedules helps maintain consistent print quality and extends the longevity of your investment.
Troubleshooting: Fixing Common Wash & Cure Issues
When your wash and cure stations aren’t performing as expected, identifying and fixing common issues can save you time and prevent costly downtime. Resin residue left on prints can cause sticky surfaces and affect curing quality. Curing shadows may result in uneven hardening, leading to weak spots. To troubleshoot, check for these issues:
- Insufficient rinsing to remove resin residue, leaving prints tacky
- Incorrect curing angles or shadows blocking UV light, causing uneven curing
- Dirty or malfunctioning UV light sources, reducing curing effectiveness
Ensure you rinse thoroughly, reposition prints to avoid shadows, and replace or clean UV LEDs regularly. By addressing these common problems, you’ll improve print quality and reduce post-processing errors. Quick fixes keep your workflow smooth and your prints consistently strong.
Frequently Asked Questions
How Does Wash and Cure Speed Impact Print Accuracy?
Speeding up the wash and cure process can impact print accuracy by risking resin compatibility issues and inconsistent curing temperature control. If you rush, you might not fully remove residual resin, leading to surface imperfections or dimensional inaccuracies. Additionally, curing too quickly can cause warping or deformation if the curing temperature isn’t properly managed. To maintain precision, find a balance that respects resin specifications and guarantees even, controlled curing.
Can Portable Curing Units Match Professional Equipment Performance?
Portable curing units can come close to matching professional equipment performance, but they often fall short of meeting professional standards. You might find that their smaller size and limited power affect curing consistency and speed, especially on larger prints. However, for smaller projects or quick fixes, portable equipment offers convenience without sacrificing too much quality. For top-tier, reliable results, professional-grade units still hold the edge.
What Safety Precautions Are Necessary During Rapid Curing?
Think of rapid curing as a race against time—safety should never be left behind. You must wear UV safety gear, including gloves and protective glasses, to shield your skin and eyes from harmful UV rays. Handle chemicals carefully, following proper procedures and ventilation guidelines. Keep the workspace clear of unnecessary personnel, and always follow manufacturer instructions. Staying vigilant guarantees you enjoy swift curing without risking your health or safety.
Are There Environmentally Friendly Wash and Cure Options?
Yes, you can choose eco-friendly wash and cure options by using biodegradable solutions and eco-friendly materials. Look for water-based cleaning agents that break down naturally, reducing environmental impact. Many manufacturers now offer biodegradable resins and cleaning products that are safer for the planet. By selecting these options, you help minimize chemical waste and promote sustainable practices, ensuring your printing process is both effective and environmentally responsible.
How Often Should Wash and Cure Equipment Be Calibrated?
Think of your wash and cure equipment as a finely tuned instrument; it needs regular tuning to stay in harmony. You should perform equipment maintenance and calibration checks every 3 to 6 months, depending on usage intensity. Regular calibration ensures your prints come out consistently perfect, avoiding surprises like uneven curing or inadequate cleaning. Staying proactive keeps your workflow smooth and your results outstanding.
Conclusion
So there you have it—your secret weapon to turn those messy prints into pristine masterpieces in record time. Skip a step, rush the process, or ignore maintenance, and you’ll be back to square one faster than you can say “failed print.” But hey, who needs quality when you can impress your friends with a shiny, hard-to-see mess? Follow these tips, and you’ll be the hero of your 3D printing saga—at least until the next disaster strikes.